
Have you ever wanted to capture a unique perspective in your drawings? Drawing people from a bird’s eye view can make your art stand out and add a fresh dimension to your skills.
It might seem tricky at first, but with the right tips and techniques, you’ll learn how to see and sketch this angle with confidence. In this guide, you’ll discover simple steps to help you master this skill and create eye-catching artwork that grabs attention.
Ready to transform your drawings and impress everyone with your new viewpoint? Let’s dive in!
Basics Of Bird’s Eye View
Drawing people from a bird’s eye view means showing them from above. This view lets you see the top of their heads and shoulders. It helps create scenes that look like you are flying over them.
It can be tricky because people look different from this angle. You need to change how you draw their shapes and sizes to make it look real.
Perspective And Angle
The bird’s eye view uses a high angle looking down. This angle makes the parts closer to you look bigger. Parts farther away look smaller.
Perspective helps show depth in your drawing. Use lines that go toward a point high above your subject. This creates the feeling of height and space.
- Draw heads as circles or ovals seen from above
- Shoulders look wider near the bottom of the head
- Feet and legs appear smaller because they are farther away
- Use a vanishing point above to guide shapes
Proportions From Above
Proportions change when seen from above. The head looks larger than the body parts below it. The shoulders and arms shrink as they move away from the view.
Keep these points in mind for correct proportions:
- The head is the biggest visible part from above
- Shoulders get narrower near the top of the body
- Arms and legs look shorter and thinner
- Feet often appear very small or hidden
Sketching The Human Form
Drawing people from a birds eye view can be tricky. This angle shows the body from above. It changes how shapes and limbs look.
Start by learning to simplify the human form. This helps create a clear base for your sketch.
Simplifying Body Shapes
Break the body into simple shapes like circles, ovals, and rectangles. The head is a circle seen from above. The torso looks like an oval or a rounded rectangle.
- Use a circle for the head.
- Draw an oval for the chest and back area.
- Sketch rectangles or cylinders for the arms and legs.
- Connect shapes with smooth lines to form the body.
- Keep shapes light to adjust proportions easily.
Positioning Limbs Correctly
Limbs look shorter and foreshortened from above. Position them so they point outward from the body. The elbows and knees will bend down or sideways.
| Body Part | Birds Eye View Shape | Tips |
| Head | Circle | Draw flat and round |
| Torso | Oval or rounded rectangle | Place centered below head |
| Arms | Cylinders | Foreshorten and bend outward |
| Legs | Cylinders | Shorten length, angle outward |
| Hands and Feet | Small ovals | Keep size small and simple |
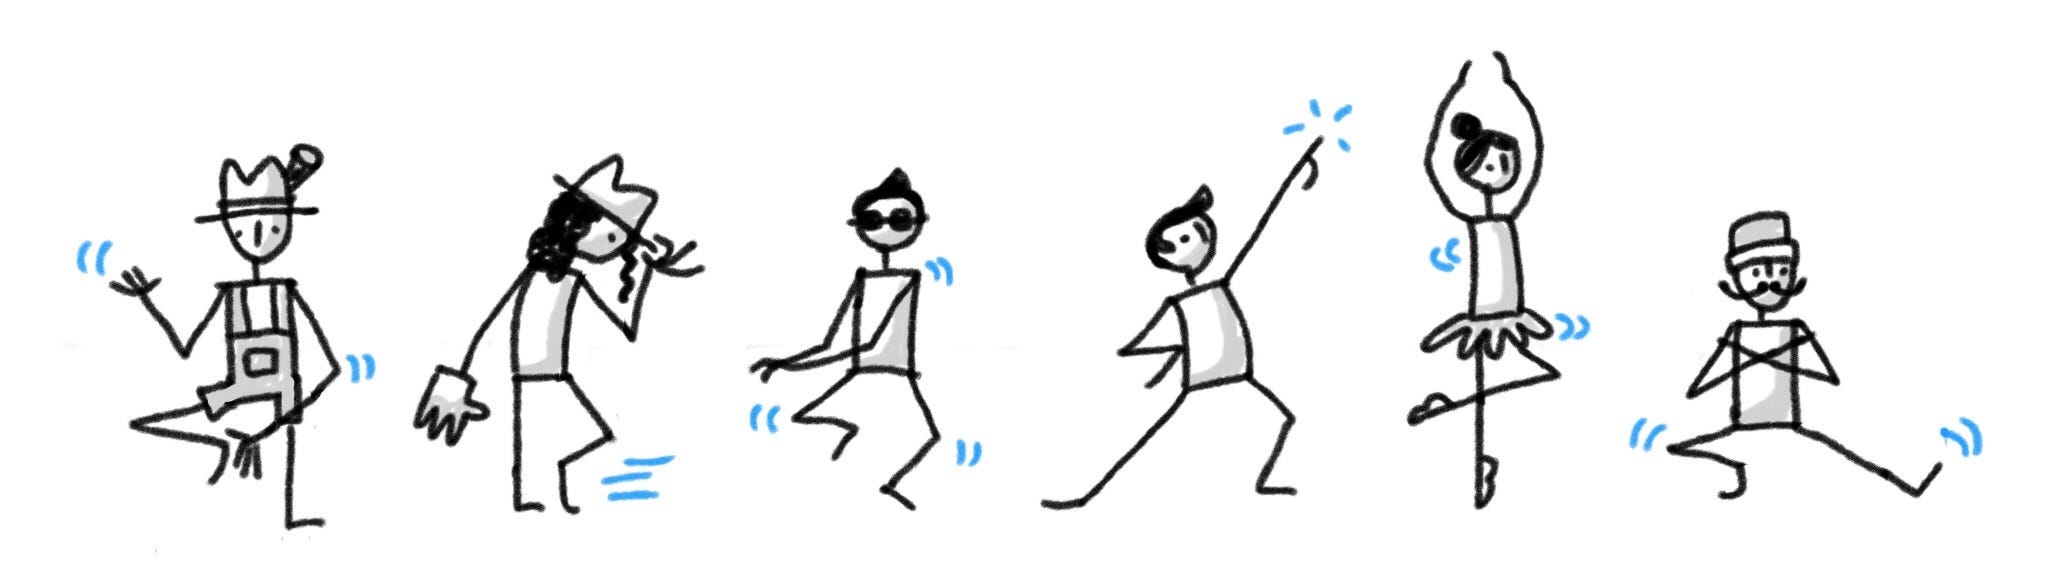
Capturing Movement And Gesture
Drawing people from a bird’s eye view brings unique challenges. You need to show how they move and express their gestures clearly.
Capturing motion from above requires understanding body angles and the flow of action. This helps make your drawings lively and natural.
Dynamic Poses From Above
From a top view, the body’s shape changes with movement. Focus on the curve of the back, limb positions, and head tilt to show pose energy.
- Use foreshortening to show depth in limbs.
- Draw the shoulders and hips at angles to suggest motion.
- Keep the center of gravity clear by showing foot placement.
- Sketch light lines to test gesture flow before adding details.
Expressing Motion
Motion comes alive through gesture lines and body twists. Small changes in posture can show if a person is walking, running, or standing still.
| Gesture Type | Key Features | Tips for Bird’s Eye View |
|---|---|---|
| Walking | One foot forward, arms swinging | Show foot overlap and arm swing direction clearly |
| Running | Body leans forward, longer stride | Emphasize forward tilt and stretched limbs |
| Standing | Balanced weight, relaxed limbs | Keep feet close and body centered |
| Reaching | Arm extended, torso slightly twisted | Highlight arm direction and shoulder rotation |
Detailing Features From A High Angle
Drawing people from a bird’s eye view means showing them from above. This angle changes how you see their shape and details.
Pay close attention to how heads, faces, and clothing look from this high viewpoint. Details look different than from eye level.
Head And Facial Elements
From above, the top of the head is most visible. The face looks foreshortened, so you see less of the front.
Eyes, nose, and mouth appear smaller and closer together. Hair shape and crown details stand out more than facial features.
- Draw the head shape as an oval seen from above
- Place facial features low on the visible face area
- Show the hair’s volume and style clearly
- Minimize detail on eyes and mouth
Clothing And Texture
Clothing folds and textures look different from a high angle. You mainly see the tops of shoulders and upper body.
Patterns and fabric texture appear compressed. Light and shadow help show the shape and layers of clothes.
- Draw shoulders and collar areas clearly
- Use light shading to show folds and creases
- Keep fabric patterns simple and less detailed
- Highlight textures on visible clothing surfaces
Shading And Lighting Techniques
Drawing people from a bird’s eye view needs careful shading and lighting. These techniques make your drawing look real and clear.
Understanding how light hits the body helps show shape and space from above. Use shading to give your figures depth.
Light Source Considerations
Decide where the light comes from before you start shading. The light source changes shadows and highlights on the figure.
From a bird’s eye view, light often hits the top of the head and shoulders first. Shadows fall under the chin and body parts.
- Place the light source high to mimic sunlight or ceiling lights
- Strong light creates clear shadows and bright highlights
- Soft light makes gentle shadows and smooth shading
- Keep the light direction consistent on all parts
Adding Depth And Volume
Use shading to show the roundness and size of body parts. Darker areas appear farther away or hidden from light.
Gradual changes from light to dark help shapes look 3D. This makes your people look solid and realistic from above.
- Shade under the chin, arms, and legs to show depth
- Highlight the tops of heads and shoulders to add volume
- Use soft shadows for smooth curves and hard shadows for sharp edges
- Blend shading smoothly for natural light effects

Credit: nanasworldweb.com
Common Mistakes To Avoid
Drawing people from a bird’s eye view can be tricky. Many artists make simple mistakes that change the look.
Understanding these errors helps you create better, more realistic drawings from above.
Distorted Proportions
One common mistake is making body parts the wrong size. From above, heads look bigger than feet.
Ignoring this change makes your drawing look strange and flat. The body should get smaller as it goes down.
- Make heads larger than feet
- Reduce size of legs and feet gradually
- Keep arms shorter to show perspective
Flat Perspectives
Another mistake is drawing people as if seen from the side or front. This ignores the top view angle.
Flat perspectives remove depth and make drawings look unnatural. You must show foreshortening and angles.
- Draw heads as ovals viewed from above
- Show shoulders and hips with angled lines
- Use foreshortening on limbs close to the viewer
Tools And Materials Recommendations
Drawing people from a bird’s eye view needs special tools. The right materials help you capture the right angles and details.
Choosing between digital and traditional methods changes how you work. Each option has its own tools and benefits.
Best Drawing Supplies
Good drawing supplies make your sketches clearer and easier. Use pencils with different hardness to create light and dark lines.
- Graphite pencils (2H to 6B) for varied shading
- Erasers: kneaded and rubber types
- Sharpener for fine pencil points
- Ruler or straight edge for perspective lines
- Blending stumps for smooth shading
- Sketchbook with smooth paper
Digital Vs Traditional Methods
Digital drawing uses tablets and software. Traditional uses paper and pencils. Each method needs different tools.
| Method | Tools | Advantages |
| Digital | Drawing tablet, stylus, software | Easy to edit, many effects |
| Traditional | Pencils, erasers, paper, rulers | Tactile feel, no power needed |

Credit: www.lemon8-app.com
Practice Exercises
Drawing people from a bird’s eye view can be tricky. Practicing helps you understand shapes and angles better. Use simple and complex exercises to improve.
Try sketching quick scenes to build your skills. Focus on body positions and spacing from above.
Simple Bird’s Eye Sketches
Start with easy shapes and single figures. Keep proportions basic and focus on the overall pose. Practice these exercises often.
- Draw circles for heads and ovals for bodies.
- Sketch limbs as simple lines or cylinders.
- Practice different angles of the head.
- Use a top-down grid to place figures evenly.
- Keep sketches quick and light for corrections.
Complex Scenes With Multiple Figures
Combine several people in one scene. Show interaction and spacing. Use these tips to organize your drawing.
| Exercise | Description | Focus Area |
| Crowd Sketch | Draw a group standing or walking. | Spacing and scale |
| Park Scene | People sitting, walking, and playing. | Varied poses and overlap |
| Market View | Figures carrying bags and moving. | Movement and direction |
| Sports Field | Players in action from above. | Dynamic poses and angles |
Credit: medium.com
Frequently Asked Questions
How Do You Start Drawing From A Bird’s Eye View?
Begin by sketching a basic layout of the scene. Establish key elements and their positions. Use light strokes to refine shapes and proportions. Focus on perspective and depth to create realism. Layer details gradually to enhance the drawing.
What Tools Are Best For Bird’s Eye View Drawings?
Use pencils for initial sketches due to their precision and ease of correction. Fine liners can add details and depth. Markers and colored pencils enhance visual appeal. Experiment with digital tools for added flexibility and variety.
How Can I Improve Perspective In My Drawings?
Practice vanishing points and horizon lines for accurate perspective. Use reference images to understand angles and proportions. Regular practice helps develop a keen eye. Attend workshops or online courses for structured learning.
Why Is Scale Important In Bird’s Eye View Art?
Scale ensures the drawing looks realistic and proportionate. It helps maintain consistency between objects. Proper scaling adds depth and dimension. Use guidelines to measure and compare object sizes effectively.
Conclusion
Drawing people from a bird’s eye view takes practice and patience. Start with basic shapes and add details step by step. Keep your lines light and adjust as you go. Study real photos or watch videos to understand angles. Don’t rush; enjoy the learning process.
Soon, your drawings will look more natural and clear. Try different poses and perspectives to improve further. With time, your skills will grow, and you’ll feel more confident. Keep practicing regularly and have fun with your art!


