
Are you ready to bring more birds to your backyard but unsure how to set up your bird feeder pole securely? Getting that pole firmly in the ground is the first step to enjoy watching colorful birds visit every day.
If your feeder wobbles or falls, you’ll miss out on the beauty and joy birds bring. In this guide, you’ll discover simple, effective ways to plant your bird feeder pole so it stays steady through wind and weather. Keep reading, and you’ll learn how to create a safe, welcoming spot for your feathered friends with ease.
Choosing The Right Location
Choosing the right location for your bird feeder pole is important. It affects how often birds visit and how safe they feel. The right spot can create a peaceful feeding area and a great viewing spot for you.
Consider Bird Activity
Look for areas where birds already gather. Trees, bushes, or flower beds attract birds naturally. Place the feeder near these spots but not too close to avoid crowding. Birds like places where they can quickly escape if needed.
Check For Sunlight And Shade
Birds enjoy both sunny and shaded areas. Morning sun warms the feeder, making it inviting. Afternoon shade protects birds from heat. Choose a spot with a mix of sun and shade throughout the day.
Avoid Predators And Hazards
Keep the feeder away from places where cats or other predators hide. Avoid spots near busy roads or windows to prevent accidents. Make sure the pole is stable and far from anything that can tip it over easily.

Credit: www.amazon.com
Selecting A Suitable Pole
Choosing the right pole is key to a successful bird feeder setup. The pole must hold the feeder safely. It should stand firm and last through changing weather. Careful selection helps attract more birds and keeps your feeder steady for a long time.
Material Options
Poles come in metal, wood, and plastic. Metal poles are strong and last long. Wood poles look natural but may need more care. Plastic poles resist rust and are lightweight. Select a material that fits your yard and budget.
Height And Stability
Height affects which birds visit your feeder. A pole about 5 to 6 feet tall works well. It keeps birds safe from predators. Stability matters too. A wide base or ground anchor stops the pole from tipping. Make sure the pole stays upright in wind and rain.
Weather Resistance
The pole faces sun, rain, wind, and snow. Choose weatherproof materials to avoid damage. Metal poles with rust-proof coating last longer. Wood poles should be sealed to prevent rot. Plastic poles resist moisture but might fade in sun. Protect your feeder pole to keep it strong year-round.
Preparing The Ground
Getting your bird feeder pole firmly planted starts with preparing the ground properly. This step ensures stability and longevity, preventing the pole from leaning or toppling over. Taking time here saves frustration later and creates a safe spot for your feathered visitors.
Clearing The Area
First, remove any grass, leaves, rocks, or debris where you want to place the pole. A clean surface makes digging easier and helps the pole sit flush with the soil. I once skipped this step and ended up with a wobbly pole because roots and stones interfered with the base.
Use a garden trowel or your hands to clear at least a 12-inch diameter circle. This space gives you room to dig a proper hole without obstructions. Don’t forget to check for hidden roots or buried items like old wires.
Checking Soil Type
Soil type greatly affects how deep and wide your hole should be. Sandy soil drains quickly but can be loose, so you might need to dig a deeper hole or add gravel for stability. Clay soil holds moisture and can be dense, making digging tougher but offering solid support once the pole is set.
Test your soil by grabbing a handful and squeezing it. If it crumbles easily, it’s sandy; if it forms a sticky ball, it’s clay. Knowing this helps you decide whether to reinforce the hole with concrete or add drainage material.
Marking The Spot
Identify the exact location before digging to avoid moving the pole later. Stand the pole where you want it and mark the ground with spray paint or a small flag. This visual guide keeps your placement precise.
Think about nearby trees, walkways, and how sunlight hits that spot. Does it attract birds? Does the pole block your view or interfere with foot traffic? Marking the spot thoughtfully saves you from having to redo the work.
Installing The Pole
Installing a bird feeder pole correctly ensures it stays stable and safe for birds. The process involves digging a proper hole, placing the pole securely, and fixing it firmly in place. Careful installation helps the pole withstand wind and weather, keeping your feeder accessible and steady.
Digging The Hole
Choose a spot with good sunlight and clear space. Use a shovel to dig a hole about 18 to 24 inches deep. The hole should be wide enough for the pole base and any concrete you plan to use. Make sure the sides of the hole are straight and firm.
Setting The Pole
Place the pole upright in the center of the hole. Check the pole with a level to keep it straight. Hold the pole steady while preparing to fill the hole. Adjust the pole if it leans to one side.
Securing With Concrete Or Soil
For extra strength, mix quick-setting concrete following package instructions. Pour the concrete around the pole base inside the hole. Use a stick to remove air bubbles and pack the concrete down. Let it cure for 24 to 48 hours before hanging the feeder.
If not using concrete, fill the hole with soil. Pack the soil tightly in layers around the pole. Use your foot or a tamper to press the soil firmly. Water the soil to help it settle and hold the pole in place.
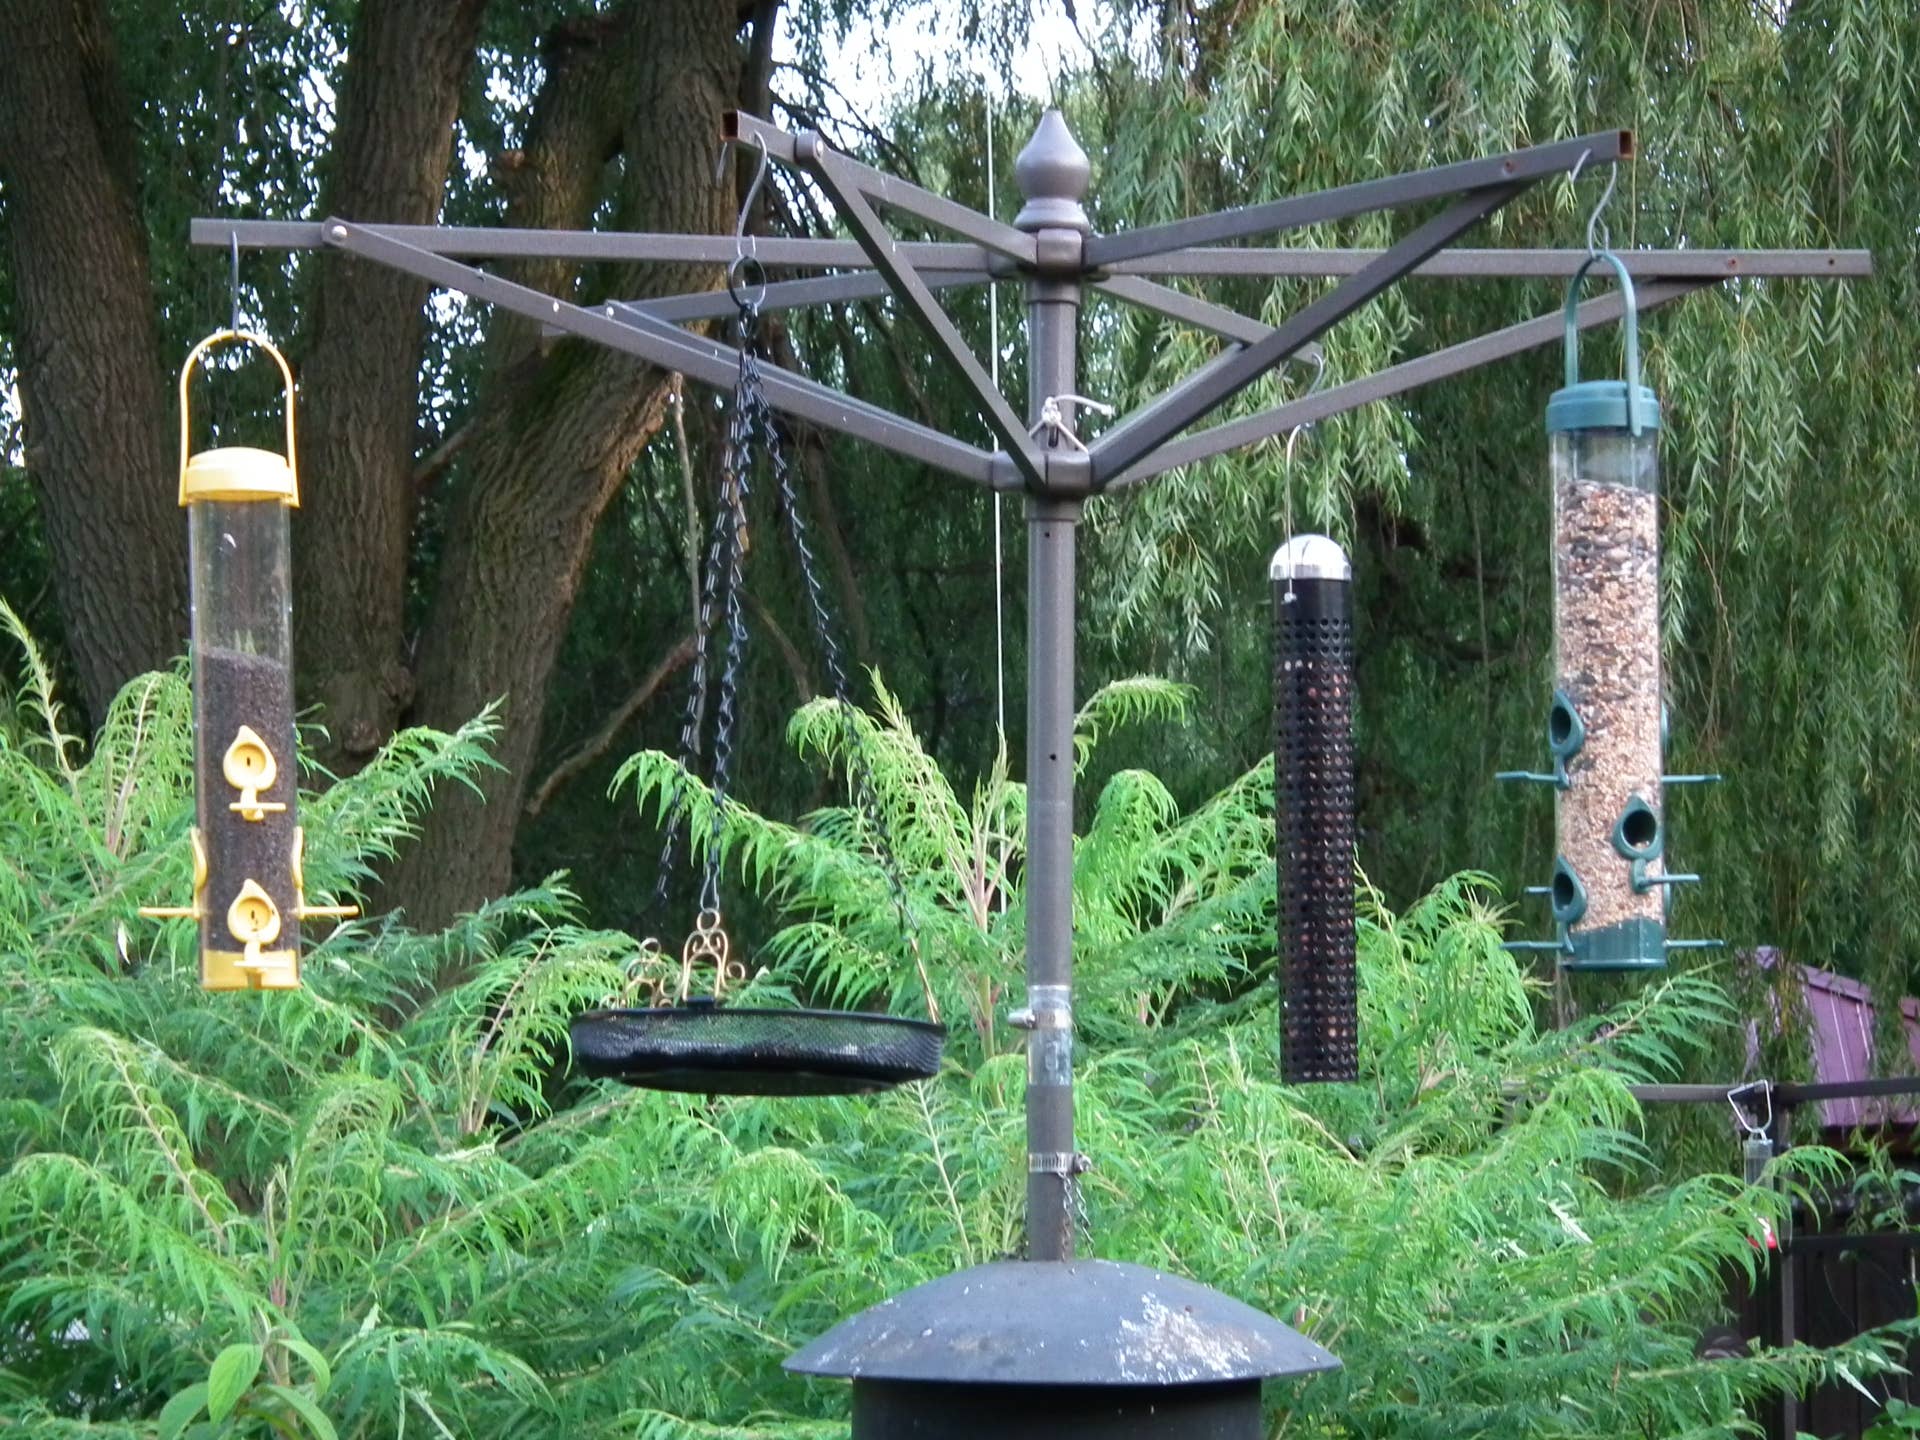
Adding The Bird Feeder
Adding the bird feeder to the pole is the final step in creating a welcoming spot for birds. This process requires care to secure the feeder properly and make it easy for birds to visit. A stable and well-positioned feeder will attract more birds and keep them safe while feeding.
Attaching The Feeder
Start by selecting a feeder that matches the pole’s design. Use hooks or brackets that come with the feeder for attachment. Secure the feeder tightly to prevent swinging or falling. Double-check all connections before moving on.
Ensuring Stability
Make sure the pole is firmly in the ground. Check if the feeder stays steady when touched lightly. Add extra support if the pole feels loose. Stability keeps birds safe and makes feeding easier for them.
Adjusting Height
Set the feeder height to keep birds safe from predators. Place the feeder high enough to avoid cats and other animals. Adjust the height so it is easy to refill. Changing height can attract different bird species too.
Credit: dengarden.com
Maintaining The Setup
Securing a bird feeder pole in the ground requires careful placement. Choose a sturdy spot and dig a hole. Insert the pole and fill the hole with soil, ensuring stability.
Maintaining the setup of your bird feeder pole is crucial for ensuring the safety and enjoyment of visiting birds. A well-maintained setup not only attracts more birds but also prolongs the life of your feeder. It’s an ongoing task that requires attention to detail and regular intervention. Here are a few key areas to focus on to keep your bird feeder pole in optimal condition.Regular Cleaning
Regular cleaning is essential to prevent the spread of diseases among birds. Use a mild solution of soap and water to clean the feeder and pole every couple of weeks. I once discovered mold growth in my feeder because I neglected cleaning. Don’t let that happen to you; clean consistently.Checking For Wear
Inspect the feeder pole for signs of wear and tear. Look for rust, cracks, or any loose parts that may pose a risk to birds or reduce the stability of the setup. Consider replacing parts before they fail completely. A proactive approach can save you a lot of hassle later.Seasonal Adjustments
Changing seasons can affect your feeder pole setup. In winter, ensure the pole is sturdy enough to withstand snow or ice. In summer, make sure the feeder isn’t exposed to too much direct sunlight, which can spoil birdseed quickly. Adjusting to the seasons can enhance the longevity of your setup and keep your feathered friends happy year-round. What seasonal changes have you noticed that require adjustments to your bird feeder pole?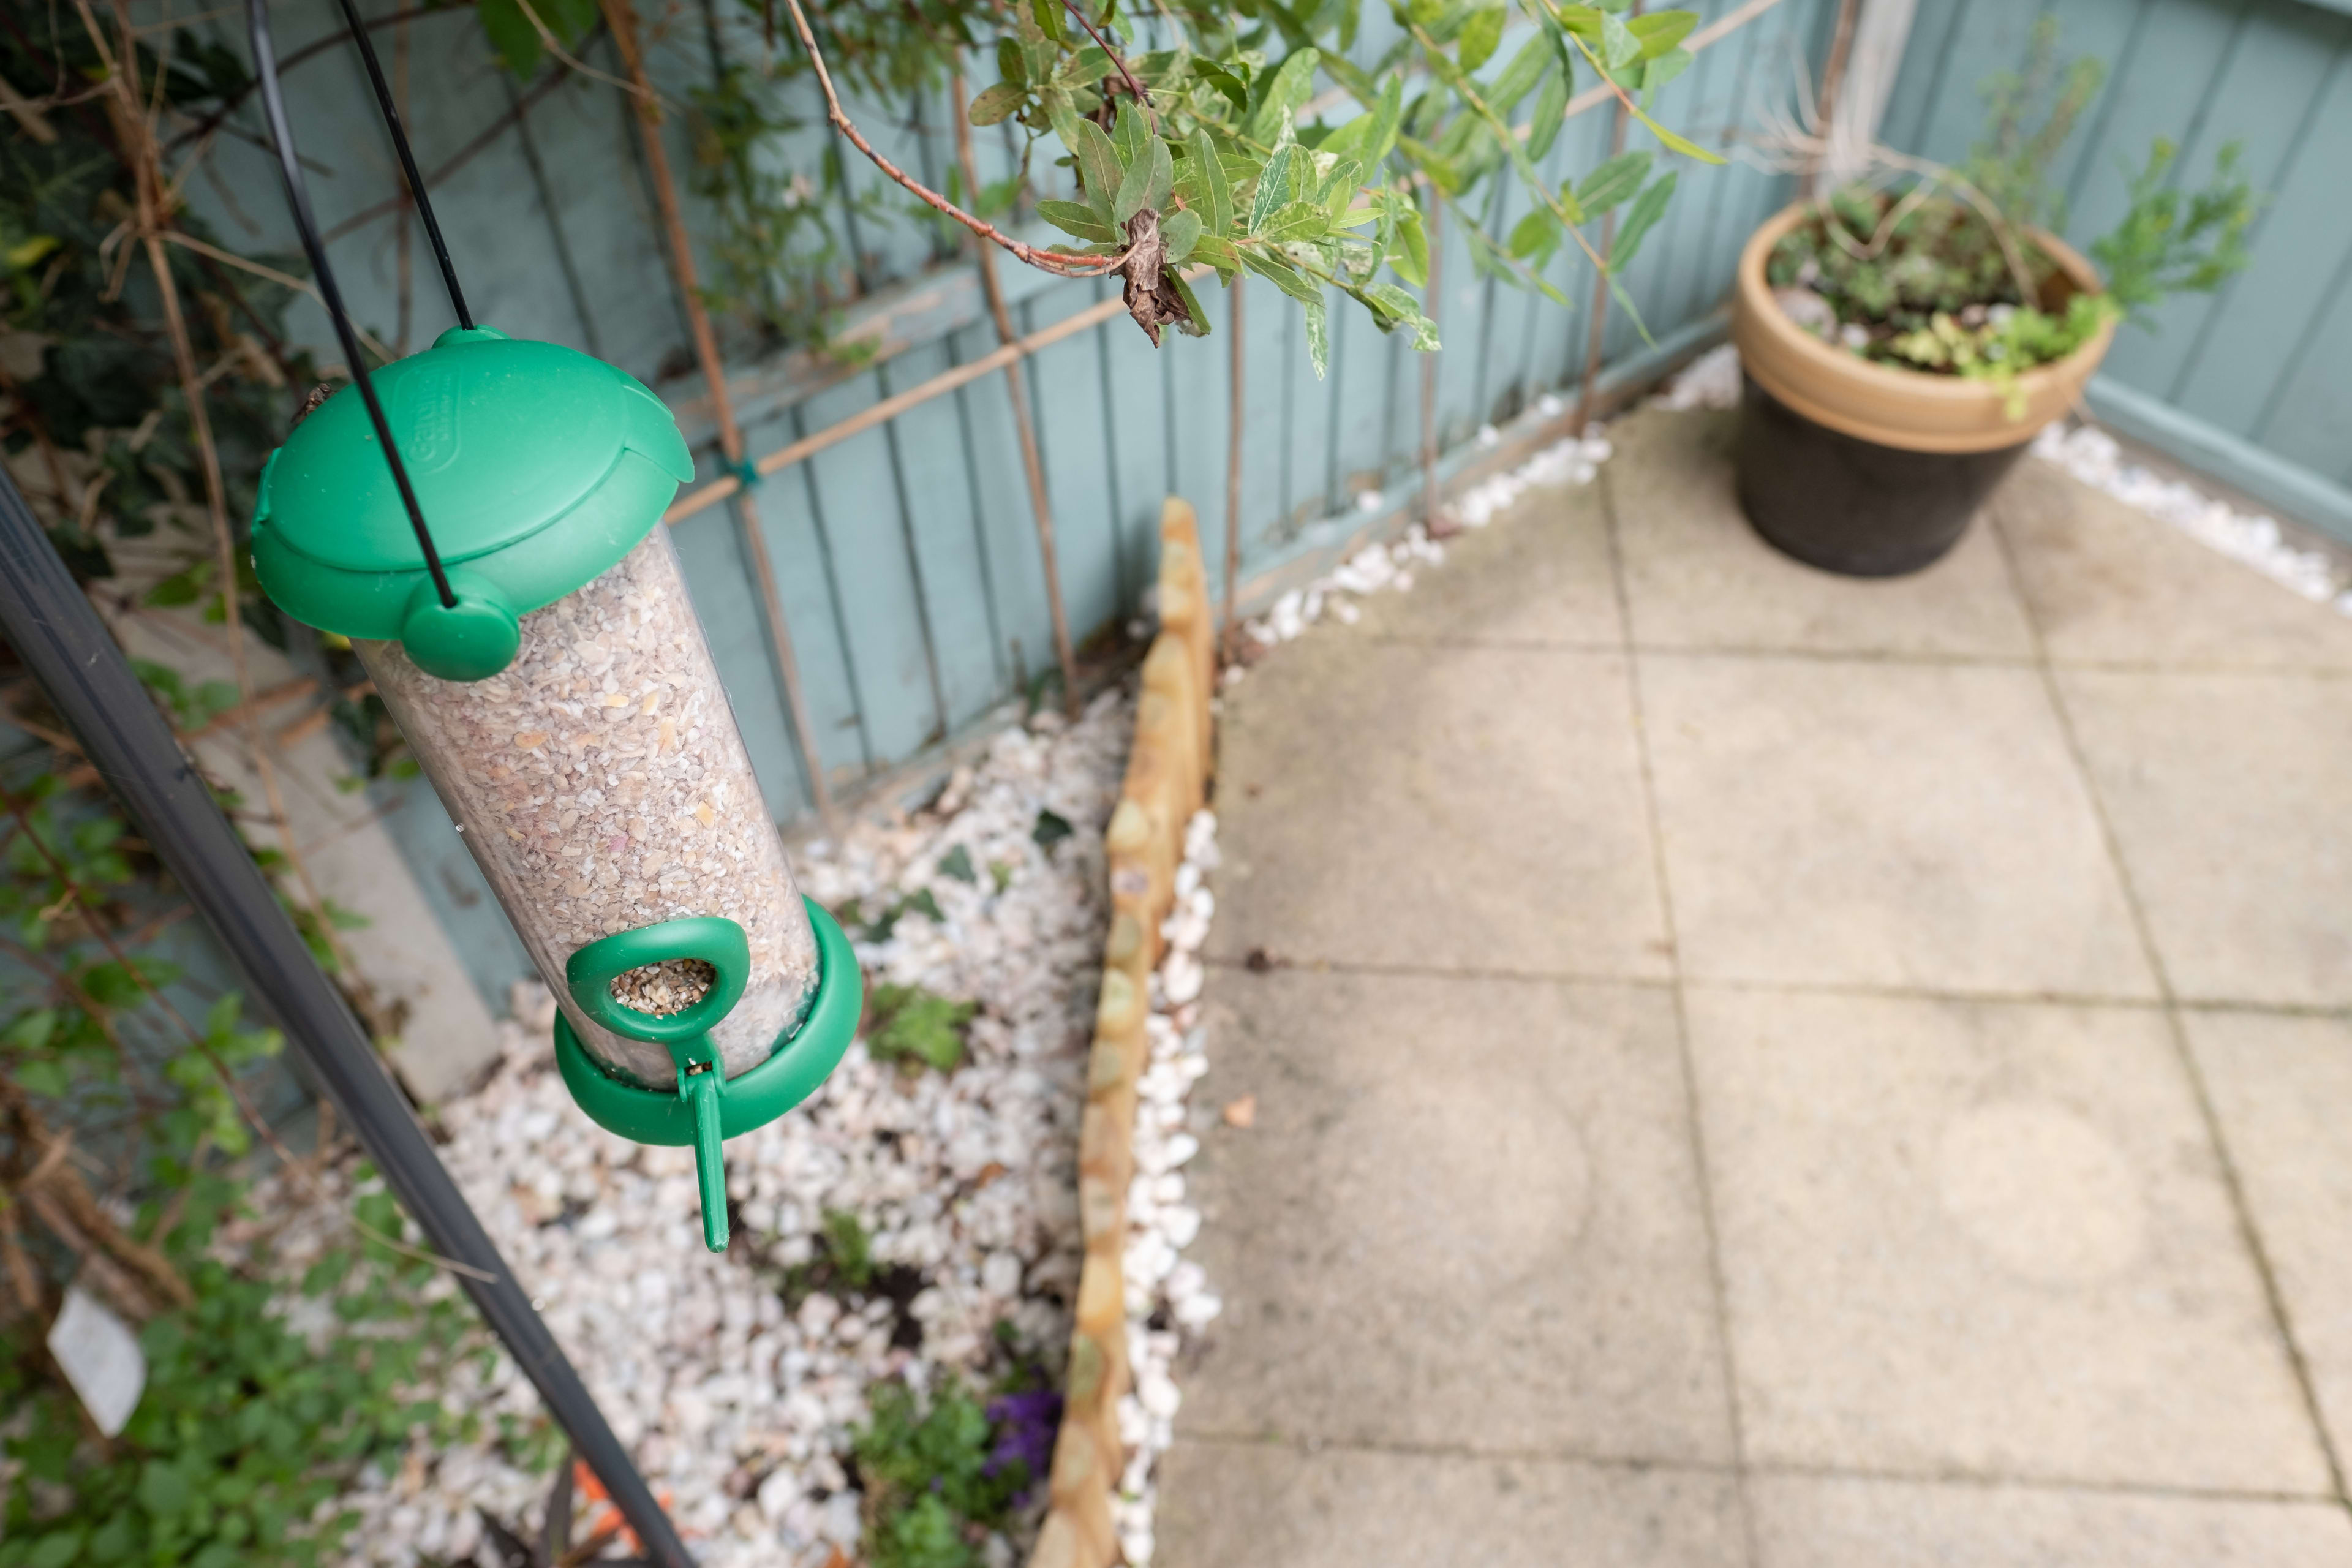
Credit: dengarden.com
Frequently Asked Questions
How Deep Should A Bird Feeder Pole Be In The Ground?
For stability, insert the pole at least 18 to 24 inches deep. This depth prevents tipping in wind or from birds landing. Adjust depth based on soil type; softer soil may require deeper planting.
What Tools Are Needed To Install A Bird Feeder Pole?
You typically need a shovel or post hole digger, a level, and possibly gravel or concrete for extra support. These tools help ensure the pole is straight and secure in the ground.
Can I Install A Bird Feeder Pole In Rocky Soil?
Yes, but rocky soil requires extra effort. Use a post hole digger to remove rocks. Adding gravel or concrete helps stabilize the pole for better durability.
Should I Use Concrete To Secure A Bird Feeder Pole?
Concrete offers strong, long-lasting support, especially in loose soil. However, it may make relocating the pole difficult. Use concrete if you want maximum stability.
Conclusion
Getting a bird feeder pole firmly in the ground is simple. Choose a good spot with soft soil. Dig a hole deep enough to keep it steady. Use gravel or concrete for extra strength. Check the pole’s stability before placing the feeder.
A secure pole keeps birds safe and happy. Enjoy watching birds visit your yard every day. Small steps make a big difference in your garden. Now, you are ready to attract more feathered friends.


