
Have you ever wanted to capture a stunning bird’s eye view but didn’t know where to start? Positioning your camera just right can transform ordinary shots into breathtaking perspectives that grab attention instantly.
Whether you’re shooting with a drone, a tripod, or even a smartphone, getting the perfect angle is easier than you think. You’ll discover simple tips and tricks to position your camera for that amazing overhead shot every time. Ready to see your world from a whole new angle?
Let’s dive in!

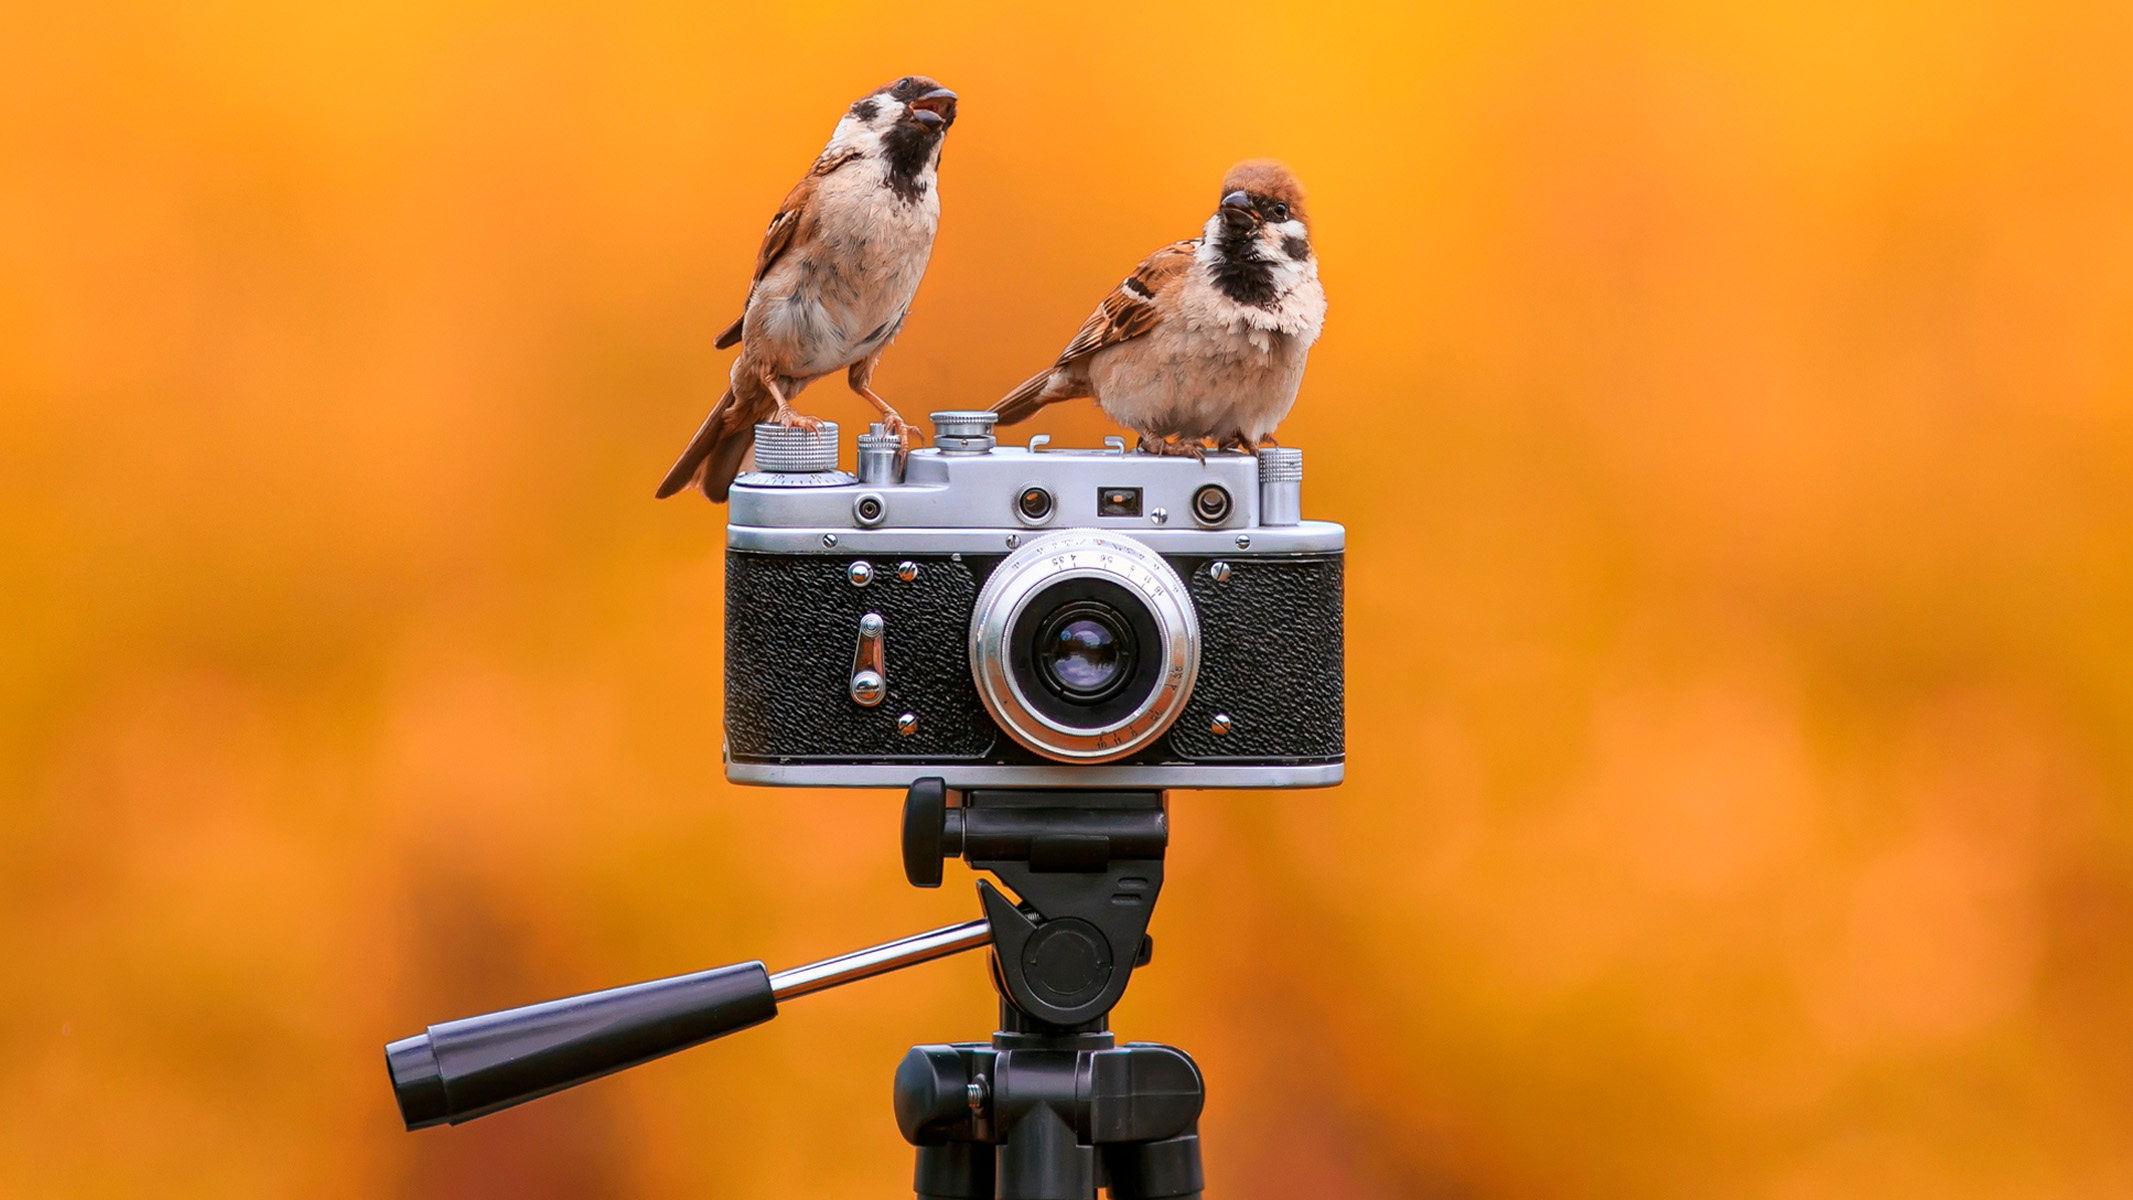
Credit: www.amazon.co.uk
Choosing The Right Camera
Choosing the right camera is key for bird’s eye view photos. The camera type affects image quality and ease of use.
Some cameras are better for aerial shots than others. Knowing the differences helps you pick the best one.
Dslr Vs Mirrorless Vs Action Cameras
DSLR cameras offer high image quality and many lens options. They are larger and heavier but deliver sharp images.
Mirrorless cameras are smaller and lighter. They have fast autofocus and good video features, making them easy to carry.
Action cameras are compact and rugged. They suit fast movements and tight spaces but have smaller sensors.
- DSLR: Best for image quality and lens choice
- Mirrorless: Lightweight with fast focus
- Action Cameras: Compact, durable, good for movement
Lens Selection For Bird’s Eye Shots
Choosing the right lens changes how much of the scene you capture from above. Wide-angle lenses are popular for bird’s eye views.
Telephoto lenses let you zoom in on details far below. Prime lenses often have sharper images than zoom lenses.
| Lens Type | Best Use | Notes |
| Wide-Angle | Capture large areas | Good for landscapes and city views |
| Telephoto | Zoom on distant subjects | Great for wildlife and details |
| Prime | Sharp images | Less flexible, but better quality |
Camera Settings For Aerial Angles
Set your camera to a fast shutter speed to avoid blur from movement. Use a small aperture for more focus depth.
ISO should stay low to reduce noise in bright daylight. Shoot in RAW format for better editing later.
- Set shutter speed above 1/500 sec
- Use aperture around f/8 to f/11
- Keep ISO between 100 and 400
- Shoot in RAW for editing
Selecting The Ideal Location
To get a bird’s eye view, choosing the right spot matters a lot. It affects how much of the scene you can capture and the clarity of your shots.
This guide covers high vantage points, drone use, and indoor versus outdoor settings to help you position your camera well.
High Vantage Points
High places give a wide view of the area below. They make it easier to shoot large scenes or crowds from above.
- Rooftops of tall buildings
- Hills or cliffs overlooking the area
- Observation towers or platforms
- Bridges or elevated walkways
Choose a spot that is safe and stable for your camera. Make sure you have permission to access the location if needed.
Using Drones For Elevated Views
Drones give you freedom to capture views from the sky. They can hover and move to get the perfect angle.
| Drone Feature | Benefit |
| High Resolution Camera | Clear and detailed images |
| Stable Hovering | Sharp photos without blur |
| Remote Control | Easy to adjust position mid-shot |
| Flight Limits | Follow local laws and safety rules |
Check weather conditions before flying. Wind and rain can affect drone stability and safety.
Indoor Vs Outdoor Considerations
Indoor and outdoor locations need different camera setups. Lighting, space, and obstacles change your options.
- Indoor spaces may limit height and angle choices.
- Use artificial lighting indoors to brighten the scene.
- Outdoors offers more height but watch for weather changes.
- Clear line of sight is needed outdoors to avoid obstructions.
Think about power sources and equipment size. Smaller cameras work better indoors, while robust gear suits outdoor use.
Positioning Techniques
Capturing a bird’s eye view requires careful camera positioning. The right angle shows the whole scene clearly.
Focus on alignment, height, and support tools to get the best shot from above.
Aligning Camera For Symmetry
Place your camera so it points straight down. This creates a balanced and symmetrical photo. Use grid lines on your camera screen to help center the shot.
Check that the edges of the frame are even and the subject is centered. This makes the photo pleasing to the eye.
Adjusting Height And Tilt
Change the height of your camera to include more or less of the scene. A higher position shows a wider area.
- Use a ladder or elevated surface for more height.
- Tilt the camera straight down to avoid distortion.
- Small tilt angles can add depth but avoid large tilts.
- Test different heights to find the best view.
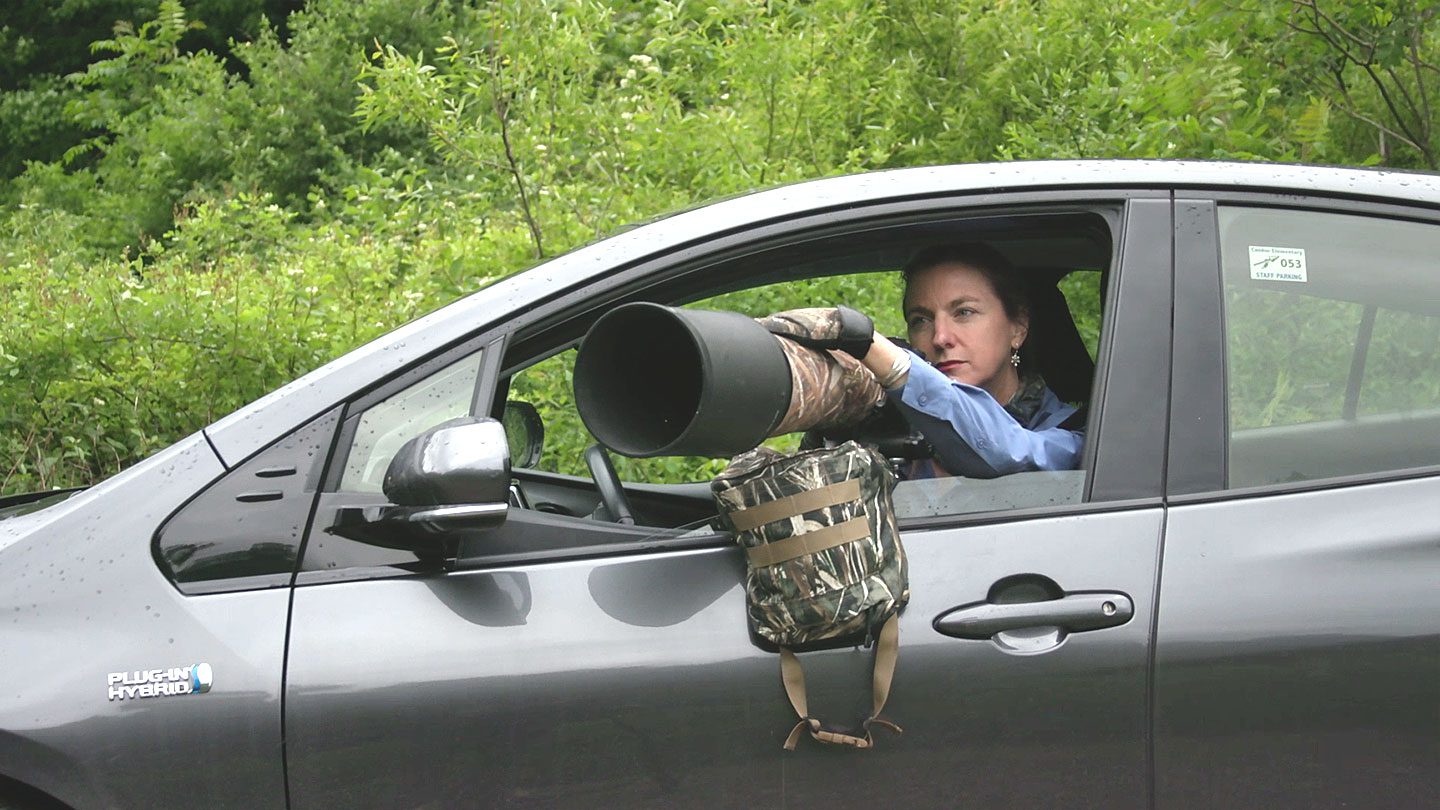
Using Tripods And Mounts
Tripods and mounts keep your camera steady for sharp images. Choose the right support based on your location and camera type.
| Support Type | Best Use | Advantages |
| Standard Tripod | Flat ground | Stable and adjustable height |
| Overhead Arm Mount | Table or desk | Good for close bird’s eye shots |
| Wall or Ceiling Mount | Fixed position | Hands-free and secure |
| Handheld Gimbal | Moving shots | Reduces shake |
Lighting Tips For Bird’s Eye Views
Taking photos from above gives a unique look. Good lighting helps show details clearly. Use light to make your bird’s eye photos sharp and bright.
Lighting affects how colors and shapes appear. Learn simple tips to use light well for this view.
Natural Light Optimization
Use sunlight to brighten your bird’s eye photos. The best times are early morning or late afternoon. The light is soft and warm then.
Avoid shooting at noon when sunlight is harsh. Soft natural light shows details without strong shadows.
- Shoot near windows or open spaces
- Use golden hours for warm light
- Check weather for clear skies
Avoiding Shadows And Glare
Shadows and glare can hide parts of your photo. Move your camera or subject to stop harsh shadows. Try to keep light even across the scene.
Look for shiny surfaces that cause glare. Change angles or use a shade to reduce bright spots.
- Shift camera to find softer light
- Use objects to block direct light
- Watch for reflections on glass or water
Using Reflectors And Diffusers
Reflectors bounce light into dark areas. They brighten shadows without extra lights. Use white boards or silver reflectors for this.
Diffusers soften harsh sunlight. They spread light evenly on your subject. You can use cloth or special diffuser panels.
- Place reflectors opposite the light source
- Hold diffusers above the subject
- Use lightweight tools for easy setup
Composing The Perfect Shot
Taking a bird’s eye view photo lets you see the world from above. This angle shows details that are hard to notice from the ground. Positioning your camera well helps create stunning shots.
Good composition guides the viewer’s eye and makes the picture interesting. Use simple tips to frame your shot and add depth and lines that lead to the subject.
Framing Elements From Above
Look for natural shapes and objects to frame your subject. Trees, buildings, or paths can create a border around the main focus. This framing makes the shot clear and neat.
- Use rooftops or treetops to form a natural frame.
- Include shadows to outline the subject.
- Crop unnecessary space to keep attention on the center.
Creating Depth And Scale
Depth shows distance between objects and makes photos feel real. Scale helps viewers understand the size of things from above.
| Technique | How to Use |
| Include small objects | Add people, cars, or animals for size reference |
| Overlap layers | Place objects in front of each other to show depth |
| Use shadows | Shadows add contrast and show distance |
Incorporating Leading Lines
Leading lines guide the viewer’s eyes to the main subject. They make the photo dynamic and easy to follow.
Common leading lines from above:
- Roads and paths
- Rivers and streams
- Rows of trees or fences
Align your camera to capture these lines starting at the edge of the frame. This draws attention inward.
Post-processing Enhancements
Post-processing improves bird’s eye view photos by fixing small issues. It helps make images look clear and striking.
Using editing tools, you can correct distortion, boost colors, and crop the photo to focus on the subject.
Correcting Perspective Distortion
Bird’s eye view shots often have perspective distortion. Buildings or objects may lean or appear stretched.
- Use lens correction features in editing software.
- Apply perspective warp tools to straighten lines.
- Check edges to avoid cutting out important parts.
- Keep natural proportions for a realistic look.
Enhancing Colors And Contrast
Colors can look dull in aerial photos. Increasing contrast and saturation makes the image pop.
| Adjustment | Effect |
| Brightness | Lightens or darkens the image |
| Contrast | Makes shadows and highlights stronger |
| Saturation | Boosts color intensity |
| Sharpness | Makes details clearer |
Cropping For Impact
Cropping removes distractions and centers the main subject. It helps create a clean, balanced photo.
- Cut out empty or busy areas around the subject.
- Use the rule of thirds to place the subject off-center.
- Keep the horizon level for a natural feel.
- Save the original image before cropping.
Common Mistakes To Avoid
Taking bird’s eye view photos can look amazing. But some common mistakes can ruin your shots.
Avoiding these errors will help you get clearer and more interesting images from above.
Overlooking Background Clutter
Background clutter distracts from your main subject. Too many objects can make the photo messy.
Check the area below the camera carefully. Remove or avoid clutter if possible.
- Look for trash, wires, or unwanted objects in the frame
- Choose simple backgrounds like plain ground or water
- Move the camera to find a cleaner view
Ignoring Camera Stability
Shaky cameras cause blurry photos. Bird’s eye shots need steady support.
Use a tripod or stable surface to hold your camera. Avoid hand-holding when possible.
- Use a tripod for steady shots
- Use remote shutter or timer to reduce shake
- Check your camera settings for image stabilization
Poor Exposure Choices
Bad exposure makes photos too dark or too bright. It hides details in your bird’s eye view.
Adjust settings to get balanced light. Use manual mode if needed.
- Check your ISO to avoid grainy images
- Set the right shutter speed to avoid blur
- Use aperture to control depth of field
- Review photos and adjust exposure as needed
Credit: www.livescience.com
Credit: www.allaboutbirds.org
Frequently Asked Questions
How Do I Position My Camera For Bird’s Eye View?
Place your camera directly above the subject. Use a tripod or overhead rig to stabilize. Ensure the lens faces downward at a 90-degree angle for a true bird’s eye perspective.
What Equipment Is Best For Bird’s Eye Camera Shots?
A sturdy tripod with a horizontal arm or a ceiling mount works best. Drones and overhead rigs also provide excellent bird’s eye angles with stability and flexibility.
How Can I Avoid Distortion In Bird’s Eye Photos?
Use a lens with minimal distortion, such as a standard or wide-angle lens. Keep the camera perfectly level and avoid tilting to maintain accurate proportions.
What Lighting Setup Suits Bird’s Eye Photography?
Use even, diffused lighting to minimize shadows from overhead. Natural light or softbox setups work well for balanced illumination and clear details.
Conclusion
Capturing a bird’s eye view can be quite rewarding. Start by choosing the right location for your camera. Ensure stability for clear, crisp images. Adjust the angle carefully to cover the desired area. Experiment with different heights and angles. Practice is key to finding the perfect shot.
Remember, lighting plays a crucial role. The right light can make your photos stand out. Keep learning and refining your skills. With time, your bird’s eye view shots will improve. Enjoy the process and happy photographing!


