
Have you ever wanted to see the world from above and capture that unique perspective on paper? Drawing a bird’s eye view lets you do just that.
It gives you the power to show landscapes, buildings, or scenes as if you were flying high in the sky. If you’re wondering how to start or improve your skills, this guide is made for you. By the end, you’ll feel confident to create stunning bird’s eye view drawings that impress and inspire.
Ready to unlock this creative skill? Let’s dive in.
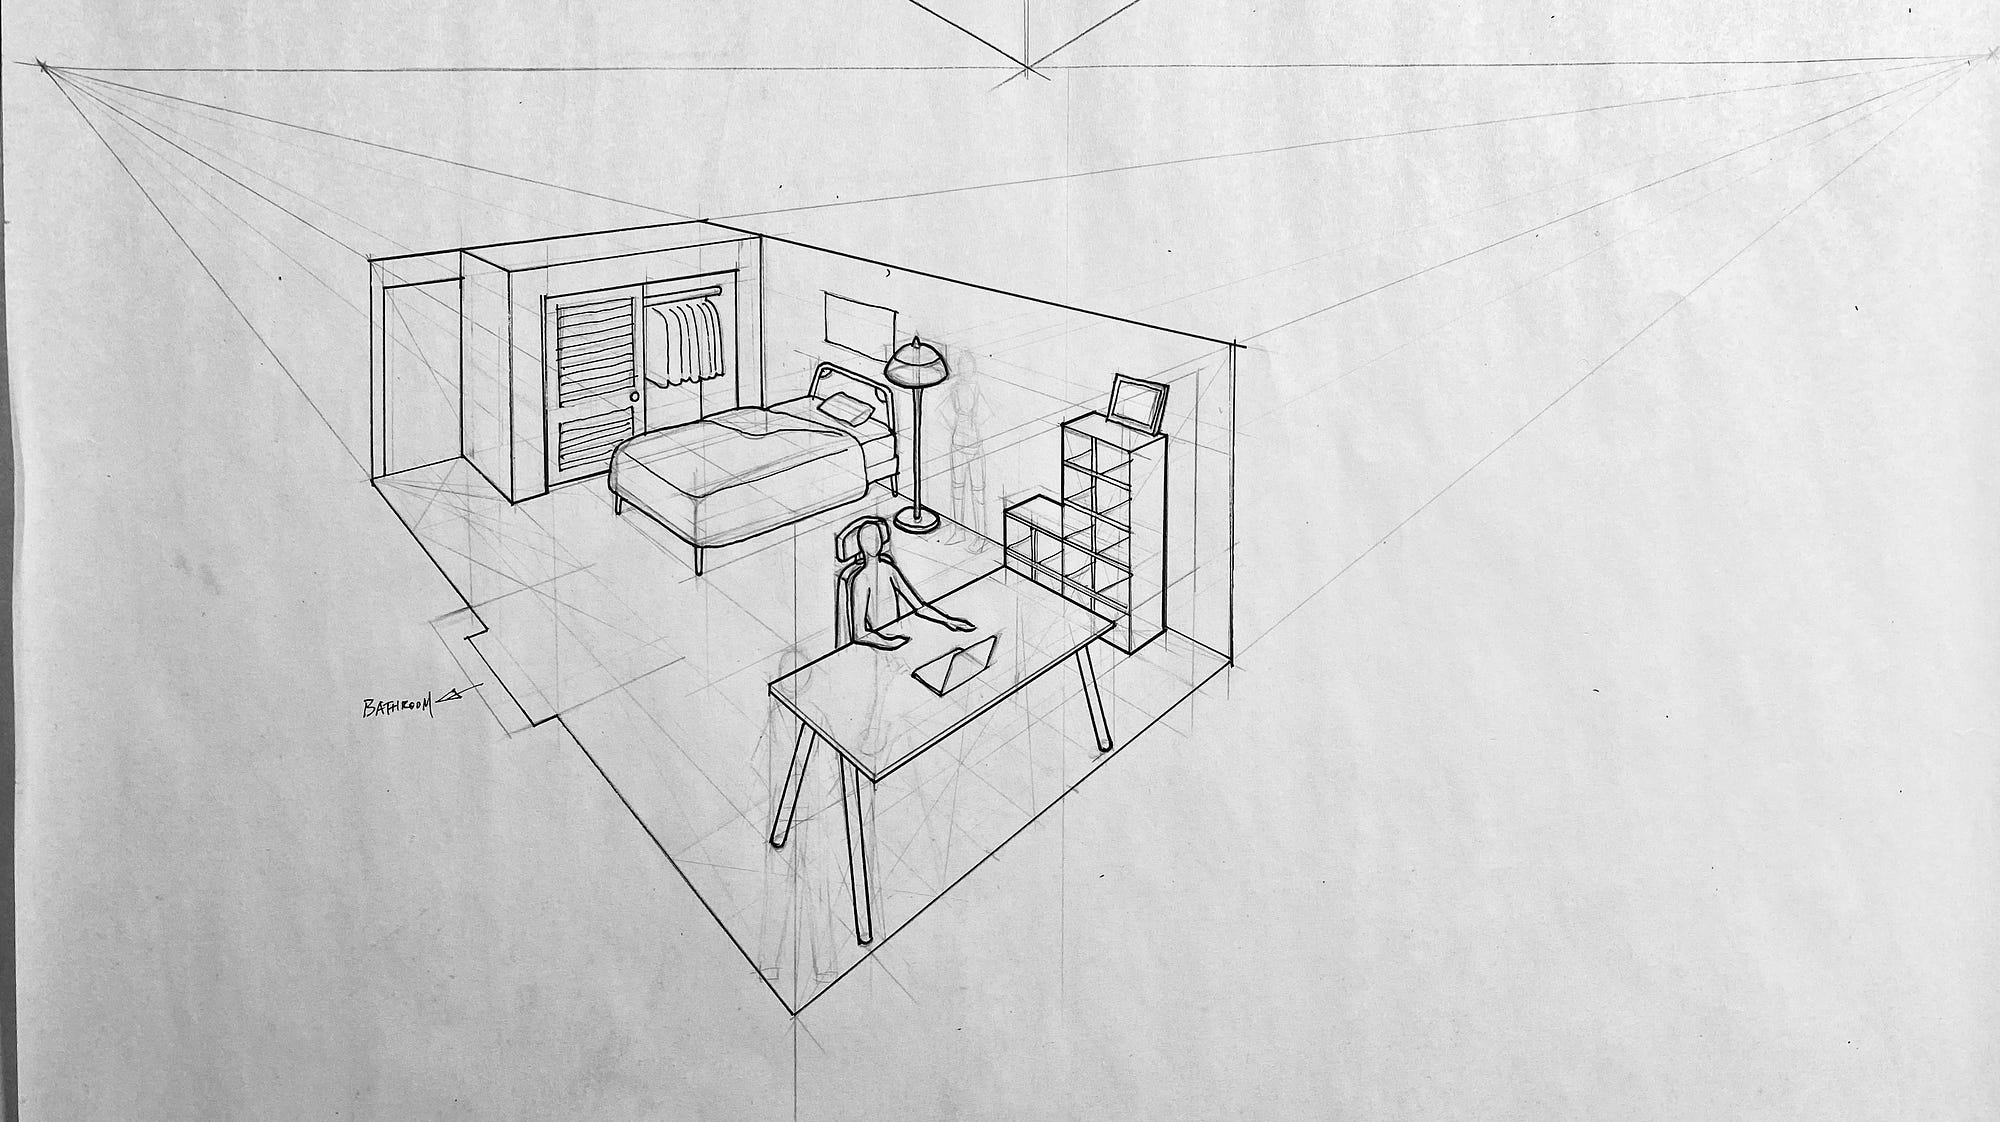
Credit: chelsealiu-40923.medium.com
Choosing Your Subject
Drawing birds from a bird’s eye view can be exciting. Picking the right subject helps you create a clear and interesting image.
Focus on what kind of bird you want to draw before you start. This makes your work easier and more fun.
Selecting Bird Species
Choose a bird species that fits your skill level and interest. Some birds have simple shapes, while others are more detailed.
- Pick common birds like sparrows or pigeons for easy shapes.
- Try larger birds like eagles or owls if you want more detail.
- Consider colorful birds such as parrots for vibrant drawings.
- Think about the bird’s size and shape from above.
Finding Reference Images
Good reference images help you see the bird from the right angle. Look for pictures taken from above or directly overhead.
| Source | What to Look For |
|---|---|
| Bird photo websites | Clear top-down views of the bird |
| Nature books | Illustrations showing bird shapes from above |
| Wildlife videos | Birds flying or perched, seen from above |
| Personal photos | Your own pictures taken from high places |

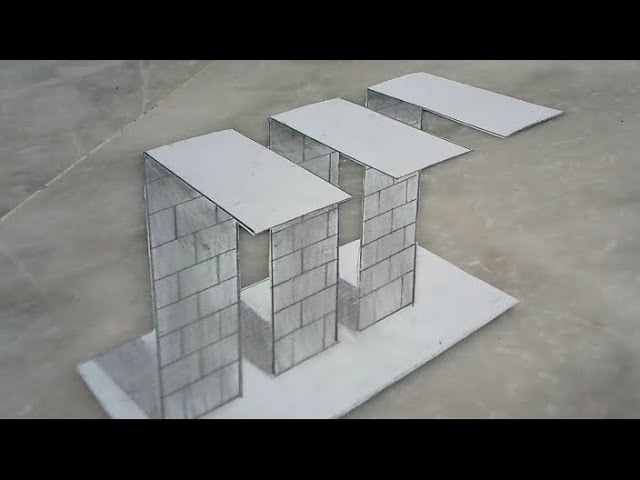
Credit: www.youtube.com
Gathering Drawing Materials
Drawing a bird’s eye view needs the right tools. These tools make the process easier and your drawing better.
Start by collecting materials before you begin. This helps you focus on drawing without stopping.
Essential Tools
You need basic tools to draw a bird’s eye view. These tools help you make clear lines and shapes.
- Pencils: Use different hardness for light or dark lines.
- Eraser: Fix mistakes and clean your drawing.
- Ruler: Draw straight lines and measure distances.
- Paper: Choose smooth paper for better pencil marks.
- Sharpener: Keep your pencils sharp for detail work.
Optional Supplies For Detail
Extra tools help add details and improve your bird’s eye view drawing. They are not required but useful.
- Colored pencils: Add color to different parts of your drawing.
- Fine liners: Draw thin, precise lines for details.
- Blending stumps: Smooth pencil shading and shadows.
- Graph paper: Helps keep proportions correct.
- Compass: Draw perfect circles and arcs.
Basic Bird Shapes
Drawing birds from a bird’s eye view starts with simple shapes. These shapes help you build the bird’s form. Focus on basic shapes first, not details.
Using basic shapes makes it easier to sketch different bird poses. This method helps keep the drawing balanced and clear.
Sketching Simple Forms
Begin by drawing basic shapes like circles and ovals. Use a large oval for the body. Add a smaller circle for the head. Connect them with smooth lines.
- Draw an oval for the main body.
- Add a small circle for the head on top.
- Use short lines to mark the neck connecting head and body.
- Sketch simple wing shapes as curved ovals on the sides.
- Include tail shapes as small triangles at the back.
Establishing Proportions
Proportions keep your bird looking natural. Compare the size of the head to the body. Measure wing length and tail size. Adjust shapes as needed.
| Part | Typical Size Ratio |
| Head | 1/4 of body length |
| Body | Main oval shape |
| Wings | About equal to body length |
| Tail | 1/3 of body length |
Credit: www.youtube.com
Creating The Bird’s Perspective
Drawing a bird’s eye view means showing a scene from above. This view helps you see the layout and shapes clearly.
You need to think about where to place the viewpoint and how to show depth in your drawing.
Positioning The Viewpoint
Start by choosing a high point to look down from. This point sets the angle for the whole drawing.
- Pick a spot above the scene, like a rooftop or a drone view.
- Keep the viewpoint steady to avoid distortion.
- Decide if you want a straight down or a tilted angle.
- Mark the horizon line to help place objects correctly.
Adjusting Angles For Depth
To add depth, tilt objects slightly and use lines that come closer together far away.
| Technique | Effect |
| Use angled lines | Makes objects look 3D |
| Draw smaller shapes far away | Creates distance |
| Overlap items | Shows which objects are in front |
| Fade colors or details | Suggests depth |
Adding Details And Textures
Adding details and textures brings your birds eye view drawing to life. It creates depth and realism. Small touches make a big difference.
Focus on key features like feathers, beak, and claws. These details help your drawing look complete and natural.
Feather Patterns
Feather patterns show the bird’s texture and shape. Use short, curved lines to mimic feathers. Group feathers in layers for a natural look.
- Start with larger feathers near the wings and tail.
- Draw smaller feathers near the bird’s head and body.
- Use light strokes to add soft feather details.
- Add tiny lines to show feather edges.
- Vary feather length to create depth.
Beak And Claw Features
The beak and claws add character to your bird. Show their shape and texture clearly. Use shading to suggest sharp edges and curves.
| Feature | Detail Tips | Texture |
| Beak | Draw smooth curves and a pointed tip. | Use shading for shine and hardness. |
| Claws | Sketch curved, sharp talons. | Add small lines for rough texture. |
Shading And Lighting Techniques
Drawing a bird’s eye view requires understanding how light and shadow work. Shading adds depth and makes your drawing look real. Lighting shows where the light hits and where shadows fall.
These techniques help show the shape and volume of objects from above. Let’s explore how to highlight volume and create realistic shadows in your bird’s eye view drawings.
Highlighting Volume
Volume means the three-dimensional shape of an object. To show volume, use light and dark tones. Light areas face the light source. Dark areas are away from the light.
- Identify the light source direction.
- Use lighter shades on surfaces facing the light.
- Apply mid-tones on curved areas between light and shadow.
- Darken areas that curve away from the light source.
- Blend the tones smoothly to avoid harsh lines.
These steps create a round and full look for objects seen from above. It makes your drawing more lifelike and believable.
Creating Realistic Shadows
Shadows ground objects on the surface and show their height. Shadows change shape based on the light angle and object form.
| Shadow Type | Description | Tips |
| Cast Shadow | Shadow an object throws on the ground or other objects. | Follow the light direction carefully. |
| Form Shadow | Shadow on the object itself, usually on curves or edges. | Use softer, blended shading. |
| Core Shadow | Darkest part of the form shadow, away from light. | Keep this shadow sharp for volume. |
Adding shadows correctly helps your bird’s eye view drawing look natural and three-dimensional.
Enhancing The Background
Drawing a bird’s eye view shows the scene from above. Adding a clear background makes your drawing better.
A good background gives depth and shows where the scene happens. Use simple shapes and colors to keep it clear.
Simple Sky Elements
Sky is a big part of the background. Simple sky details add life without crowding your drawing.
Use small clouds, the sun, or light changes to show time or weather. Keep these elements soft and spread out.
- Draw small, fluffy clouds with light shading
- Add a round sun near the horizon for warmth
- Use light blue shades for daylight skies
- Include faint stars or moon for night scenes
Natural Surroundings
Natural elements like trees, grass, and water make the background richer. They show the environment around your scene.
Draw simple shapes for trees and bushes. Use patterns for grass and smooth lines for water surfaces.
- Use circles or ovals for tree tops
- Draw short, curved lines for grass patches
- Add wavy lines to show rivers or lakes
- Place natural elements evenly to balance the drawing
Final Touches
After sketching the basic bird’s eye view, it is time to add final details. These final touches make your drawing clearer and more interesting.
This stage helps your artwork stand out and look complete. Focus on small improvements and choices about colors.
Refining Lines
Go over your initial sketch with clean, smooth lines. Use a fine pen or a sharp pencil for better control.
Erase extra marks and make sure the shapes are clear. Sharpen edges to show depth and form more clearly.
- Trace over main outlines carefully
- Remove any stray or messy lines
- Add small details like feathers or textures
- Keep line thickness consistent for balance
Adding Color Or Leaving Monochrome
You can choose to color your drawing or keep it black and white. Both choices give different effects to the artwork.
Color makes the bird look lively. Monochrome can highlight shapes and shadows better.
- Use soft colors for a natural look
- Try shading with pencils for depth
- Keep colors simple to avoid distraction
- Black and white drawings focus on form and texture
Common Mistakes To Avoid
Drawing a bird’s eye view can be tricky. Many artists make simple errors that change the whole picture.
Knowing these mistakes helps you draw clearer and more realistic views from above.
Perspective Errors
Bird’s eye view needs correct perspective. Mistakes here make objects look strange or flat.
One common error is ignoring how objects get smaller with distance. This breaks the illusion of height.
- Objects should shrink as they move away from the viewer.
- Keep lines converging toward a vanishing point above.
- Avoid drawing all objects the same size.
- Use light shadows to show height differences.
Overcrowding Details
Adding too many details can make your bird’s eye view confusing. Overcrowding hides the main shapes.
Focus on key elements and leave space between objects. This keeps your drawing clear and easy to read.
- Limit small features that do not add value.
- Use simple shapes for distant objects.
- Leave empty space to separate buildings and trees.
- Highlight important areas with stronger lines or colors.
Frequently Asked Questions
What Is Bird’s Eye View Drawing Technique?
Bird’s eye view drawing shows objects from above. It helps visualize layouts, landscapes, and scenes from a high perspective. This technique is useful in architecture, design, and art to provide a clear overview of spatial relationships.
How Do I Start A Bird’s Eye View Sketch?
Begin by outlining the main shapes and structures from above. Use simple geometric forms to map the layout. Focus on proportions and angles before adding details to ensure accuracy and perspective.
What Tools Are Best For Bird’s Eye View Drawing?
Use pencils, rulers, and grid paper for precise sketches. Digital tools like drawing tablets and software offer flexibility. Choose tools that help maintain scale and perspective easily.
How To Add Depth In Bird’s Eye View Drawings?
Add shadows, gradients, and varying line thickness to create depth. Use lighter colors for distant objects and darker tones for closer ones. These techniques enhance realism and visual interest.
Conclusion
Drawing a bird’s eye view can seem challenging at first. Start with basic shapes to outline the scene. Practice regularly to improve your perspective skills. Focus on details that make the scene realistic. Take your time observing real-life aerial views.
Use your imagination to add unique touches. This approach helps create stunning artwork from above. Remember, patience and practice are key. Enjoy the process and watch your skills grow. Keep drawing and exploring new perspectives. Soon, you’ll capture amazing views from a bird’s eye angle.
Happy drawing!


