
Have you ever wanted to create a stunning forest scene from above, just like a bird soaring high in the sky? Drawing a forest from a bird’s eye view can seem tricky, but with the right steps, you can bring your vision to life.
Imagine the feeling of watching your artwork come alive with leafy treetops, winding paths, and hidden clearings. In this guide, you’ll discover simple techniques that make the process easy and fun. Ready to transform your drawing skills and impress everyone with your unique perspective?
Let’s dive in and start creating your very own aerial forest masterpiece.

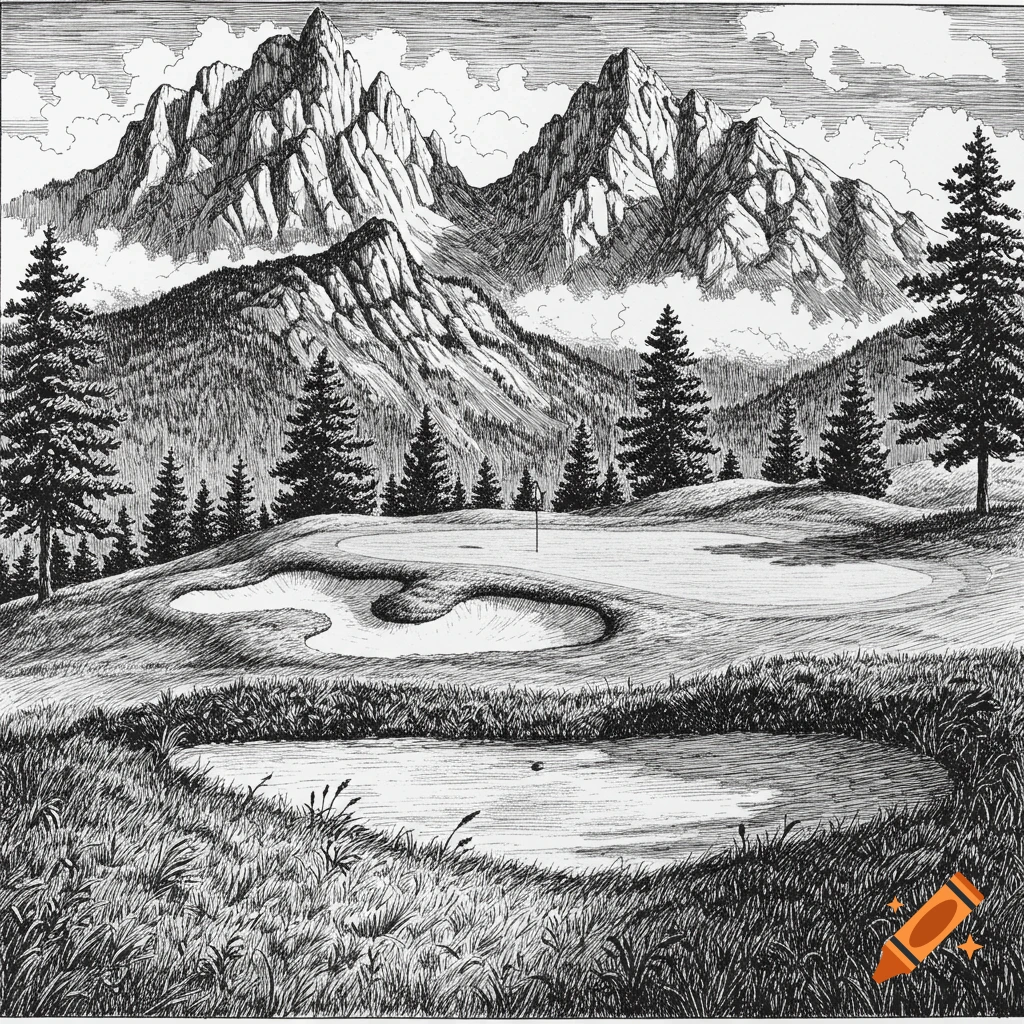
Credit: www.freepik.com
Gathering Materials
Drawing a forest from a bird’s eye view needs the right materials. Good preparation makes your artwork better and easier.
Before starting, gather all items you will need. This helps you focus on drawing without stopping often.
Choosing The Right Paper
Select paper that holds your drawing tools well. Thick paper works best for pencils and markers.
- Use smooth paper for fine details
- Choose heavier paper for wet materials like ink
- Pick a size that fits your workspace comfortably
- Consider toned paper for a natural background
Selecting Drawing Tools
| Tool | Use |
| Graphite pencils | Sketch outlines and shading |
| Colored pencils | Add color and detail |
| Fine liners | Draw sharp lines and textures |
| Eraser | Correct mistakes and lighten areas |
| Blending stump | Blend pencil shading smoothly |
Gather these tools before starting your drawing. Having them ready keeps your process smooth and organized.
Planning The Composition
Drawing a forest from a bird’s eye view needs careful planning. You must think about how to arrange trees and space.
Good planning helps your drawing look clear and balanced. It guides your pencil before adding details.
Sketching The Layout
Start by drawing the main shapes and areas where trees will go. Use light lines to mark groups of trees and open spaces.
- Draw large tree clusters to show dense forest parts.
- Leave open areas to create paths or clearings.
- Place bigger trees near the front for depth.
- Use simple shapes like circles or ovals for tree tops.
- Balance the layout so no side looks too crowded.
Deciding On Perspective
Choose how high the viewpoint will be. A higher view shows more forest area but less detail on each tree.
| Perspective | Effect | Tips |
| Very High | Shows wide forest area | Use small tree shapes and simple patterns |
| Medium Height | Shows groups of trees clearly | Draw medium-sized tree tops with some detail |
| Low Height | Shows tree details well | Draw large tree crowns and shadows |
Drawing Tree Shapes
Drawing a forest from a bird’s eye view starts with simple tree shapes. You need to show the tops of trees clearly. This helps viewers understand the forest layout.
Focus on the shapes and details that make each tree look natural. Use easy shapes to build the canopy and trunk.
Creating Canopy Outlines
The canopy is the leafy top of the tree seen from above. Draw rounded or irregular shapes for each tree’s canopy. Avoid perfect circles to keep it natural.
Overlap some canopies to show trees growing close together. Use light lines first so you can adjust shapes easily.
- Use oval, round, or cloud-like shapes
- Vary sizes to show different tree types
- Overlap edges to create depth
- Sketch lightly before final lines
Adding Trunk Details
Trunks look like small circles or dots under the canopy. Place them near the center of each canopy shape. Make trunks smaller than canopies.
Add simple lines or rough textures to suggest bark. Avoid too much detail. Keep the focus on the overall forest shape.
- Draw small circles for trunk tops
- Place trunks inside canopy outlines
- Add short lines for bark texture
- Keep trunk details simple and clear
Adding Depth And Layers
Drawing a forest from a bird’s eye view can look flat if you do not add depth. Layers and different tree placements help make your drawing more lively.
Using simple tricks like overlapping trees and varying tree sizes can create a sense of space. These techniques guide the viewer’s eye through the forest scene.
Overlapping Trees
Place some trees in front of others to show distance. Overlapping parts of the trees gives a clear sense of which trees are closer.
- Draw the nearest trees with full shapes and details.
- Partially cover trees that are behind the front ones.
- Use lighter colors or less detail for trees in the back.
- Keep some tree tops fully visible to avoid confusion.
Varying Tree Sizes
Change the size of the trees to show depth. Larger trees look closer, while smaller trees appear farther away.
| Tree Size | Visual Effect |
| Large | Appears near the viewer |
| Medium | Appears mid-distance |
| Small | Appears far away |
Incorporating Forest Elements
Drawing a forest from a bird’s eye view is fun and creative. Adding different forest elements makes your drawing more real. It helps show how nature looks from above.
Think about trees, paths, rocks, and bushes. These parts make your forest feel alive. Each element adds details and interest to your picture.
Including Paths And Clearings
Paths are lines that show where animals or people walk. Clearings are empty spaces with no trees. They give the forest space to breathe.
Draw paths as thin, winding lines. Clearings can be round or irregular shapes. Use lighter colors to show these open areas.
- Paths often curve gently through trees
- Clearings can have grass or small plants
- Keep paths narrow to look natural
- Place clearings to break up dense tree areas
Adding Rocks And Bushes
Rocks and bushes add texture and detail to your forest. Rocks are usually round or oval shapes. Bushes are small groups of leaves and branches.
Use darker shades for rocks to show shadows. Draw bushes in clusters with uneven edges. This makes the forest look natural and lively.
- Vary rock sizes for a realistic look
- Place bushes near trees or clearings
- Use overlapping shapes for bushes
- Shade rocks to show light and shadow
Credit: www.craiyon.com
Applying Shading And Texture
Shading and texture make your bird’s eye view forest look real. They add depth and detail to your drawing.
Using light and shadow helps show the shape of trees. Leaf patterns bring life to the forest canopy.
Using Light And Shadow
Light and shadow show which parts of trees are closer or farther. Shade areas under tree branches to add depth.
Decide where your light source is. Shade opposite sides darker to create a 3D effect.
- Light hits the top of leaves and branches
- Shadows fall on the ground and shaded leaves
- Use soft shading for smooth areas and sharp for rough parts
Creating Leaf Patterns
Leaf patterns give your forest texture and variety. Use different shapes and sizes for a natural look.
Draw clusters of leaves with small strokes. Vary the direction and length to avoid repetition.
- Use round shapes for broadleaf trees
- Use thin, pointy shapes for pine trees
- Overlap leaves to show thickness
- Add small dots or lines for leaf veins
Final Touches
Adding final touches brings your bird’s eye view forest to life. Small changes make a big difference.
Focus on refining details and enhancing contrast to improve depth and clarity.
Refining Details
Look closely at your drawing. Add tiny leaves and branches to trees. Use thin lines to show texture.
- Draw small tree tops with varied shapes
- Add shadows under trees for depth
- Include ground details like rocks or bushes
- Use lighter lines for distant trees
- Keep details simple to avoid clutter
Enhancing Contrast
Contrast separates objects and highlights shapes. Use darker colors for shaded areas.
| Area | Suggested Contrast |
| Tree tops | Medium to dark green |
| Shadows | Dark gray or black |
| Open ground | Light brown or tan |
| Distant trees | Faded green or gray |

Credit: www.freepik.com
Frequently Asked Questions
How Do I Start Drawing A Forest From Above?
Begin by sketching the forest’s overall shape and layout. Focus on capturing the boundaries and main features. Use light pencil strokes to outline tree clusters, clearings, and pathways. This initial sketch will guide your detailed work and help maintain the composition’s balance.
What Materials Are Best For Drawing A Forest Scene?
Use pencils for initial sketches and detailing. Watercolors or colored pencils can add depth and vibrancy. These materials allow you to create various textures and colors, essential for depicting a lush forest from a bird’s eye view.
How Do I Create Depth In A Forest Drawing?
Incorporate varying shades and sizes for trees and foliage. Use lighter shades for distant elements and darker tones for foreground details. This technique simulates depth and guides the viewer’s eye through the forest landscape, enhancing the illusion of a three-dimensional space.
How Can I Draw Realistic Trees From Above?
Focus on tree shapes and patterns. Use circular or oval forms to represent treetops. Add texture with short, curved lines to mimic leaf clusters. Vary the sizes and shades to create a natural and dynamic forest canopy.
Conclusion
Drawing a forest from a bird’s eye view can be fun and creative. Start with simple shapes and add details step by step. Use different tree sizes to show depth and variety. Remember to keep your lines light at first.
Practice often to improve your skills and confidence. Soon, your forest will look alive and full of life. Enjoy the process and keep exploring new ideas. Drawing this way helps you see nature from a fresh angle. Try it again and watch your art grow!


