
Have you ever wondered how to capture that stunning bird’s eye view photo that makes everything below look tiny and magical? You’re about to discover simple tricks that will help you take breathtaking shots from above, even if you don’t have a fancy drone or expensive gear.
Imagine impressing your friends with photos that show a whole new perspective—your photos will stand out like never before. Keep reading, and you’ll learn easy steps to transform your photography and see the world from a fresh, exciting angle.
Choosing The Right Equipment
Taking a birds eye view photo needs the right tools. Good equipment helps capture clear and interesting images.
Knowing what camera, drone, and accessories to use makes a big difference in your photos.
Best Cameras For Aerial Shots
Choosing the right camera is key for aerial photos. Look for a camera with high resolution and good image stabilization.
| Camera Type | Key Feature | Why It Helps |
| DSLR | Large Sensor | Better image quality and detail |
| Mirrorless | Compact Design | Easier to carry and use on drones |
| Action Camera | Wide Angle Lens | Captures a broad view from above |
Using Drones Effectively
Drones are popular for taking birds eye view photos. Know how to fly and control them safely to get the best shots.
- Check local drone rules and restrictions before flying
- Practice flying in open spaces to improve control
- Use manual camera settings for better image quality
- Plan your flight path to cover interesting areas
Essential Accessories
Accessories can improve your aerial photography experience. They help protect your gear and enhance photo quality.
- Extra batteries for longer flying time
- ND filters to control light and reduce glare
- Carrying case to keep equipment safe
- Remote controller with a screen for clear preview

Credit: www.freepik.com
Planning Your Shot
Taking a birds eye view photo needs careful planning. It helps capture the scene clearly from above.
Good planning improves your chances of a great shot. Think about location, light, and safety first.
Selecting The Perfect Location
Find a place that shows the whole scene well. Open areas work best for wide views.
Look for spots that are easy to access and have interesting shapes or patterns below.
- High buildings or hills give good height
- Large open fields show wide landscapes
- Water bodies create reflections and colors
Timing For Optimal Lighting
Light changes how your photo looks from above. Early morning or late afternoon gives soft light.
Avoid harsh midday sun. It makes strong shadows and bright spots on your photo.
- Golden hour means warm, gentle light
- Cloudy days give even lighting
- Check weather to plan your shoot
Safety Considerations
Always think about safety when taking birds eye photos. Use safe spots to avoid risks.
If using drones, follow local rules. Watch out for power lines and people below.
- Get permission to access private places
- Wear proper gear if climbing high spots
- Keep distance from edges and unstable surfaces
Mastering Composition
Taking a birds eye view photo shows the scene from above. This angle helps capture the whole layout clearly.
Good composition makes your photo look balanced and interesting. It guides the viewer’s eyes across the picture.
Symmetry And Patterns
Symmetry creates harmony in your photo by repeating shapes or colors on both sides. Patterns add rhythm and texture.
Look for natural or man-made symmetry from above. It can be buildings, roads, or rows of trees.
- Find repeated shapes or colors
- Center the symmetrical object for balance
- Use patterns to fill empty spaces
Leading Lines And Shapes
Leading lines draw the viewer’s eye through the photo. Shapes create strong points to focus on.
Use roads, rivers, or shadows as lines. Look for circles, squares, or triangles to add interest.
- Place lines to guide attention
- Use shapes to break up the scene
- Combine lines and shapes for dynamic photos
Balancing Elements
Balance means no part of the photo feels too heavy or empty. It helps keep the viewer focused.
Balance big and small objects, light and dark areas. Spread elements evenly across the frame.
- Put large objects opposite smaller ones
- Balance bright spots with darker areas
- Use empty space to avoid clutter
Credit: medium.com
Camera Settings For Clarity
Taking a clear bird’s eye view photo needs the right camera settings. Clear photos show details from above with sharp focus.
Adjust your camera settings to get the best clarity. This guide covers aperture, shutter speed, ISO, and focus.
Optimal Aperture And Shutter Speed
Use a mid-range aperture like f/5.6 to f/8 for sharp images. This range balances depth of field and light.
Choose a fast shutter speed to avoid blur from movement. For drone or handheld shots, use 1/500 second or faster.
- Aperture: f/5.6 to f/8 for clarity
- Shutter speed: 1/500 second or faster
- Faster shutter speeds freeze motion
- Smaller apertures increase depth of field
Iso Settings For Different Conditions
Keep ISO low to reduce noise and keep images clean. Start with ISO 100 or 200 in bright daylight.
Increase ISO only if light is low. Higher ISO helps in shadows but adds grain to the photo.
- Bright light: ISO 100–200 for best clarity
- Shade or cloudy: ISO 400–800 to brighten image
- Low light: ISO 800+ but watch for noise
Using Manual Focus
Manual focus helps control sharpness exactly where you want it. Autofocus can miss the right spot in bird’s eye shots.
Zoom in on your camera screen to adjust focus manually. Focus on the main subject or area for best clarity.
- Switch to manual focus mode on your camera
- Use zoom to fine-tune the focus point
- Focus on key details for clear images
Techniques For Capturing Stunning Shots
Taking a bird’s eye view photo shows a scene from above. This view can make photos look unique and interesting. Using the right techniques helps you get better shots.
Try different ways to shoot from up high, add movement, and change your angles. These tips will help you capture great bird’s eye view photos.
Shooting From Different Heights
Shooting from various heights changes how your photo looks. You can use a ladder, drone, or a tall building to get different views. Higher shots show more of the scene.
Try shooting close to the ground for a less common bird’s eye view. Experiment with heights to find the best look for your photo.
- Use a drone for very high shots
- Stand on stairs or balconies
- Hold your camera above your head
- Try different heights to see what works
Incorporating Movement
Adding movement makes your bird’s eye photos more dynamic. You can move your camera slowly while shooting or capture moving subjects from above. This adds energy to your photo.
Try panning your camera or shooting while walking. Capture cars, people, or animals moving below you to show life in your photo.
- Move your camera smoothly for blur effects
- Photograph moving objects from above
- Use slow shutter speed to capture motion
- Try different speeds to see what looks best
Experimenting With Angles
Changing the angle of your camera changes the photo’s feel. A straight-down shot shows patterns and shapes clearly. Tilting the camera adds depth and interest.
Try shooting from a 45-degree angle or slightly off-center. Look for shadows and lines that make the photo stronger.
- Shoot straight down for clear, flat views
- Use angled shots for more depth
- Find lines and shapes to highlight
- Try different angles to create variety
Post-processing Tips
Editing your bird’s eye view photos improves their overall look. Small changes can make your image clearer and more striking.
Use simple editing tools to adjust colors, crop the image, and remove unwanted parts. These steps help focus on the main subject.
Enhancing Colors And Contrast
Boosting colors makes your photo more vivid. Increasing contrast helps separate objects and adds depth.
Adjust brightness carefully to avoid washing out details. Use sliders to find the right balance.
- Increase saturation slightly for richer colors
- Raise contrast to make shapes stand out
- Adjust brightness to keep details clear
- Use clarity tools to sharpen edges
Cropping For Impact
Cropping removes unnecessary parts from your photo. It helps focus attention on the main subject or pattern.
Try different crop shapes and sizes. Use the rule of thirds to place key elements off-center for better balance.
- Crop out empty or distracting areas
- Keep important objects near crop lines
- Use square or rectangular crops based on display needs
- Test several crops before finalizing
Removing Distractions
Distractions take attention away from your subject. Remove spots, wires, or unwanted objects during editing.
Use healing tools or clone stamps in editing software. This cleans the image and keeps it simple.
- Remove small spots or dirt
- Erase distracting lines or shadows
- Simplify the background if possible
- Keep edits natural and subtle
Inspiration From Pro Photographers
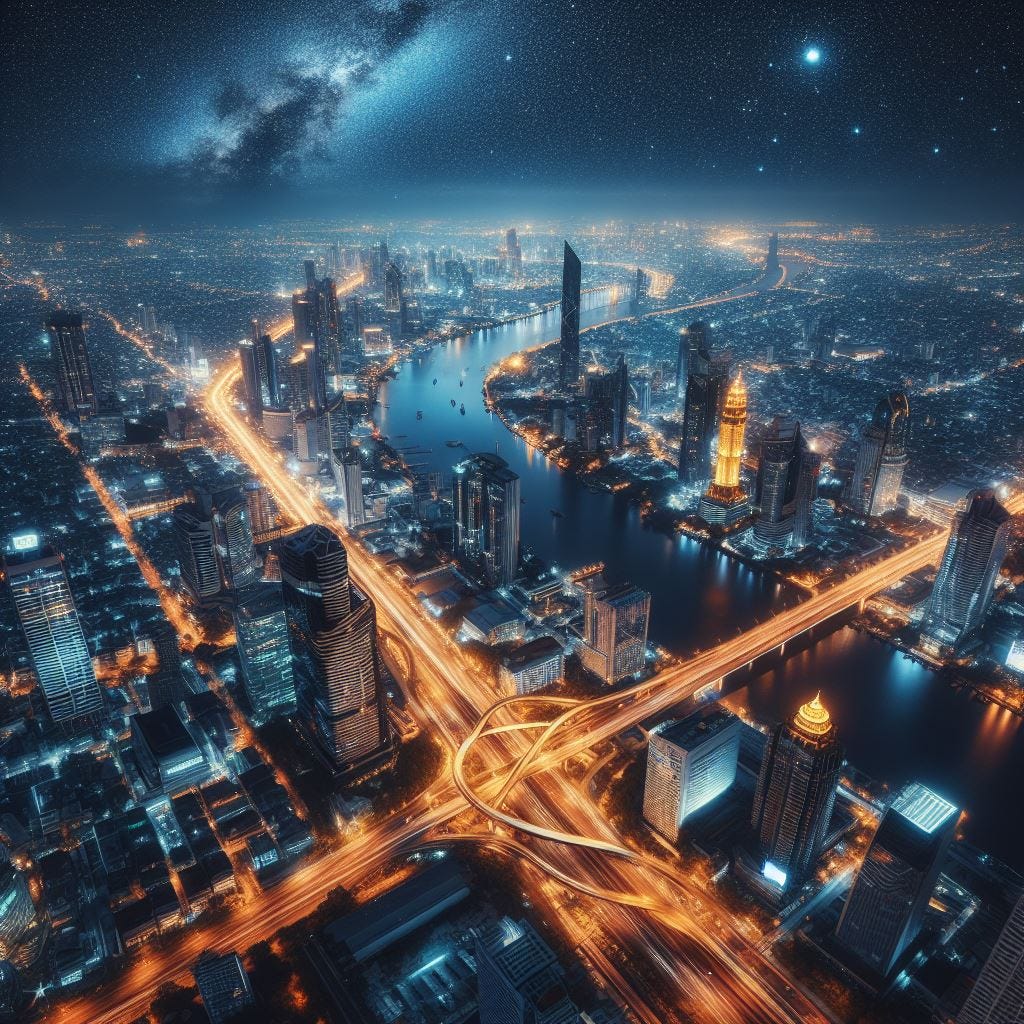
Birds eye view photography shows the world from above. Pro photographers use this angle to tell unique stories.
Learning from experts helps you see new ideas. It can improve your own aerial photos.
Iconic Birds Eye View Photos
Many famous photos use the birds eye view to capture wide scenes. These images show patterns and shapes we don’t see from the ground.
For example, aerial shots of cities reveal busy streets and buildings. Photos of nature from above show forests, rivers, and fields in new ways.
- Andreas Gursky is known for large-scale photos from above.
- Edward Burtynsky captures industrial landscapes with birds eye views.
- Alex MacLean photographs farmland patterns from the sky.
Creative Approaches To Aerial Photography
Pro photographers use different tools for birds eye photos. Drones are popular because they fly high and steady. Planes and helicopters also give great views.
They also experiment with light, shadows, and colors. This makes their photos more eye-catching and tells a story.
- Use early morning or late afternoon light for soft shadows.
- Look for patterns like roads, rivers, or fields.
- Try different heights to change the photo’s feel.
- Include people or objects for scale and interest.

Credit: www.freepik.com
Frequently Asked Questions
What Equipment Is Best For Birds Eye View Photography?
A drone or a tall tripod with a camera is ideal. Drones offer flexibility, while tripods provide stability for sharp images.
How Do I Find The Perfect Location For Birds Eye Shots?
Look for open spaces, interesting patterns, or unique landscapes. Higher elevations like rooftops or hills also work well.
What Settings Optimize Birds Eye View Photos?
Use a narrow aperture (f/8-f/16) for sharpness and a fast shutter speed to avoid blur. Adjust ISO for lighting conditions.
Can I Use A Smartphone For Birds Eye Photography?
Yes, modern smartphones with wide-angle lenses work well. Use apps for manual control and ensure steady positioning for clarity.
Conclusion
Capturing a bird’s eye view photo is truly rewarding. Start by choosing the right location. Ensure good lighting for clear images. Use a drone or climb to a higher spot. Adjust your camera settings for the best shot. Practice makes perfect.
Experiment with angles and perspectives. Each attempt improves your skills. Remember, patience is key. Don’t rush the process. Keep your equipment steady. Review your photos and learn from them. Share your unique view with the world. Photography tells a story.
Let yours be captivating and engaging. Enjoy the journey of creating stunning images from above.


