
Have you ever looked at your bird bath and wondered if a fresh coat of paint could bring it back to life? Painting your bird bath might seem like a simple way to add color and charm to your garden, but is it really safe for the birds?
You might be surprised by what you need to know before picking up that brush. You’ll discover the secrets to painting a bird bath the right way—keeping your feathered friends safe while giving your outdoor space a beautiful new look.
Keep reading to find out how you can transform your bird bath without causing harm.
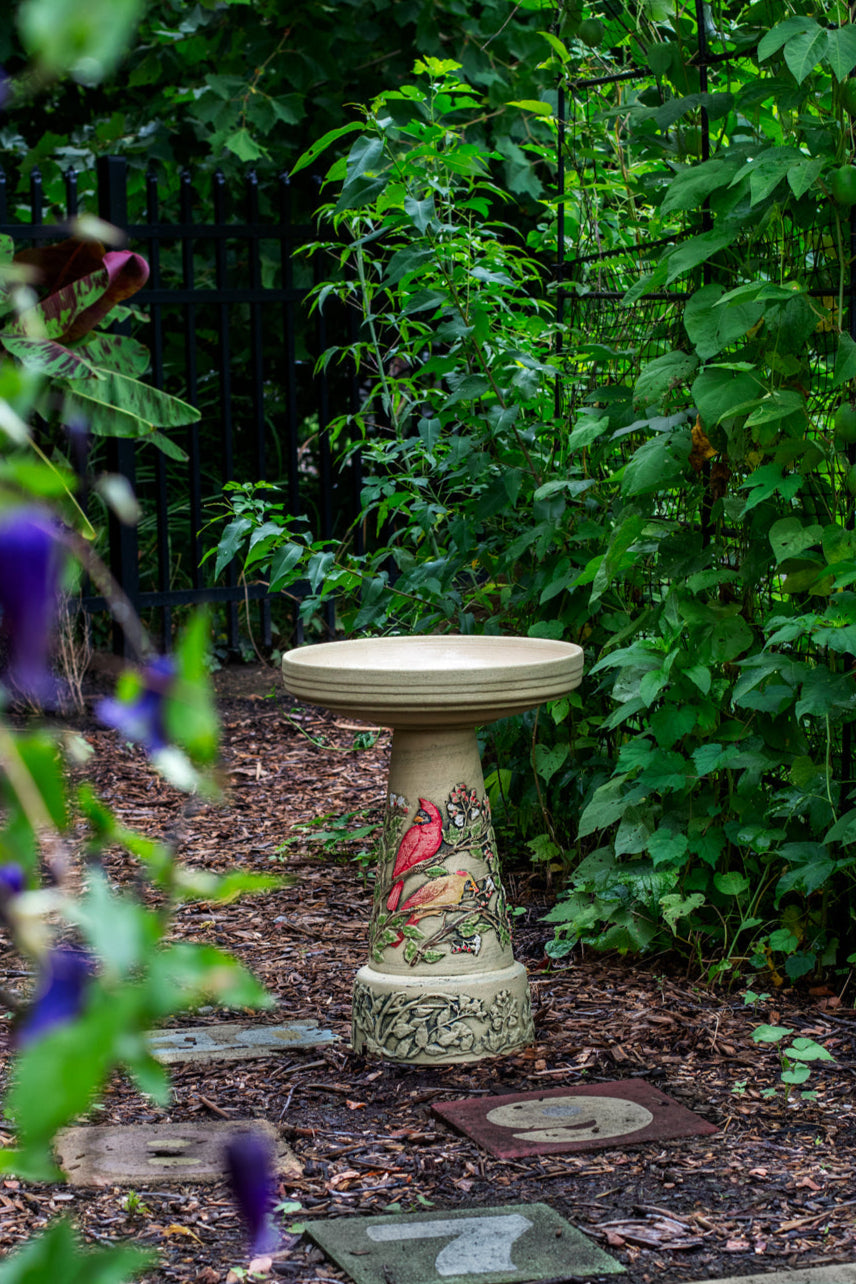
Credit: burleyclay.com
Choosing The Right Paint
Choosing the right paint for your bird bath is more important than you might think. The paint you pick affects not only the look but also the safety and longevity of your bird bath. You want a finish that holds up against weather, keeps birds safe, and still looks great.
Types Of Paint Suitable For Bird Baths
Not all paints are created equal when it comes to bird baths. Acrylic latex paint is a popular choice because it adheres well to concrete, ceramic, and metal surfaces. It’s easy to apply and cleans up with water, making it user-friendly for DIY projects.
Enamel paints offer a hard, glossy finish but can sometimes contain harmful chemicals. If you prefer enamel, check the label for safety and outdoor suitability. Avoid spray paints unless specifically labeled as non-toxic and weather-resistant.
Weather Resistance And Durability
Your bird bath will face rain, sun, and cold, so paint durability is key. Look for paints labeled as exterior or outdoor grade because they resist fading and peeling. UV resistance is also critical to keep colors vibrant longer.
Sealing the paint with a clear, waterproof sealant can add an extra layer of protection. Remember, durable paint means fewer touch-ups and a happier bird bath for years to come.
Non-toxic Options For Bird Safety
Bird safety should be your top priority when painting a bird bath. Choose paints that are labeled non-toxic or safe for wildlife to avoid harming your feathered visitors. Low-VOC (volatile organic compounds) paints are a good option because they emit fewer harmful fumes.
Some natural paints made from clay or milk paint are safe alternatives, though they may require more frequent reapplication. If you’re unsure, test a small area first and observe if birds avoid the bath or show any signs of distress.
Preparing The Bird Bath Surface
Preparing the surface of your bird bath is key to achieving a smooth and lasting paint finish. Without proper preparation, paint can peel, chip, or fail to stick, wasting your time and effort. Let’s look at how to get your bird bath ready for a fresh coat of paint that will endure the elements and brighten your garden.
Cleaning And Removing Debris
Start by thoroughly cleaning the bird bath. Dirt, algae, and bird droppings can prevent paint from adhering properly. Use a stiff brush and a mixture of water and mild detergent to scrub every surface.
Rinse well and let it dry completely before moving on. Have you noticed how even small bits of grime can cause paint to bubble? Removing all debris ensures a clean base for your paint.
Sanding For Better Adhesion
Sanding roughens the surface slightly, helping the paint grip better. Use medium-grit sandpaper to scuff the entire area evenly. This step is especially important if your bird bath has a glossy finish or is made of smooth materials like ceramic or fiberglass.
Don’t rush here—spend a few minutes sanding to avoid peeling paint later. You’ll find sanding not only improves adhesion but also smooths out small imperfections that might show through the paint.
Priming The Surface
Applying a primer creates a strong foundation for your paint. Choose a primer compatible with your bird bath material, whether it’s stone, concrete, or metal. This layer seals the surface and prevents moisture from seeping in, which can cause flaking.
After applying primer, allow it to dry fully according to the product instructions. Have you ever skipped priming and regretted it when paint started peeling after a few weeks? Priming may feel like an extra step, but it pays off in durability and finish quality.
Painting Techniques
Painting your bird bath can transform it from a simple garden feature into a vibrant focal point. Choosing the right painting technique is key to achieving a durable and beautiful finish. Let’s look at different approaches to help you get the best results for your outdoor art project.
Brush Vs. Spray Painting
Brush painting gives you more control, especially around curves and edges. It’s perfect if you want to add detail or work on smaller sections carefully.
Spray painting covers large surfaces quickly and evenly. It’s great for a smooth, professional look but requires a well-ventilated space and careful masking to avoid overspray.
Think about your comfort level and the style you want before choosing. Have you tried both methods? Which one felt easier for you?
Applying Even Coats
Applying paint evenly prevents drips and patchy areas that ruin your bird bath’s appearance. Use light, multiple coats instead of one heavy layer.
Allow each coat to dry fully before adding the next. This builds up a stronger finish that withstands weather and bird activity.
Keeping your brush or spray can moving steadily helps avoid streaks. Have you noticed how a steady rhythm changes the final look?
Creating Decorative Patterns
Adding patterns lets you customize your bird bath to match your garden’s vibe. Simple stencils or painter’s tape can help you create stripes, dots, or floral designs easily.
Try mixing colors or layering patterns for a unique effect. Even a small detail like a painted rim can make a big difference.
What kind of pattern would make your bird bath truly yours? Experiment and have fun with the process—it’s your creative space!

Credit: www.dukemanorfarm.com
Drying And Curing
After painting your bird bath, the drying and curing process is crucial for a long-lasting finish. It ensures the paint sets properly, resists weather damage, and keeps your bird bath looking fresh. Skipping or rushing this step can lead to peeling or fading, which nobody wants.
Optimal Drying Conditions
Choose a dry, well-ventilated area to let your bird bath dry. Avoid direct sunlight because it can cause the paint to dry too quickly and crack. Aim for temperatures between 60°F and 75°F (15°C to 24°C) for the best results.
Humidity also plays a big role. High humidity slows drying and can make the paint tacky for longer. If you live in a humid climate, consider using a fan or drying indoors to speed up the process without compromising quality.
Curing Time Before Use
Even after the paint feels dry to the touch, it needs time to cure fully. Curing allows the paint to harden and bond with the surface, which protects it from water and weather damage.
Plan to wait at least 7 days before filling the bird bath with water or placing it outside. This waiting period might seem long, but your patience pays off with a durable finish. Have you ever rushed the drying process and regretted it later? Taking the time to cure properly prevents that frustration.
Maintenance Tips
Maintaining a painted bird bath is key to keeping it both beautiful and functional. Paint can wear down over time due to weather exposure and frequent use. But with the right care, your bird bath can stay vibrant and inviting for seasons to come.
Cleaning Painted Bird Baths
Cleaning a painted bird bath requires gentle care to avoid damaging the paint. Use a soft brush or sponge with mild soap and water to remove dirt and algae. Avoid harsh chemicals or abrasive tools that can scratch or peel the paint.
Empty the bird bath before cleaning and rinse thoroughly to remove any soap residue. Regular cleaning every one to two weeks helps prevent buildup and keeps birds coming back. Have you noticed how a clean bird bath attracts more feathered visitors?
Touch-up Tips To Extend Life
Even with careful cleaning, paint may chip or fade over time. Keep some matching outdoor paint handy for quick touch-ups. Lightly sand the chipped area before applying paint to ensure better adhesion.
Apply thin coats and allow each layer to dry fully to avoid drips and uneven surfaces. Sealing your touch-ups with a clear, weatherproof sealant can provide extra protection. How often do you check your bird bath for small paint damages before they worsen?

Credit: www.myrepurposedlife.com
Frequently Asked Questions
Can You Paint A Bird Bath Safely?
Yes, you can paint a bird bath using non-toxic, waterproof paint. Ensure the paint is safe for birds to avoid harm. Use outdoor acrylic or epoxy paint for durability and weather resistance. Proper surface cleaning and priming improve paint adhesion and longevity.
What Type Of Paint Is Best For Bird Baths?
Water-based acrylic or epoxy paints are best for bird baths. They are non-toxic, waterproof, and weather-resistant. Avoid oil-based paints as they can be harmful to birds. Choose paints specifically labeled safe for outdoor use and compatible with the bird bath material.
How Do I Prepare A Bird Bath For Painting?
Clean the bird bath thoroughly with soap and water. Remove dirt, algae, and loose paint. Allow it to dry completely. Sand the surface lightly to improve paint adhesion. Apply a primer suitable for the bird bath material before painting for best results.
How Long Does Paint Take To Dry On A Bird Bath?
Paint typically takes 24-48 hours to dry on a bird bath. Drying time depends on paint type, temperature, and humidity. Ensure the paint is fully cured before refilling with water. This prevents paint from washing off and protects birds from exposure.
Conclusion
Painting a bird bath can brighten your garden space nicely. Choose safe, non-toxic paint to protect the birds. Make sure the surface is clean and dry before painting. Allow the paint to dry fully to avoid harming the water or birds.
A painted bird bath adds color and personality outdoors. Keep it fresh by repainting when the paint fades or peels. Enjoy watching birds gather around your colorful creation. Simple steps make your bird bath both beautiful and safe. Try it and see how it changes your garden feel.


