
Are you wondering how to connect your Bird Box Camera to your TV? Imagine watching clear, live footage right on your big screen, making it easier to keep an eye on your home or backyard.
This simple setup can give you peace of mind without any complicated steps. In this guide, you’ll discover easy, step-by-step instructions to get your Bird Box Camera linked to your TV quickly. Keep reading, and you’ll be able to enjoy a seamless viewing experience in no time.
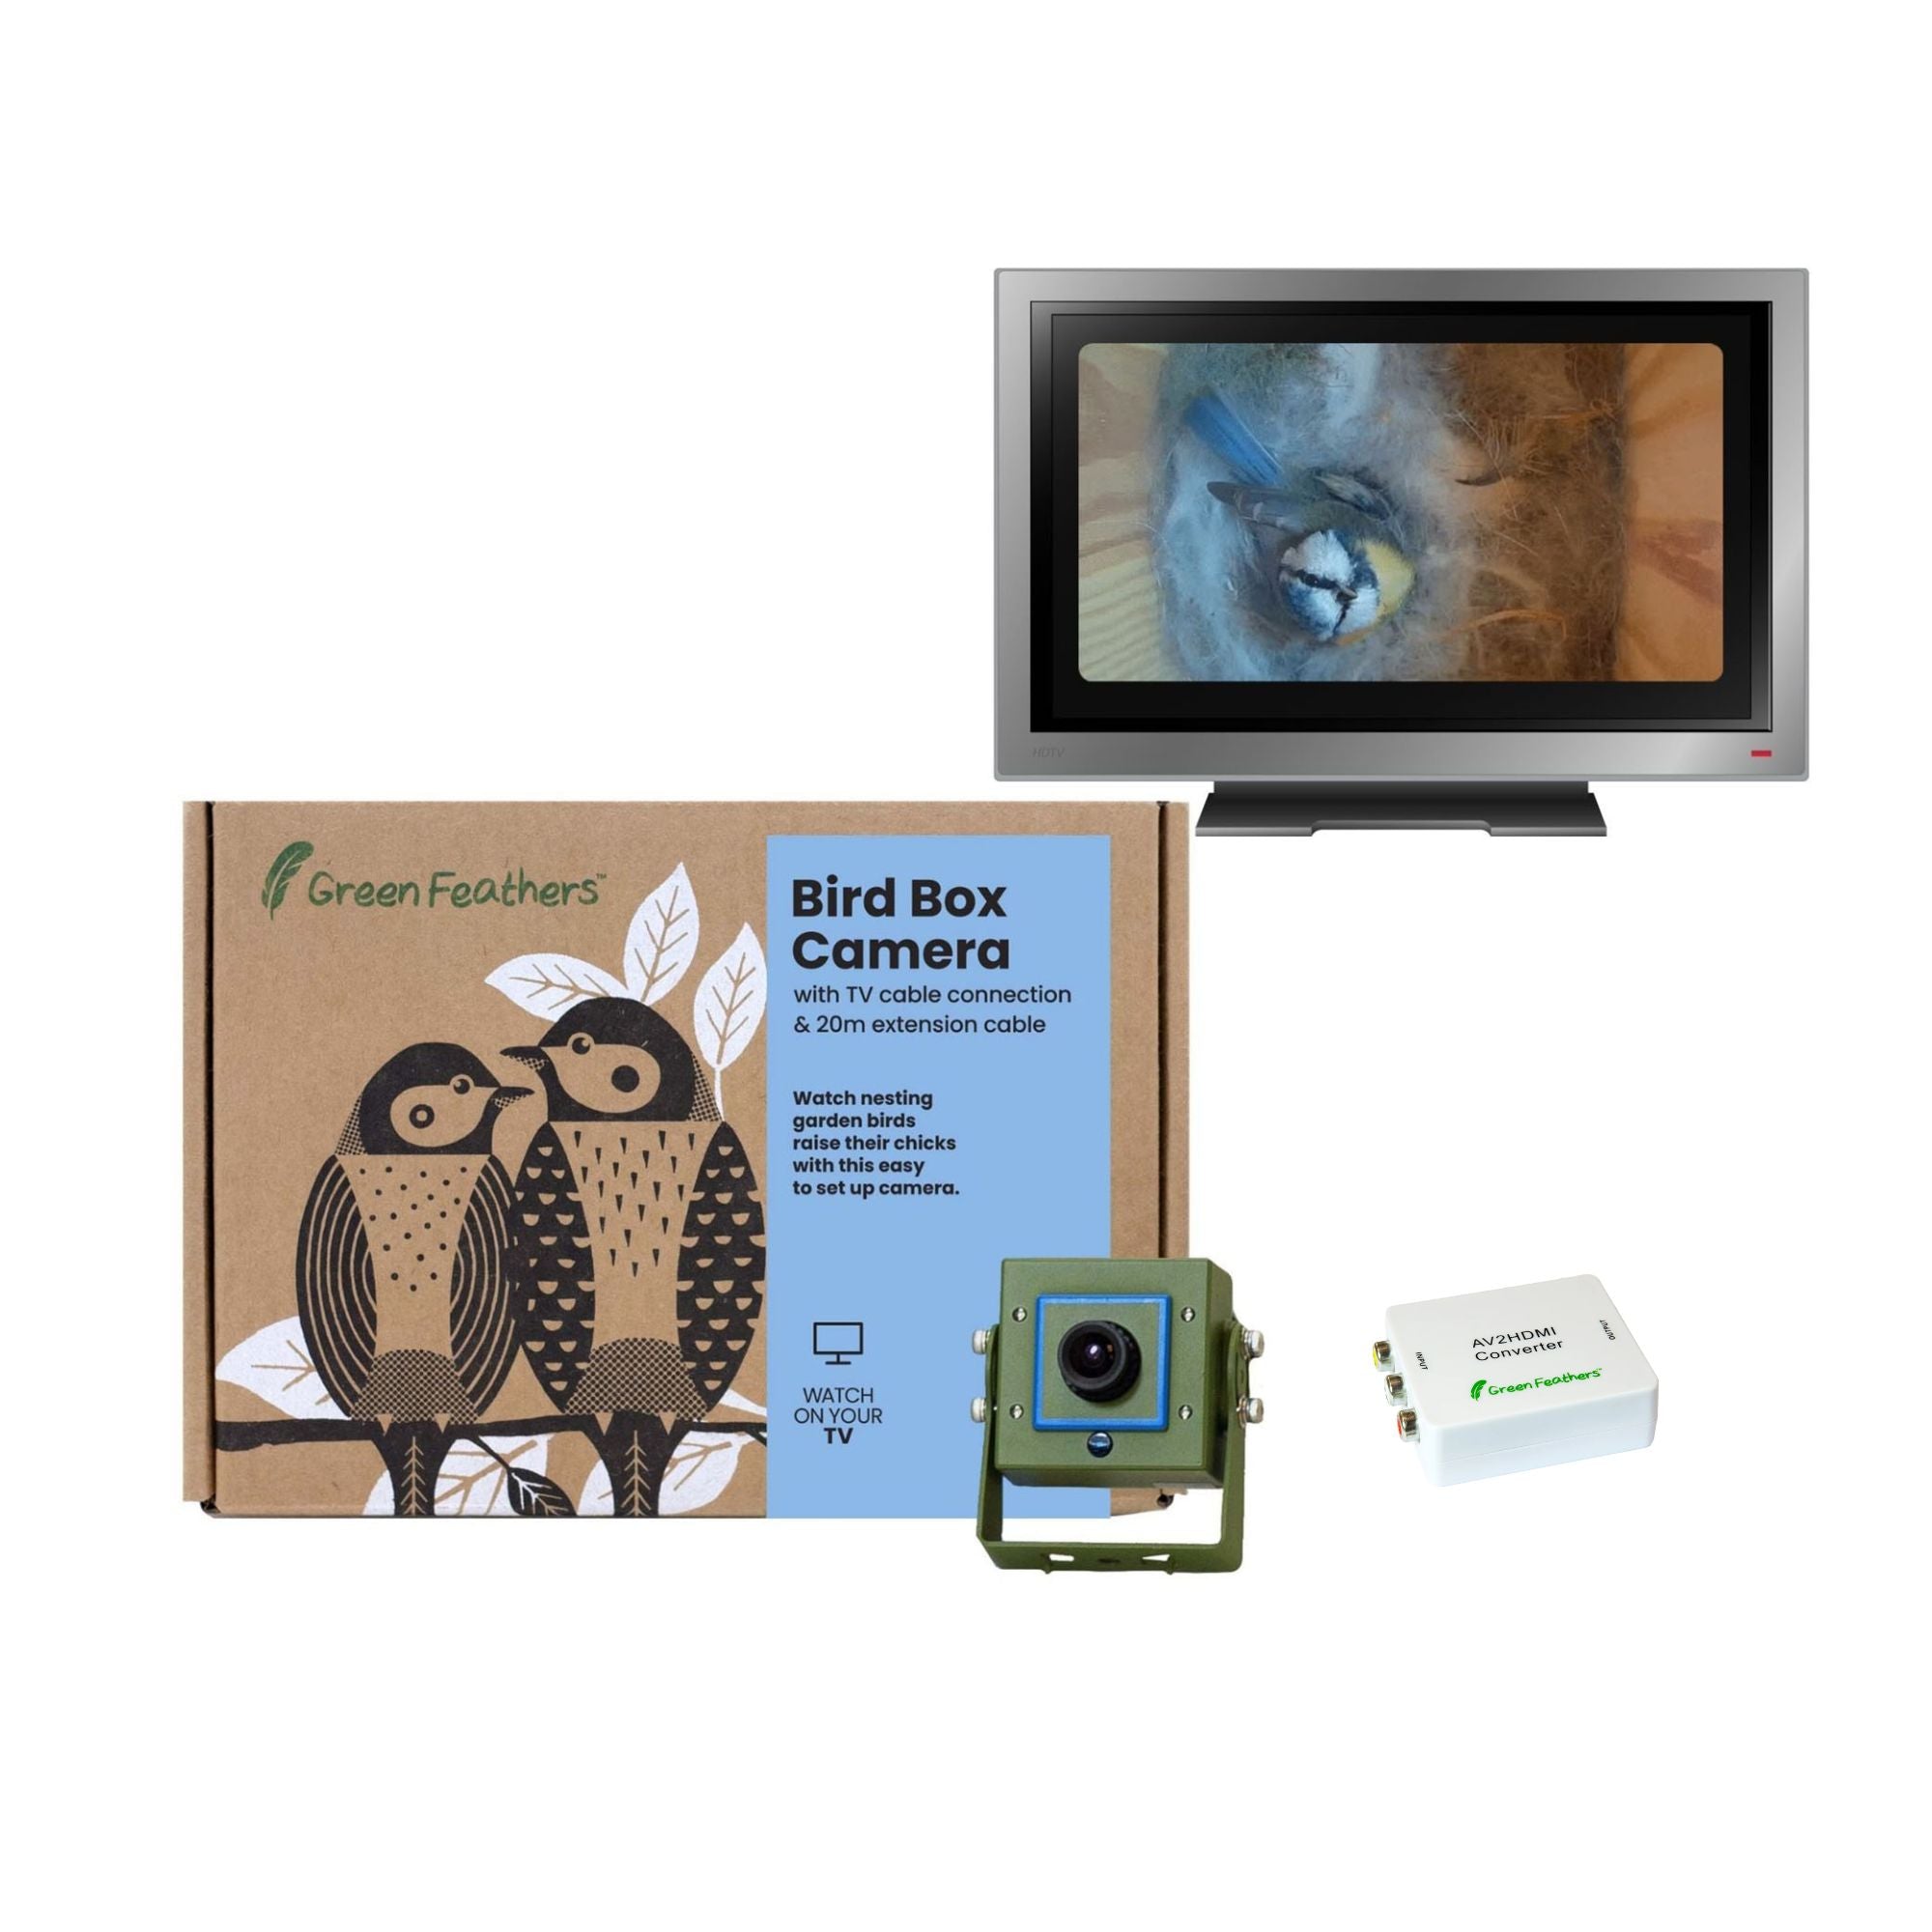
Bird Box Camera Features
The Bird Box Camera offers a variety of features that make it a great choice for home security and monitoring. Understanding these features helps you get the most out of your device, especially when connecting it to your TV. Knowing the camera’s specs and connectivity options can save you time and enhance your viewing experience.
Camera Specifications
The Bird Box Camera boasts high-definition video quality, typically offering 1080p resolution. This ensures clear and sharp footage whether you’re watching live or recorded videos on your TV.
It also includes a wide-angle lens, often around 120 degrees, which covers a large area. This reduces blind spots and helps you keep an eye on more of your space without needing multiple cameras.
Night vision is another key feature. The camera uses infrared LEDs to provide clear images even in complete darkness, so you won’t miss anything after sunset.
- 1080p HD video resolution for crisp visuals
- 120-degree wide-angle lens for broad coverage
- Infrared night vision for clear images in the dark
- Motion detection alerts to notify you of activity
- Two-way audio for communicating through the camera
Connectivity Options
Connecting your Bird Box Camera to your TV involves understanding how the camera communicates with other devices. Most Bird Box Cameras use Wi-Fi to stream video, allowing you to access the feed on your smartphone or TV.
Some models support direct HDMI output, which lets you connect the camera straight to your TV for real-time viewing without lag. This is perfect if you want a dedicated screen for monitoring.
If your camera doesn’t have HDMI, you can use streaming devices like Chromecast, Amazon Fire Stick, or Roku to mirror the camera’s app onto your TV. This method requires a stable Wi-Fi network but gives you flexibility in how and where you watch.
- Wi-Fi streaming for wireless access
- HDMI output for direct connection to TV
- Compatibility with streaming devices (Chromecast, Fire Stick, Roku)
- Mobile app integration for easy control and viewing
Have you checked which connectivity options your camera supports? Choosing the right method will make your setup smoother and your monitoring more effective.
Credit: www.green-feathers.co.uk
Preparing Your Tv
Getting your TV ready is a crucial step before connecting your Bird Box Camera. Without proper preparation, you might run into frustrating connection issues or poor display quality. Taking a moment to ensure your TV is compatible and has the right ports can save you time and hassle.
Checking Compatibility
Not every TV can connect directly to a Bird Box Camera. You need to verify if your TV supports external camera inputs or streaming devices. Most modern smart TVs have built-in features for this, but older models might not.
Look for mentions of USB camera support or compatibility with security camera apps in your TV’s manual or settings menu. If your TV supports apps like RTSP or ONVIF, it’s a good sign it can display your Bird Box Camera feed.
Have you checked your TV’s firmware? Updating it can sometimes unlock new features that improve compatibility with external devices.
Available Input Ports
Your TV’s input ports are the gateways for your Bird Box Camera connection. Common ports include HDMI, USB, and sometimes RCA or Ethernet.
- HDMI:Ideal for high-quality video and audio transmission. Some Bird Box Cameras offer HDMI output, which plugs straight into the TV.
- USB:Many cameras connect via USB, but your TV must support USB video input, not just USB storage.
- Ethernet or Wi-Fi:If your TV supports network connections, you might connect wirelessly or through a wired network.
Take a close look at the back or side of your TV. Can you spot these ports? If your TV lacks the right inputs, you might need an adapter or a streaming device to bridge the connection.
Connecting Via Hdmi
Connecting your Bird Box Camera to your TV via HDMI is one of the most straightforward ways to enjoy a clear and stable video feed on a larger screen. This method offers a direct wired connection, which often results in better picture quality and minimal lag compared to wireless options. If you prefer a simple setup that delivers reliable performance, HDMI is a smart choice.
Required Equipment
- Bird Box Camera with HDMI output:Ensure your camera model supports HDMI connections.
- HDMI cable:A standard HDMI cable, ideally the right length to reach from your camera to your TV without strain.
- TV with HDMI input:Most modern TVs have multiple HDMI ports; confirm you have a free one.
- Power supply for your camera:Keep the camera powered during use to avoid interruptions.
Step-by-step Setup
Start by placing your Bird Box Camera near your TV to minimize cable length and avoid tripping hazards. Connect one end of the HDMI cable to the camera’s HDMI port.
Next, plug the other end of the HDMI cable into an available HDMI input on your TV. Use your TV remote to select the correct HDMI source, which might be labeled as HDMI1, HDMI2, etc.
Power on the camera and wait a few seconds for the signal to appear on the TV screen. If you don’t see the video immediately, double-check the cable connections and input source.
Have you noticed any lag or picture quality issues? Sometimes, swapping the HDMI cable or trying a different TV HDMI port can improve the experience. This hands-on approach helps you find the best setup for your specific environment.

Credit: www.green-feathers.co.uk
Using Wi-fi For Wireless Viewing
Using Wi-Fi for wireless viewing lets you watch your Bird Box Camera feed on your TV without extra cables. It offers flexibility and convenience. Connect the camera to your home network, then stream the live video directly on your smart TV. This method keeps your setup clean and simple.
Connecting Camera To Network
First, ensure your Bird Box Camera is powered on. Open the camera’s app on your smartphone or tablet. Go to the settings menu and select the Wi-Fi setup option. Choose your home Wi-Fi network and enter the password. Wait for the camera to connect. A confirmation message will appear once connected. Check the camera’s live feed on your app to confirm the connection.
Casting To Smart Tv
Make sure your smart TV is on and connected to the same Wi-Fi network as the camera. Open the casting feature on your phone or tablet. Select your TV from the list of available devices. Open the Bird Box Camera app and start the live feed. The video will appear on your TV screen. Adjust volume and display settings as needed. Wireless viewing is now active and ready for use.
Mobile Device As A Bridge
Connecting your Bird Box camera to a TV is simple using a mobile device as a bridge. The phone streams the camera feed and shares it with the TV through casting or HDMI connection. This setup helps watch live bird activity on a larger screen easily.
Connecting your bird box camera to your TV can seem like a daunting task. But what if your mobile device could act as a bridge, making the process seamless and efficient? Utilizing your smartphone or tablet can be a game-changer, especially when you want to enjoy real-time visuals without the hassle of complex wiring or technical challenges. Let’s explore how you can harness your mobile device to make this connection smooth and straightforward.Installing The App
Begin by identifying the specific app designed for your bird box camera. Most camera brands offer dedicated apps that you can easily download from the App Store or Google Play. Once installed, follow the on-screen prompts to pair your camera with the app. Ensure your mobile device is connected to the same Wi-Fi network as your camera for a seamless setup. If the app offers extra features like notifications or zoom, take a moment to explore these settings. They can enhance your viewing experience significantly.Screen Mirroring Techniques
After setting up the app, the next step is to mirror your mobile device’s screen to your TV. Most modern TVs support screen mirroring, but it’s crucial to check your TV’s user manual for specific instructions. Use your mobile device’s built-in screen mirroring feature, typically found in the control center or settings menu. Tap on the screen mirroring option and select your TV from the list of available devices. Consider using a streaming device if your TV does not support direct screen mirroring. Devices like Chromecast or Apple TV can serve as intermediaries, enabling you to project the bird box camera feed to your TV effortlessly. By using your mobile device as a bridge, you eliminate unnecessary cables and enjoy more flexibility. Have you ever thought about how technology in your pocket could simplify your life in such unexpected ways?Troubleshooting Common Issues
Connecting your Bird Box Camera to the TV can sometimes face issues. Troubleshooting these common problems helps keep your setup smooth and efficient. Most problems involve connection errors or video quality delays. Addressing these quickly ensures a better viewing experience.
Connection Problems
Check all cables for firm and proper connection. Loose or damaged cables cause no signal or intermittent display. Restart your camera and TV to refresh the connection. Verify the TV input source matches the camera’s output. Reset the camera and router if using a wireless setup. Ensure the camera firmware is updated for compatibility.
Video Lag And Quality
Slow video or pixelation often comes from weak Wi-Fi signals. Move the router closer to the camera or use a wired connection. Close other apps or devices using the same network to reduce traffic. Lower the camera’s video resolution in settings to improve smoothness. Clean the camera lens to avoid blurry images. Restart the camera and TV to clear temporary glitches.
Optimizing Viewing Experience
Connecting your bird box camera to your TV is a rewarding experience. To make the most of it, focus on optimizing the viewing experience. This involves adjusting camera angles and enhancing video settings. A clear and vibrant image makes observing birds more enjoyable. Let’s explore how to achieve the best view.
Adjusting Camera Angles
Position your camera for a clear view of the bird box. Ensure it covers the most active areas. Small adjustments can make a big difference. Tilt the camera slightly for a better perspective. Check angles regularly as birds move around. Avoid glare by adjusting for light conditions. A stable mount reduces shaky footage.
Enhancing Video Settings
Check your TV’s video settings for optimal clarity. Adjust brightness to match your room’s lighting. Increase contrast for sharper images. Ensure color settings reflect natural tones. Use your TV’s manual for guidance on settings. Some TVs have a “nature” mode for watching wildlife. Regularly update your TV’s firmware for the best performance.

Credit: www.youtube.com
Frequently Asked Questions
How Do I Connect Bird Box Camera To Tv?
To connect your Bird Box Camera to a TV, use the HDMI cable provided. Plug one end into the camera and the other into the TV’s HDMI port. Switch the TV input to the corresponding HDMI channel to view the camera feed live.
Can I Connect Bird Box Camera Wirelessly To Tv?
Most Bird Box Cameras require a wired HDMI connection for TV display. Wireless connection options depend on your camera model and TV’s smart capabilities. Using a streaming device or casting via Wi-Fi may work if supported by both devices.
What Cables Are Needed For Bird Box Camera Tv Connection?
An HDMI cable is essential to connect the Bird Box Camera to your TV. Some models may also require power cables or adapters. Always check the camera’s user manual for specific cable requirements and compatibility with your TV.
Why Is My Bird Box Camera Not Showing On Tv?
If the camera feed is not displaying, ensure the HDMI cable is securely connected. Verify the TV is set to the correct HDMI input. Restart both the camera and TV to resolve any connection glitches.
Conclusion
Connecting your Bird Box camera to your TV is simple and quick. Use the right cables or wireless options for the best picture. Check your TV and camera settings to avoid issues. Watching your bird footage on a big screen makes it more enjoyable.
Try different setups until you find what works best. Stay patient and follow the steps carefully. This way, you get a clear and smooth viewing experience every time.


