
Have you ever wished you could watch birds up close without disturbing them? Imagine capturing their beautiful colors, curious behaviors, and playful moments right from your own home.
Making a bird feeder camera is easier than you think, and it’s a fun way to connect with nature every day. In this guide, you’ll learn simple steps to build your own bird feeder camera that lets you enjoy amazing birdwatching anytime.
Ready to see your backyard visitors like never before? Let’s get started!
Choosing The Right Camera
Choosing the right camera for your bird feeder setup is a key step that affects the quality and enjoyment of your birdwatching experience. The camera you select needs to capture clear images without disturbing the birds. It also must suit your technical skills and budget.
Types Of Cameras For Bird Feeding
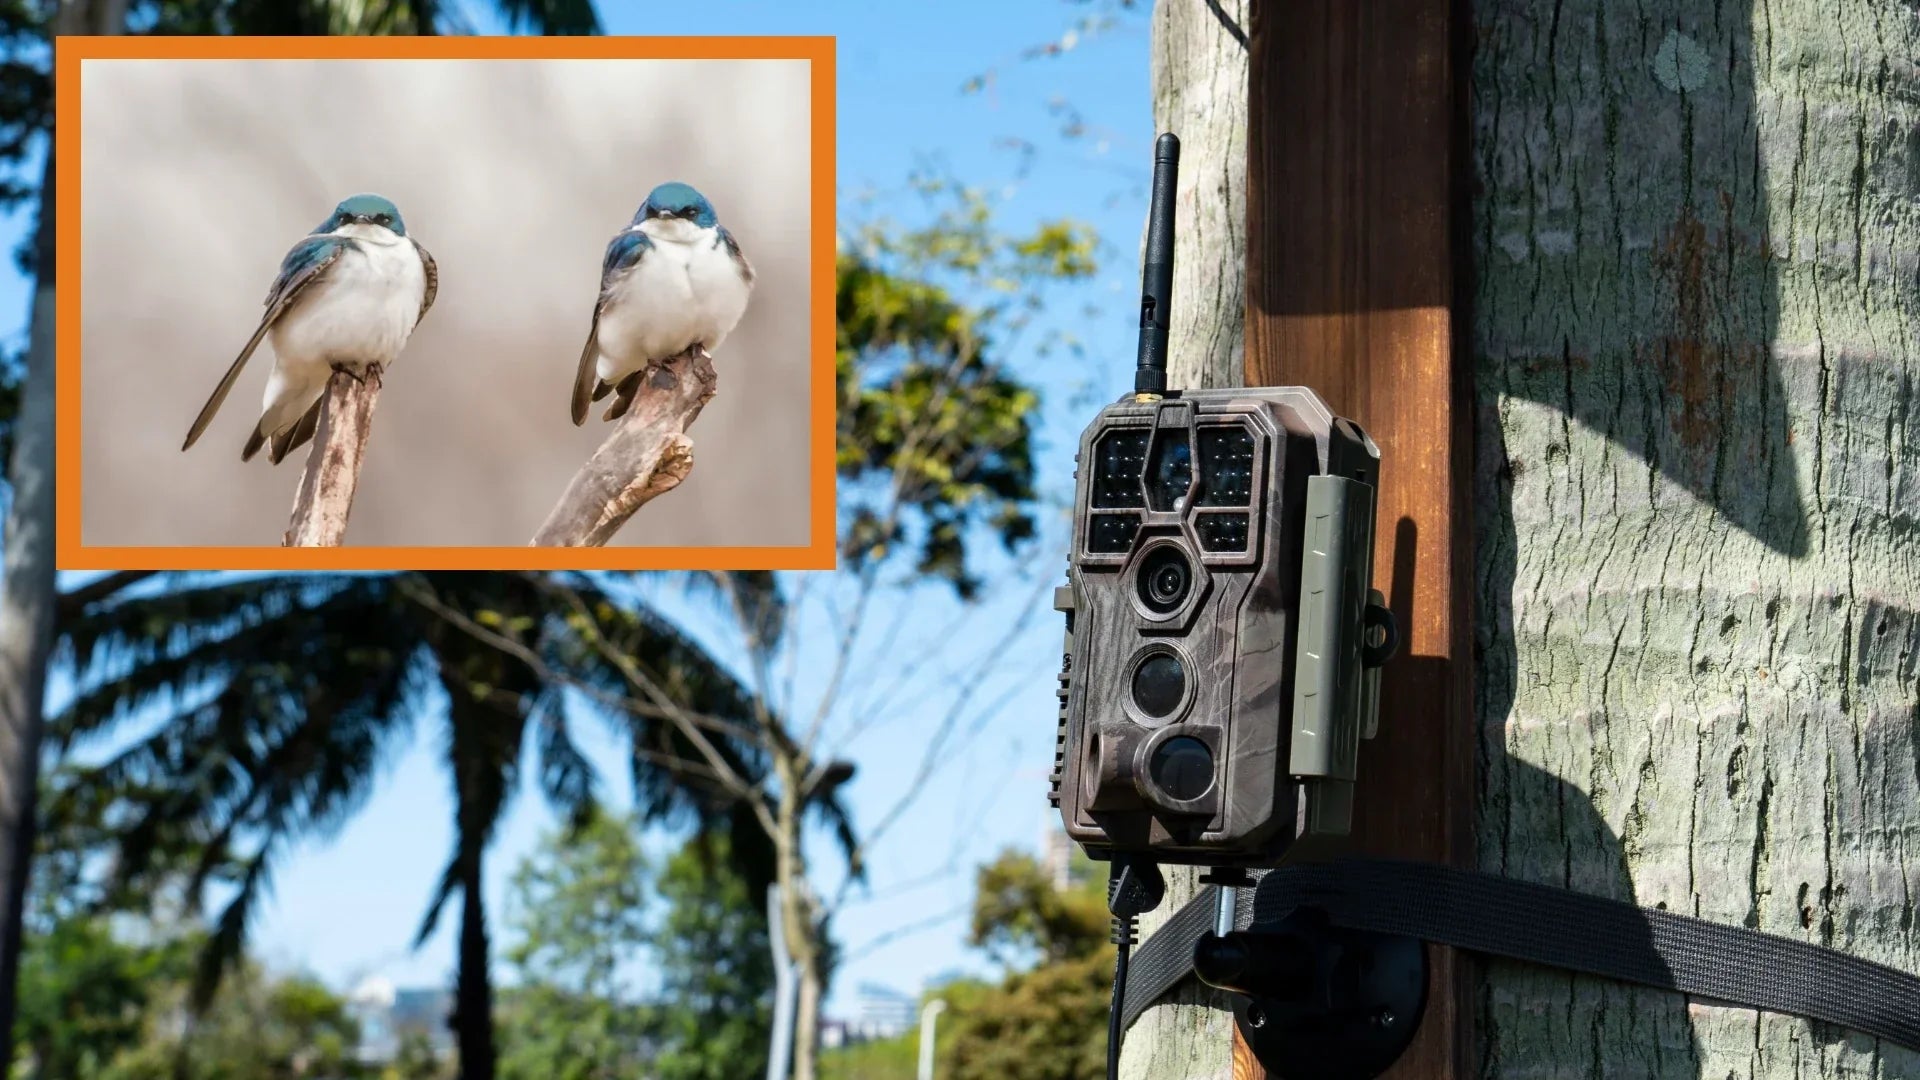
You can choose from several camera types, each with its advantages. Trail cameras are rugged and often have motion sensors, making them great for outdoor use. Webcam-style cameras offer live streaming but usually need power nearby.
DSLR or mirrorless cameras provide high image quality but might require more setup and cost. Action cameras like GoPros are compact and weatherproof, perfect if you want versatility. Think about where you plan to place the camera and how often you want to check the footage.
Key Features To Consider
- Motion Detection:Helps capture birds only when they appear, saving storage and battery life.
- Night Vision:Lets you observe birds that visit early in the morning or late in the evening.
- Resolution:Higher resolution means sharper images but requires more storage space.
- Power Source:Battery-powered cameras are flexible, but solar options can reduce maintenance.
- Weather Resistance:Essential for outdoor cameras to withstand rain and dust.
Ask yourself which features matter most. Do you want detailed close-ups, or is general activity enough? Your answers will guide your choice.
Budget-friendly Options
You don’t need to spend a fortune to get good results. Many affordable trail cameras offer decent motion sensors and weatherproofing. Some smartphone camera mounts let you repurpose your phone for bird feeding videos.
Look for refurbished or older model cameras, which can be budget-friendly and still perform well. Keep in mind that investing a bit more can save frustration later, but starting simple is often better than waiting.
Have you checked what gear you already own before buying new? Sometimes a small tweak to your existing camera setup can give you a great start without extra costs.
Credit: gardepro.com
Selecting The Perfect Bird Feeder
Choosing the right bird feeder is essential for capturing clear, close-up shots of your feathered visitors. The feeder you select affects not only which birds you attract but also how well your camera can focus and record their activities. Think about the types of birds you want to see and how your camera setup will fit with the feeder design.
Materials And Designs
Bird feeders come in a variety of materials like wood, metal, and plastic. Wood offers a natural look and blends well into garden settings, but it may need more maintenance. Metal feeders are durable and often weather-resistant, which is great if your camera will stay outside for long periods.
Design matters just as much as material. Tube feeders are excellent for small birds like finches, while platform feeders attract a wider range of species. Consider a feeder with a clear plastic or glass panel so your camera can get an unobstructed view of the birds.
Attracting Different Bird Species
Different birds prefer different feeder styles and food. If you want colorful cardinals, a hopper feeder with sunflower seeds works well. For hummingbirds, a nectar feeder is essential, but it requires a separate camera setup due to their size and feeding habits.
Think about the birds native to your area and what they like to eat. Adding a variety of feeders can increase the number of species you observe, giving your camera more action to capture. Are you targeting seed-eaters, insectivores, or nectar lovers? Your choice influences both the feeder and camera placement.
Placement Tips For Best Visibility
Place your feeder where natural light hits it during the morning or late afternoon for vibrant photos. Avoid spots that are too close to dense bushes or walls that might block your camera’s view. Make sure your feeder is stable to prevent shaking, which can blur your images.
Consider your camera’s angle and distance. Position the camera slightly below or at eye level with the feeder to capture engaging shots. Experiment with different spots—sometimes moving the feeder just a few feet can make a big difference in visibility and bird activity.
Setting Up The Camera
Setting up your bird feeder camera correctly ensures clear footage and long-lasting performance. The camera must stay steady, powered, and protected from weather. Each part of the setup affects the quality of your bird watching experience.
Mounting Techniques
Choose a stable spot near the feeder. Use clamps or brackets to hold the camera firmly. Avoid shaky or loose mounts that cause blurry videos. Position the camera at eye level with the feeder. This angle captures the birds clearly and naturally. Consider using a swivel mount for easy adjustments.
Power Supply Solutions
Continuous power keeps your camera running all day. Battery packs work well but need frequent charging. Solar panels offer eco-friendly, uninterrupted power in sunny spots. Use weatherproof cables for wired setups. Check battery life or solar output regularly to avoid downtime.
Ensuring Weather Protection
Protect your camera from rain, snow, and dust. Use waterproof housings designed for outdoor cameras. Seal all cable connections with weatherproof tape or covers. Place the camera under a small roof or overhang if possible. Regularly clean the lens to keep images sharp and clear.

Credit: www.youtube.com
Configuring Camera Settings
Adjust the camera’s focus and exposure to capture clear images of birds. Set the right angle to cover the feeder fully and avoid glare. Use motion detection if available to save battery and storage.
Configuring camera settings is crucial for capturing stunning bird footage. Proper settings help achieve clear and detailed images. This section guides you through essential adjustments. Capture every flutter and chirp with precision.Optimal Resolution And Frame Rate
Setting the right resolution ensures sharp images. Higher resolution captures more detail. Select a resolution that balances quality and storage. A frame rate of 30 fps offers smooth motion. Lower frame rates may miss fast movements. Adjust based on available storage and camera capability.Motion Detection Setup
Motion detection helps conserve storage. It activates recording only when movement is detected. Adjust sensitivity to avoid false triggers. Set detection zones to focus on feeder activity. This ensures you capture only relevant footage.Lighting And Exposure Adjustments
Proper lighting is key to clear images. Ensure the feeder is well-lit during recording. Adjust exposure settings to avoid overexposure. Natural light changes throughout the day. Test different settings for consistent clarity.Maintenance And Troubleshooting
Keeping your bird feeder camera in top shape ensures you never miss a moment of feathered visitors. Regular maintenance not only improves image quality but also extends the life of your equipment. Troubleshooting common problems quickly will save you frustration and keep your setup running smoothly.
Cleaning The Lens And Feeder
Dirty lenses blur your shots and reduce the clarity of bird photos. Use a soft microfiber cloth and lens cleaner to gently wipe the camera lens, avoiding harsh chemicals that can damage coatings.
Bird feeders often get messy with seeds, droppings, and debris. Clean the feeder regularly with warm, soapy water to prevent mold and attract more birds. Have you noticed how a spotless feeder draws a bigger crowd?
Dealing With Common Issues
If your camera isn’t turning on, check the battery first. Sometimes a simple recharge or replacement solves the problem quickly.
Blurry images can be due to incorrect focus or dirt on the lens. Adjust the focus manually and clean the lens to sharpen your shots.
Signal dropouts or poor connectivity often relate to Wi-Fi range or interference. Try repositioning the camera or adding a Wi-Fi extender to maintain a steady connection.
Enhancing Camera Longevity
Protect your camera from harsh weather by using waterproof covers or placing it under shelter. Extreme heat or cold can damage internal components over time.
Regularly inspect cables and mounting hardware for wear and tear. Tighten loose connections and replace frayed wires to avoid unexpected failures.
Have you thought about setting a maintenance schedule? Checking your setup monthly can catch small issues before they grow into costly repairs.
Editing And Sharing Your Shots
Capturing wildlife with your bird feeder camera is just the beginning. Editing and sharing your shots brings your experience to life and helps you connect with others who appreciate nature as much as you do. Polishing your photos and videos makes your content stand out and tells a clearer story about the fascinating visitors to your feeder.
Basic Photo And Video Editing Tools
You don’t need expensive software to enhance your wildlife shots. Free tools like Photoscape, GIMP, or iMovieoffer simple yet powerful features for cropping, adjusting brightness, and trimming videos.
Focus on improving clarity and color balance to make the birds pop against the background. Removing distractions or sharpening details can turn an ordinary photo into something eye-catching.
Try adding slow-motion or time-lapse effects to your videos to highlight bird movements you might miss in real time. These small edits can turn everyday visits into captivating stories.
Creating Engaging Content
Think about what makes your footage unique. Is it the variety of species, a rare bird, or a funny behavior? Highlight these moments to keep your audience interested.
Adding captions or short descriptions helps viewers understand what they’re seeing and why it matters. Share facts or personal observations to add value beyond the visuals.
Ask yourself: what do you want people to feel or learn from your shots? This clarity will guide how you arrange and present your content.
Platforms To Share Your Wildlife Captures
Choosing the right platform can boost the reach of your bird feeder camera content. Social media sites like Instagramand Facebookare great for quick sharing and interaction.
For longer videos or detailed stories, consider YouTubeor a personal blog. These platforms support deeper engagement and allow you to build a community around your wildlife observations.
Don’t overlook birdwatching forums or apps like eBirdto connect with enthusiasts who can appreciate and provide feedback on your work.
Which platform fits your style and goals best? Try posting on a couple and see where you get the most meaningful response.
:max_bytes(150000):strip_icc()/rsp-camera-bird-feeder-tout-e10ecdf22ae844f59ff550e8ede9c550.jpg)
Credit: www.realsimple.com
Frequently Asked Questions
What Materials Are Needed To Make A Bird Feeder Camera?
You need a small camera, a bird feeder, mounting tools, and a power source. Choose weather-resistant materials for durability. A Wi-Fi-enabled camera helps for easy remote viewing and recording.
How Do I Install A Camera In A Bird Feeder?
Mount the camera securely inside or near the feeder for clear bird views. Ensure the lens is unobstructed. Use waterproof housing and position it to avoid direct sunlight glare.
Can A Bird Feeder Camera Capture High-quality Videos?
Yes, using a camera with at least 1080p resolution ensures clear, detailed videos. Good lighting and stable mounting also improve video quality.
How Do I Power A Bird Feeder Camera Outdoors?
Use rechargeable batteries or solar panels for continuous power. Ensure connections are weatherproof. Some cameras support USB charging or power over Ethernet.
Conclusion
Building a bird feeder camera can bring nature closer to you. It lets you watch birds safely and quietly. You only need simple tools and a little time. Enjoy capturing beautiful moments of birds visiting your feeder. This project helps you learn and have fun outdoors.
Start today and see how many birds you can spot!


