
Keeping your bird’s cage spotless is more than just a chore—it’s essential for your feathered friend’s health and happiness. If you’ve ever wondered how to deep clean a bird cage without stress or mess, you’re in the right place.
This guide will walk you through simple, effective steps to make your bird’s home fresh and safe. Ready to transform your cleaning routine and give your bird the clean cage it deserves? Let’s dive in!
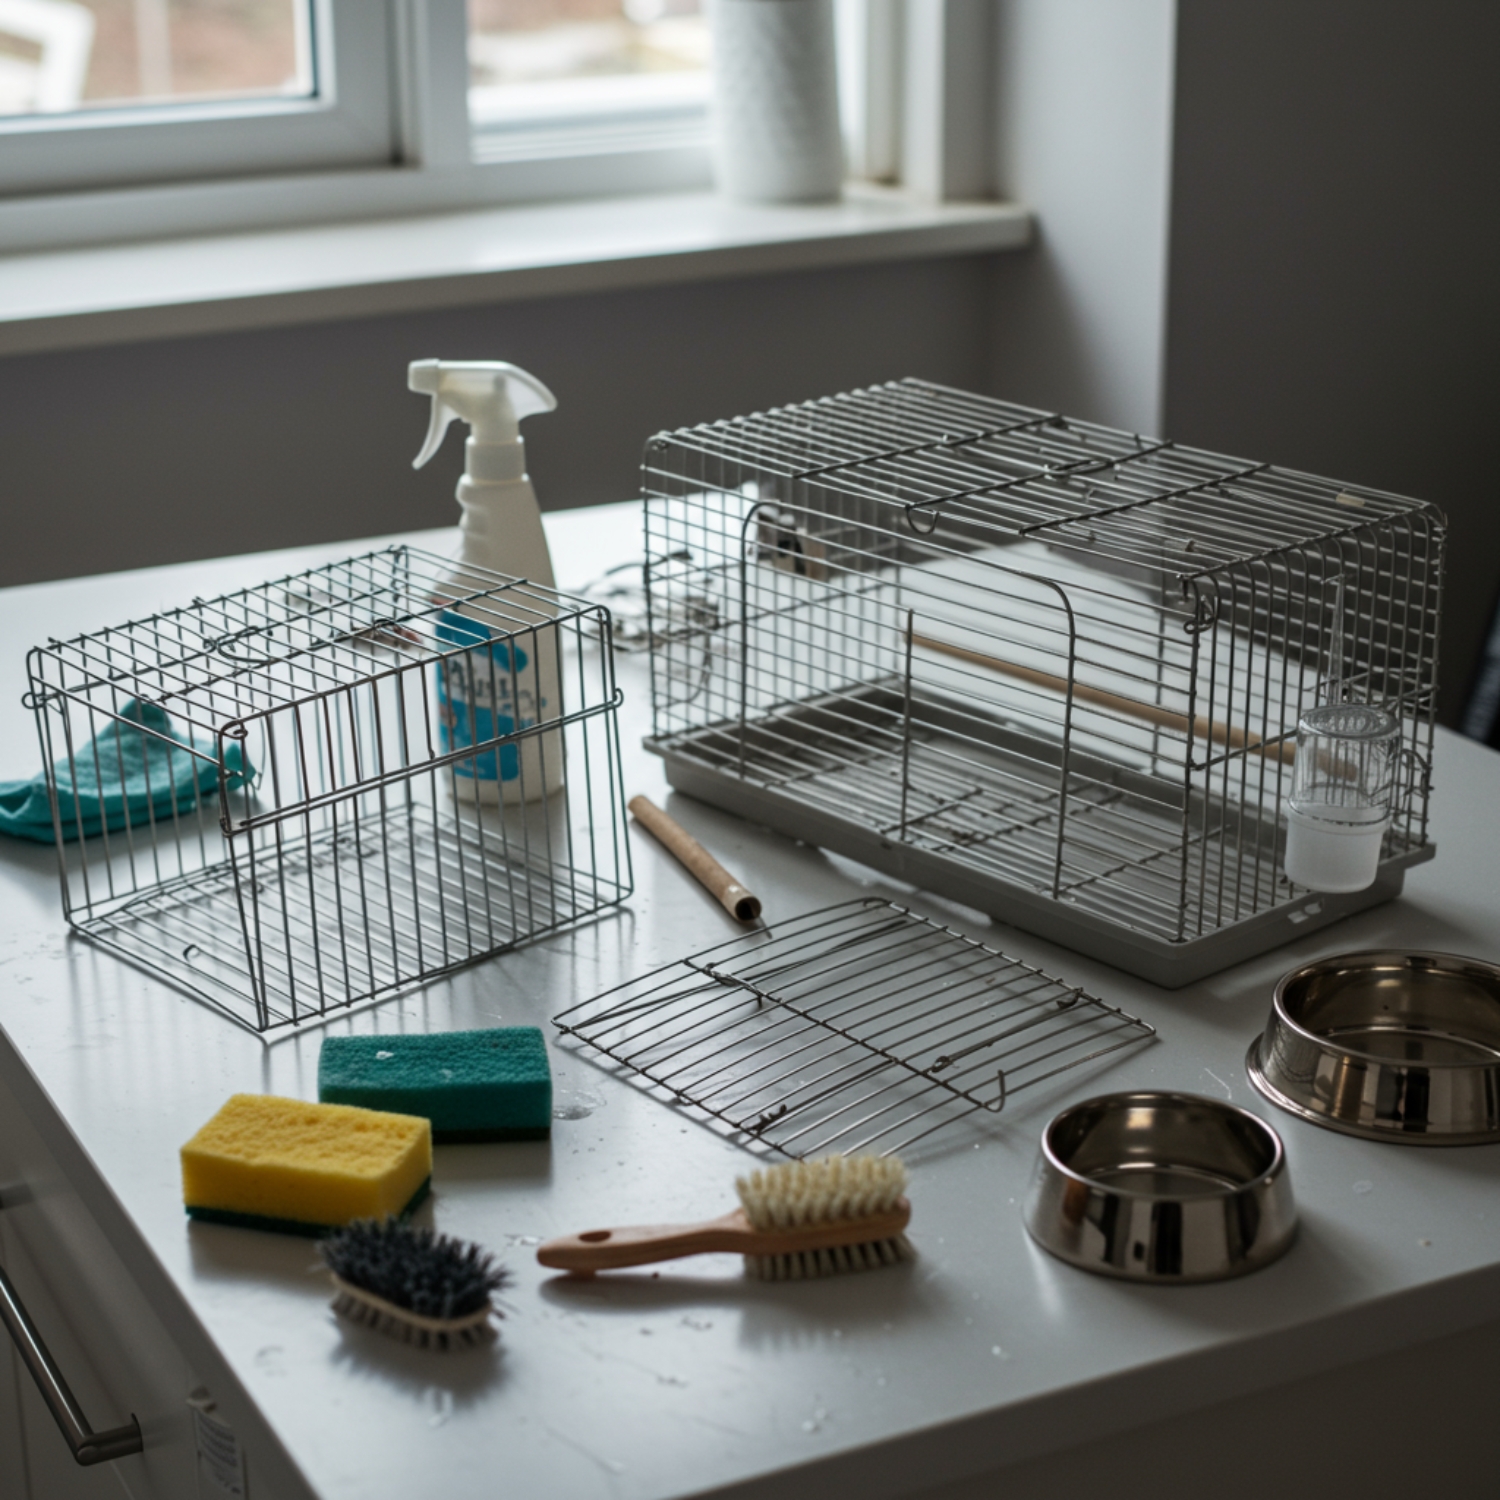
Credit: www.ojcommerce.com
Gather Essential Cleaning Supplies
Gathering the right supplies is crucial for a thorough bird cage cleaning. Having everything ready makes the process smoother and safer for your feathered friend. The supplies you choose must be safe and effective. Focus on tools and products that protect your bird’s health.
Non-toxic Cleaners
Use cleaners that are safe for birds. Avoid harsh chemicals that can harm your pet. Opt for mild soaps or vinegar solutions. These kill germs without leaving harmful residues. Always rinse the cage thoroughly after cleaning.
Scrubbing Tools
Choose brushes and sponges that clean well but do not scratch. A small scrub brush helps remove stuck-on debris. Soft cloths wipe down surfaces gently. Prepare a bucket or basin for soaking parts of the cage. These tools make cleaning easier and more efficient.
Protective Gear
Wear gloves to protect your skin from dirt and cleaners. Masks help avoid inhaling dust or fumes. Consider old clothes or aprons to keep your clothes clean. Safety gear keeps you comfortable and safe during cleaning.

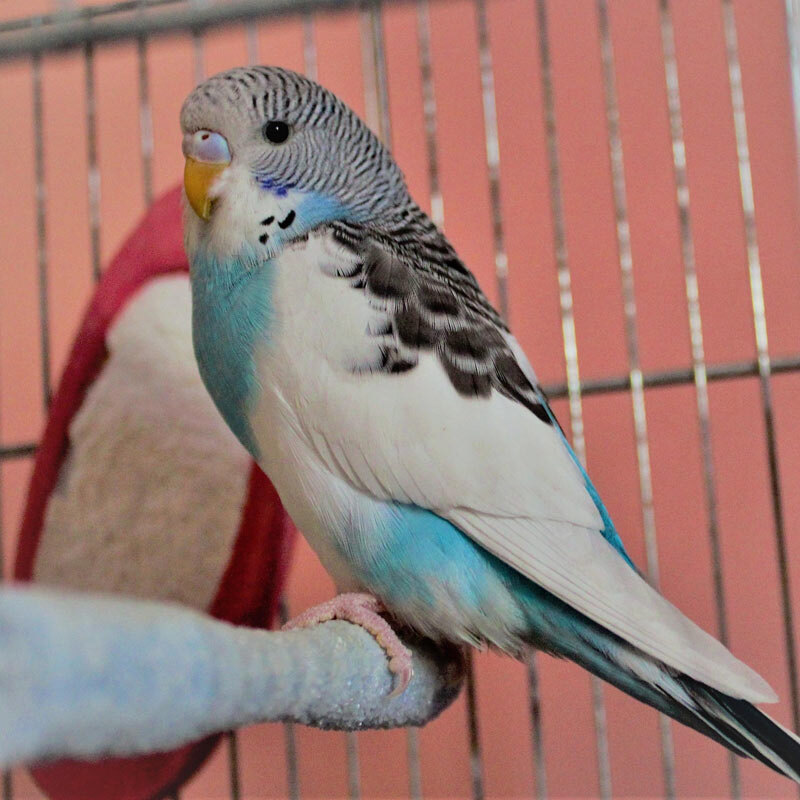
Credit: www.reddit.com
Prepare The Cage For Cleaning
Preparing the bird cage for cleaning is an important first step. It helps keep your bird safe and makes the cleaning process easier. Preparing the cage means removing your bird and all items inside. Then, you clear out any waste. This sets the stage for a thorough deep clean.
Remove The Bird Safely
Carefully take your bird out of the cage. Use a calm voice and slow movements. Place the bird in a secure, comfortable space. This prevents stress and injury during cleaning.
Take Out Accessories
Remove all toys, perches, food dishes, and water containers. Check each item for dirt or damage. Set accessories aside for cleaning or replacement. This helps clean every part of the cage properly.
Dispose Of Waste
Clear out old food, droppings, and feathers from the cage bottom. Use gloves and a small scoop or paper towel. Place waste in a trash bag and seal it. Removing waste reduces germs and bad smells.
Disassemble The Cage Components
Disassembling your bird cage is a crucial step to ensure a thorough clean. It allows you to reach every corner and remove hidden dirt that your feathered friend might be exposed to. Taking the cage apart carefully also helps protect delicate parts and makes the cleaning process faster and more effective.
Separate Trays And Grates
Start by removing the trays and grates from the cage. These parts often collect the most waste and debris, so getting them out makes cleaning easier and more hygienic.
Check if the trays slide out smoothly or if they require a gentle push or lift. Some trays have locks or clips—make sure to release these without forcing them to avoid damage.
Once removed, soak trays and grates in warm, soapy water to loosen stubborn grime. Have you noticed how much cleaner the cage looks after tackling these pieces first?
Detach Perches And Toys
Next, take off all perches and toys from the cage bars. These items can harbor bacteria and old food, so cleaning them separately is essential.
Look for clips, hooks, or screws holding these in place. Carefully detach them to prevent breaking any parts or harming your bird’s favorite playthings.
Cleaning perches and toys individually lets you inspect for wear and tear. Could any of these need replacing to keep your bird safe and happy?
Clean Each Part Thoroughly
Cleaning each part of the bird cage thoroughly is essential for your bird’s health. Dirt and bacteria hide in corners and crevices. Removing all debris helps prevent illnesses and keeps the cage fresh. Take your time to clean every piece carefully. This ensures a safe and comfortable home for your feathered friend.
Soak And Scrub
Start by soaking cage parts in warm water. This loosens dirt and dried droppings. Use a soft brush or sponge to scrub all surfaces. Pay close attention to bars, perches, and feeders. Avoid harsh scrubbing to protect the cage material. Rinse off loosened grime before moving to the next step.
Use Vinegar Or Bird-safe Disinfectants
Vinegar is a natural cleaner that kills germs safely. Mix equal parts vinegar and water in a spray bottle. Spray the cage parts and let them sit for 10 minutes. Alternatively, use a bird-safe disinfectant following label instructions. Avoid bleach or strong chemicals that can harm birds. Proper disinfection kills bacteria and keeps your bird healthy.
Rinse And Dry Completely
Rinse all cage parts thoroughly with clean water. This removes any cleaning residues that may irritate your bird. Use a clean towel to dry parts or let them air dry in the sun. Ensure everything is completely dry before reassembling the cage. Dampness can cause mold growth and odors. Dry parts protect your bird’s environment and comfort.
Sanitize And Deodorize
Sanitizing and deodorizing your bird cage is crucial for maintaining a healthy environment for your feathered friend. It not only kills harmful germs but also helps keep unpleasant odors at bay. Let’s look at how you can achieve a fresh, safe space for your bird without using harsh chemicals.
Apply Safe Disinfectants
Choose disinfectants that are specifically labeled safe for birds. Avoid bleach or ammonia-based cleaners, as their fumes can harm your bird’s respiratory system.
A simple mix of white vinegar and water (one part vinegar to two parts water) works well to disinfect without any toxic effects. Spray this solution on cage surfaces and let it sit for 10 minutes before rinsing thoroughly with water.
Remember to remove your bird before applying any disinfectant and allow the cage to dry completely. This keeps your bird safe from any leftover residue or fumes.
Eliminate Odors Naturally
Odors in bird cages often come from droppings and food remnants. Baking soda is a natural deodorizer you can sprinkle on the cage tray before adding fresh bedding.
Activated charcoal placed near the cage can also absorb bad smells without affecting your bird. Plus, changing cage liners regularly is one of the easiest ways to keep odors under control.
Have you noticed that some natural scents, like lemon or eucalyptus, might irritate your bird? Stick to odor control methods that don’t rely on strong fragrances to keep your pet comfortable.
Credit: lafeber.com
Reassemble And Set Up The Cage
After thoroughly cleaning your bird cage, it’s time to put everything back together and create a safe, comfortable space for your feathered friend. Proper reassembly ensures your bird’s environment stays secure and inviting. This step requires attention to detail and a careful check of every part.
Check For Damage
Before reassembling, examine the cage parts closely for any damage. Look for bent bars, loose screws, or rust spots that could harm your bird. Even small cracks or sharp edges can cause injuries or allow your bird to escape.
If you find damaged areas, replace or repair them immediately. This might mean tightening screws, sanding rough spots, or swapping out broken accessories. Your bird’s safety depends on a sturdy, intact cage.
Arrange Accessories Properly
Think about how your bird uses the cage when placing toys, perches, and feeders. Position perches at different heights to encourage movement and exercise. Keep food and water dishes away from droppings to maintain cleanliness.
Try to avoid overcrowding. Giving your bird enough space to fly short distances or stretch wings makes a big difference in their happiness. Have you noticed how your bird reacts when accessories are rearranged? Sometimes a small change refreshes their mood and activity.
Establish A Cleaning Routine
Establishing a cleaning routine ensures a healthy environment for your bird. Begin by removing all toys and perches. Scrub the cage with bird-safe disinfectant and rinse thoroughly. Make sure the cage is completely dry before reassembling. Regular deep cleaning prevents bacteria buildup and keeps your feathered friend happy.
Establishing a cleaning routine for your bird cage ensures a healthy environment. Birds thrive in clean habitats, reducing stress and preventing diseases. Consistent cleaning minimizes odors and keeps your feathered friend happy. Developing a regular cleaning schedule can seem daunting. But breaking it down into daily and weekly tasks makes it manageable.Daily Spot Cleaning
Daily spot cleaning keeps the cage fresh and inviting. Remove uneaten food to prevent spoilage. Change the water to ensure it’s clean and safe for drinking. Wipe down perches and toys to remove droppings. Use a damp cloth for quick clean-ups. Check the cage floor for debris and replace liners if needed. These small tasks only take a few minutes each day.Weekly Deep Cleaning Tips
Weekly deep cleaning goes beyond daily maintenance. First, relocate your bird to a safe area. Disassemble the cage, removing all accessories. Wash each part with warm, soapy water. Pay attention to corners and crevices. Rinse thoroughly to remove soap residue. Allow everything to dry completely before reassembly. Sanitize perches and toys to kill bacteria. Rotate toys to keep your bird engaged. Regular deep cleaning prevents buildup and maintains a hygienic home.Prevent Common Cleaning Mistakes
Preventing common cleaning mistakes is key to keeping your bird’s cage safe and comfortable. Some errors can harm your feathered friend or reduce the effectiveness of your cleaning efforts. Avoiding these pitfalls will make cage cleaning easier and protect your bird’s health.
Avoid Harsh Chemicals
Many people reach for strong cleaners thinking they’ll kill germs faster. However, harsh chemicals can leave harmful residues that your bird might ingest or inhale. Instead, use bird-safe cleaning agents like diluted vinegar or mild dish soap.
Think about it this way: would you want to eat food washed in bleach? Your bird’s delicate respiratory system is even more sensitive. After cleaning, rinse the cage thoroughly with water to remove any traces of cleaner.
Ensure Thorough Drying
Moisture left in the cage can cause mold growth and attract bacteria. Even if the cage looks dry, hidden damp spots can harm your bird. Use a clean towel to wipe down bars and surfaces after washing, then let the cage air dry completely before putting your bird back in.
Have you ever noticed your bird sneezing or acting lethargic after a cage cleaning? It could be due to leftover moisture or cleaning residues. Giving the cage enough drying time ensures a healthier environment and prevents respiratory issues.
Frequently Asked Questions
How Often Should I Deep Clean My Bird Cage?
Deep clean your bird cage at least once a week. Regular cleaning prevents bacteria buildup and keeps birds healthy. Spot cleaning daily also helps maintain hygiene. Frequent cleaning reduces odors and keeps your bird comfortable in a clean environment.
What Supplies Are Needed For Deep Cleaning A Bird Cage?
You need bird-safe disinfectant, warm water, scrub brushes, and paper towels. Avoid harsh chemicals like bleach. Use mild soap or vinegar solutions. Gloves protect your hands. A clean workspace and a safe temporary place for your bird are also important.
Can I Use Household Cleaners To Clean Bird Cages?
Avoid regular household cleaners as many are toxic to birds. Use bird-safe disinfectants or natural cleaners like diluted vinegar. Always rinse cages thoroughly after cleaning. Using safe products protects your bird’s respiratory health and prevents harmful chemical exposure.
How Do I Safely Remove My Bird During Cage Cleaning?
Place your bird in a secure, comfortable carrier or separate room. Ensure the temporary area is safe and quiet. Avoid stress by keeping the bird calm and supervised. This protects your bird and makes deep cleaning easier and safer.
Conclusion
Deep cleaning a bird cage keeps your pet healthy and happy. Clean cages prevent germs and bad smells. Regular washing helps avoid diseases in birds. Use safe cleaners and rinse all parts well. Give your bird a fresh, clean home each time.
A clean cage means a comfortable space for your bird to live. Keep up this habit for your bird’s well-being and your peace of mind. Simple steps lead to a cleaner, safer environment for your feathered friend.


