
Have you ever wanted to capture the secret life of birds right from your backyard? Recording from a bird box camera lets you do just that—watching every flutter, chirp, and nest-building moment up close.
But setting it up and getting clear recordings can feel tricky. Don’t worry, you’re in the right place. This guide will show you exactly how to record from your bird box camera, step by step. By the end, you’ll be capturing amazing bird footage that you’ll want to watch again and again.
Ready to discover the simple tricks that make it happen? Keep reading!
Credit: www.amazon.co.uk
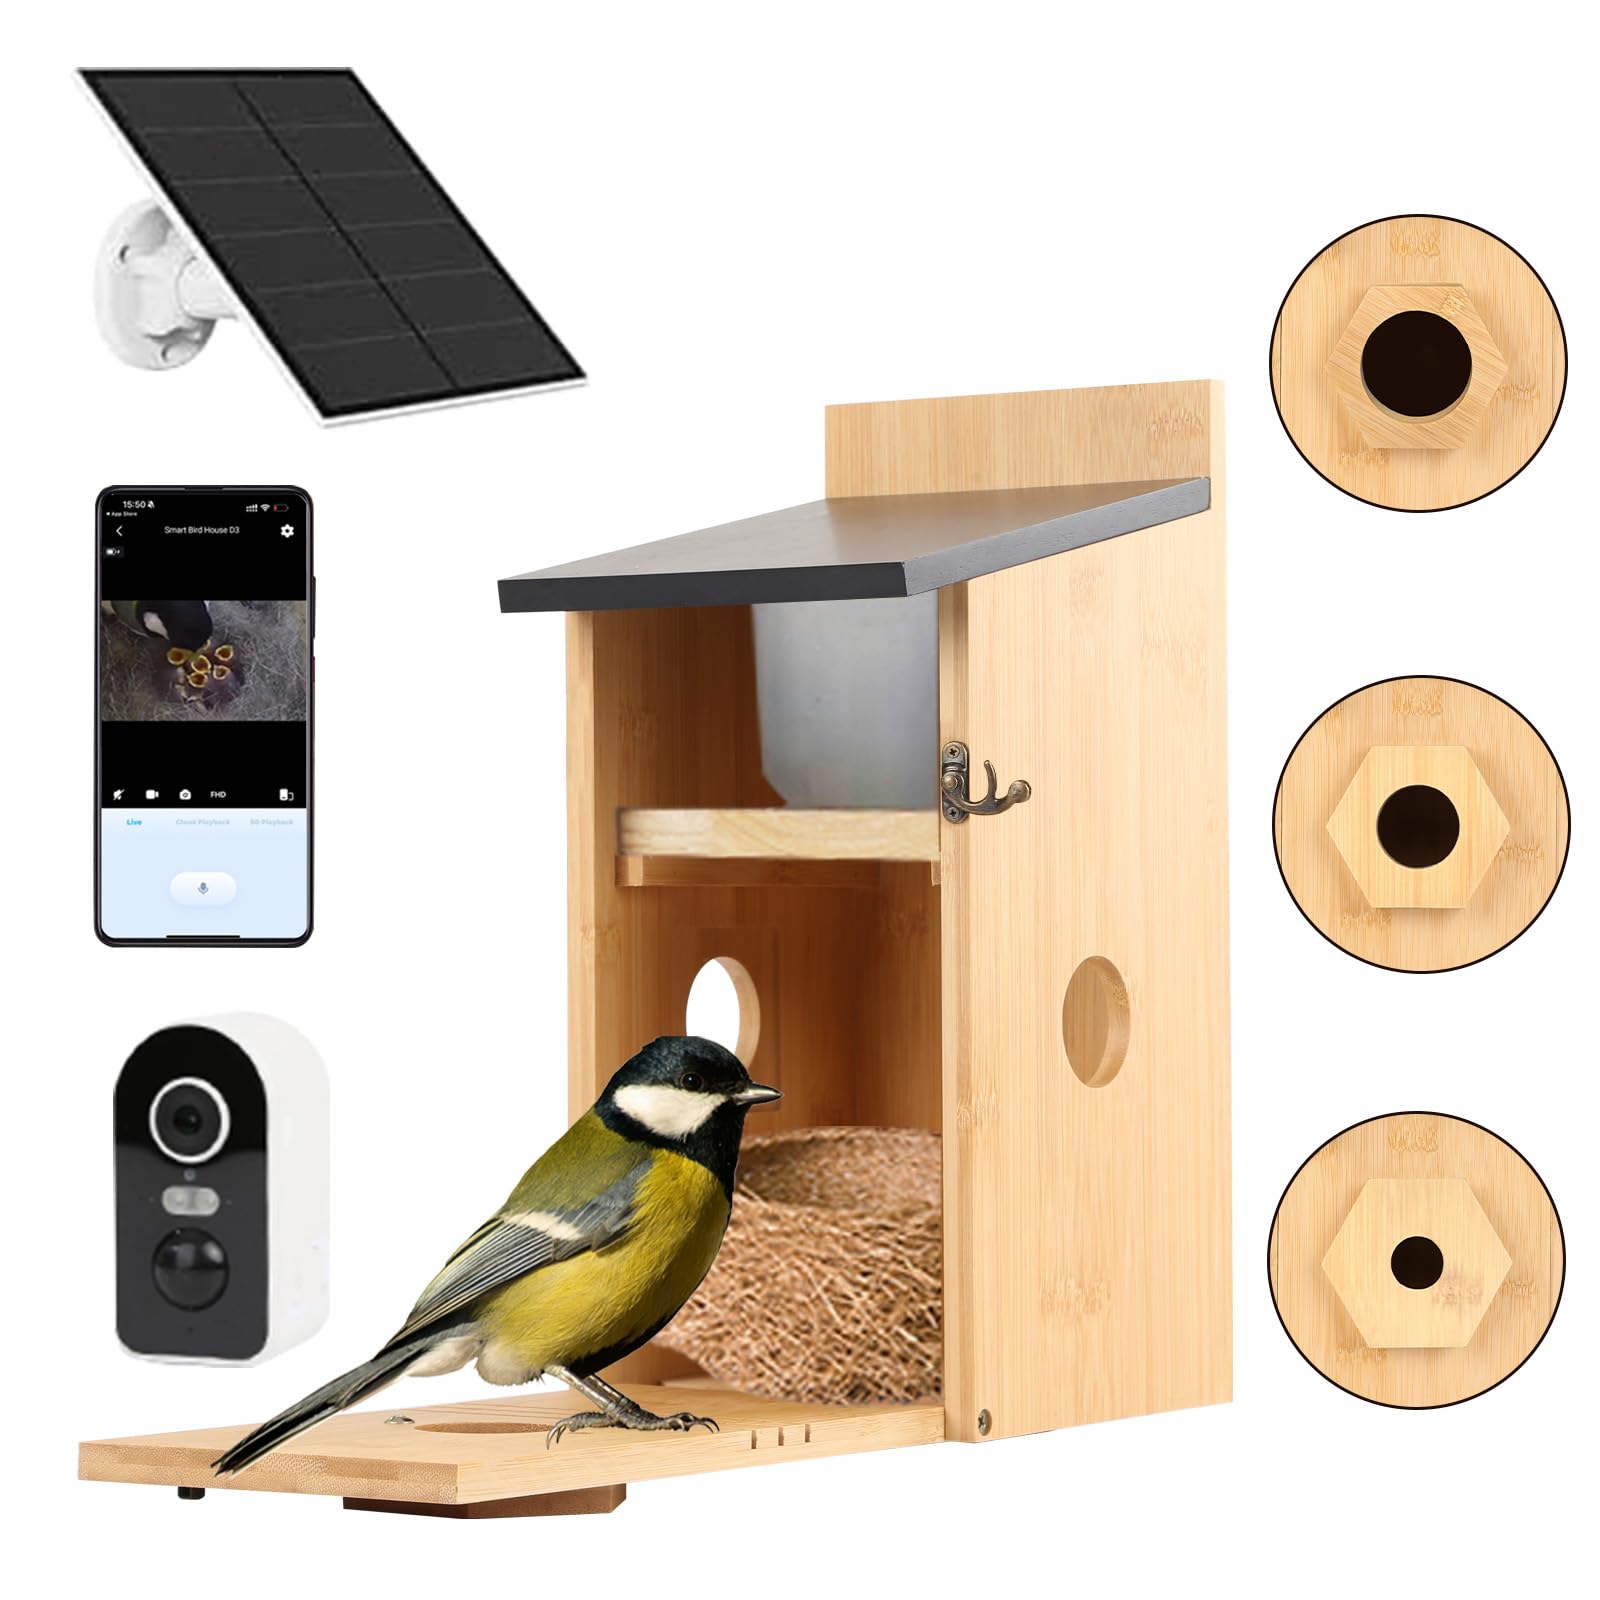
Choosing The Right Bird Box Camera
Choosing the right bird box camera is key to capturing clear and exciting footage. The perfect camera fits your needs and setup. It helps you see the birds without disturbing them. This section guides you through important points to consider. It covers camera types, must-have features, and budget tips.
Types Of Bird Box Cameras
There are several types of bird box cameras. Each type suits different situations and preferences.
- Wired Cameras:These connect with cables to a recording device. They offer steady power and clear signals.
- Wireless Cameras:These work with Wi-Fi or radio signals. They allow easy placement without cables.
- Infrared Cameras:These capture images in low light or darkness. Perfect for night viewing.
- HD Cameras:These provide high-definition video. They show fine details of birds and nests.
Key Features To Look For
Good features improve your recording experience and results.
- Resolution:Choose cameras with at least 720p for clear images.
- Night Vision:Essential for watching birds at night or in dark boxes.
- Field of View:A wide angle covers more area inside the box.
- Weather Resistance:Cameras must withstand outdoor conditions.
- Recording Options:Support for SD cards or cloud storage is helpful.
- Power Source:Battery or mains power should fit your setup.
Budget Considerations
Bird box cameras come in many price ranges. Set a budget before buying.
Basic models work well for casual watchers. They offer good video quality and simple features.
Higher-end cameras provide sharper images and more settings. They suit serious bird watchers.
Consider long-term costs too. Batteries, memory cards, and maintenance add up.

Credit: nestera.us
Setting Up Your Camera
Setting up your bird box camera correctly is crucial to capturing clear and fascinating footage of your feathered visitors. The right setup ensures you get the best view without disturbing the birds or risking camera damage. Let’s look at how to select the perfect spot, mount your camera securely, and adjust angles for optimal recording.
Selecting The Best Location
Choose a spot where birds are most likely to visit, such as near nesting boxes or feeders. Avoid placing the camera in direct sunlight to prevent glare and overheating. Think about the background too—clean, natural settings make your videos more appealing.
Have you noticed birds favoring certain branches or corners? Position your camera there to catch their behavior up close. Also, consider accessibility for maintenance without disturbing the birds too much.
Mounting The Camera Securely
Use sturdy brackets or mounts designed for outdoor use to keep your camera steady. A shaky camera can ruin hours of footage, so secure it tightly to avoid movement from wind or animals. If possible, use weatherproof materials to protect your setup from rain and humidity.
Check that cables are safely tucked away or shielded to prevent damage. I once lost a week’s worth of footage because a curious squirrel chewed through an exposed wire. Protecting your equipment saves time and frustration.
Adjusting Camera Angles
Angle your camera to focus on the bird box entrance or activity hotspots. Too wide a view might miss details, while too narrow can cut off interesting actions. Experiment with different angles during daylight to find the best framing.
Consider slight downward angles to capture feeding or nesting behavior inside the box without blocking the birds’ path. Remember, small adjustments can make a big difference in the quality and usefulness of your recordings.
Connecting The Camera For Recording
Connecting your bird box camera properly is key to capturing clear, continuous footage of your feathered visitors. How you set up your camera affects not only the quality but also how easy it is to access and save your recordings. Let’s look at different connection options so you can decide what fits your needs and setup best.
Wired Vs Wireless Connections
Wired connections use cables to link your camera directly to a recording device. They offer a stable, uninterrupted signal which is great for long-term recording without worrying about interference. However, running cables might be tricky if your bird box is far from your home or power source.
Wireless connections give you more flexibility by transmitting data over Wi-Fi or Bluetooth. This means less clutter and easier installation, especially if your bird box is in a hard-to-reach spot. Keep in mind, wireless signals can drop or weaken through walls or trees, which might interrupt your recordings.
Using Sd Cards For Storage
Many bird box cameras come with an SD card slot to store footage directly on the device. This method is simple—you just insert the card and let the camera save videos automatically. It’s perfect if you don’t want to worry about constant connectivity or if your camera is placed somewhere without internet access.
One tip from my own experience: use high-capacity and high-speed SD cards to avoid running out of space quickly. Also, check your camera’s settings to enable loop recording, which overwrites old footage so you always have the latest videos without manually clearing the card.
Linking To A Computer Or Mobile Device
Connecting your bird box camera to a computer or mobile device lets you watch live footage and manage recordings easily. Many cameras offer apps or software that allow real-time viewing, alerts, and even remote control of the camera’s angle or zoom.
Make sure your device and camera are on the same network for a smooth connection. If you want to save videos directly to your computer, look for cameras that support FTP uploads or direct USB connections. Have you tried accessing your camera from multiple devices? It can be handy for sharing your birdwatching moments with friends and family.
Configuring Recording Settings
Configuring the recording settings on your bird box camera is a crucial step to ensure you capture exactly what matters. It lets you balance video quality, storage space, and battery life, so you don’t miss any feathered visitors. Adjusting these settings thoughtfully can make your bird-watching experience more rewarding and hassle-free.
Choosing Video Resolution
Video resolution determines how clear and detailed your recordings will be. Higher resolutions like 1080p offer crisp images, making it easier to identify bird species and observe behaviors. However, these files take up more storage and can drain your camera’s battery faster.
If your goal is to capture long hours of footage, consider a 720p resolution to save space without sacrificing too much clarity. Ask yourself: do you want stunning close-ups or longer recording times? Adjust your resolution based on what’s more important to you.
Setting Motion Detection
Motion detection triggers recording only when there’s activity, saving both storage and battery life. Fine-tuning the sensitivity level is key—too high, and the camera might record every leaf movement; too low, and it could miss subtle bird visits.
Try testing the sensitivity by walking past the camera and observing what it picks up. You can also set detection zones to focus on specific areas, such as near the feeder or nest box entrance. Would you prefer continuous recording or smart, event-based clips that highlight bird activity?
Scheduling Recording Times
Bird activity varies throughout the day, so scheduling recording times lets you capture footage during peak hours while saving resources during quiet periods. Early mornings and late afternoons are often the busiest times for birds at feeders.
Set your camera to record only during these hours to maximize efficiency. Many cameras allow multiple time blocks, so you can customize recording for dawn, dusk, or any other periods you want. Have you noticed specific times when your backyard birds are most active? Use that insight to tailor your recording schedule.
Capturing Clear And Stable Footage
Capturing clear and stable footage from a bird box camera is essential to truly appreciate the beauty and behavior of your feathered visitors. Without crisp images and steady video, you might miss key moments or details that make bird watching so rewarding. Focusing on lighting, stability, and weather protection will significantly improve the quality of your recordings.
Managing Lighting Conditions
Good lighting can make or break your footage. Ensure your bird box camera is placed where it gets enough natural light without harsh shadows. Avoid direct sunlight hitting the camera lens, as it can cause glare and wash out the image.
If your bird box is in a shaded spot, consider adding soft, indirect lighting nearby. LED lights with a warm tone work well and won’t disturb the birds. Adjust the camera’s exposure settings if possible to handle varying light throughout the day.
Have you noticed how birds behave differently in low light? Capturing their activity during dawn or dusk requires extra attention to lighting and camera sensitivity. Try experimenting with your camera settings during these times to see what works best.
Reducing Camera Shake
Even the slightest movement can blur your footage and spoil the viewing experience. Secure your bird box camera firmly to prevent shaking caused by wind or animal activity. Use sturdy mounts or brackets that keep the camera steady.
If your setup is prone to vibration, adding foam pads or rubber washers between the camera and mount can absorb shocks. Avoid touching or adjusting the camera while it’s recording to maintain stability.
Consider where you place your bird box. Mounting it on a stable post or tree branch with minimal sway can reduce shake significantly. Ask yourself: could a small change in placement improve the steadiness of your shots?
Dealing With Weather Elements
Weather can be unpredictable, but your footage doesn’t have to suffer. Protect your camera from rain, snow, and excessive dust by installing a weatherproof cover or housing. These shields can also prevent water spots on the lens, which blur your images.
Check the camera’s specifications for operating temperature and moisture resistance. Some models come with built-in heating elements to prevent fogging or freezing in cold climates. Regularly clean the lens to keep your view clear.
Have you thought about how wind-driven debris or insects might affect your recordings? Placing the camera in a slightly sheltered position can minimize these disturbances and keep your footage sharp and clear.
Editing And Saving Your Videos
Edit your bird box camera videos to remove unwanted parts and highlight key moments. Save files in common formats for easy sharing and future viewing. Keep backups to protect your recordings from loss.
Editing and saving your videos from a bird box camera can be an exciting part of bird watching. Once you’ve captured the raw footage, the next step is to refine and organize it. This process can enhance the viewing experience and make sharing your bird videos with others more enjoyable. Let’s dive into the essentials of editing and saving your bird box videos, ensuring they’re polished and ready for your audience.Basic Editing Tools
To start, familiarize yourself with basic video editing software. Many options are user-friendly and perfect for beginners. Programs like iMovie or Windows Movie Maker offer simple cutting, trimming, and adding music functions. You might want to highlight specific bird behaviors by cutting out unnecessary parts. Adding text captions can provide context or interesting facts about the bird species you’re observing. Experiment with these tools to find what works best for your style.Organizing Footage Files
Proper organization of your video files is crucial. Create a dedicated folder on your computer for your bird box videos. Within this folder, you can categorize clips by date, bird species, or notable events. Use descriptive file names to easily locate specific footage later. For example, “BlueJay_Feeding_Sept2023” is more informative than “Video001”. This habit saves time and reduces frustration when you’re searching for a particular video to edit or share.Sharing Your Bird Videos
Once your video is edited and saved, it’s time to share your masterpiece. Consider uploading your video to platforms like YouTube or Vimeo. These platforms allow you to reach a wider audience and connect with fellow bird enthusiasts. Think about adding a brief description or story to accompany your video. This engages your viewers and provides them with a context for what they’re watching. Don’t forget to share your videos on social media, where you can spark discussions and invite feedback. Have you ever considered sharing your videos with local bird clubs or wildlife organizations? They often appreciate fresh content and might even feature your work in their newsletters or on their websites.Troubleshooting Common Issues
Common issues with bird box cameras include poor video quality and recording errors. Check camera settings and ensure proper power supply. Restarting the device often solves connection problems quickly.
Recording from a bird box camera can sometimes face challenges. These issues may disrupt your experience. But don’t worry. Here are solutions to common problems.Fixing Connection Problems
Connection issues are common with bird box cameras. Ensure your camera is within Wi-Fi range. Check your Wi-Fi signal strength. Weak signals cause connection drops. Restart your router for better performance. Verify your camera’s firmware is up-to-date. Outdated firmware can affect connectivity. Also, check the power supply. Ensure cables are secure and functioning.Improving Video Quality
Poor video quality can be frustrating. Adjust your camera’s resolution settings. Lower resolution might improve clarity. Ensure your lens is clean. Dust or debris can blur images. Position your camera for optimal lighting. Avoid direct sunlight or shadows. Test different angles for the best view.Handling Storage Limitations
Storage can fill up quickly. Regularly delete old footage. This frees up space for new recordings. Consider using a larger memory card. Check your camera’s storage compatibility first. Enable motion detection recording. This saves space by recording only when necessary. Transfer important videos to an external device. Keep your camera’s storage clear and efficient.
Credit: www.amazon.com
Frequently Asked Questions
How Do I Start Recording With A Bird Box Camera?
To start recording, connect the bird box camera to power and insert an SD card. Use the camera app or software to initiate recording manually or set scheduled times for automatic capture.
What Storage Options Work Best For Bird Box Cameras?
MicroSD cards up to 128GB are commonly used for storage. Choose high-speed, reliable cards to ensure smooth recording and easy footage retrieval without lag or data loss.
Can I Record Bird Box Camera Footage Remotely?
Yes, many bird box cameras support Wi-Fi or app-based remote access. This allows live viewing and recording control from smartphones or computers, enhancing monitoring convenience.
How Long Can A Bird Box Camera Record Continuously?
Recording duration depends on the SD card capacity and power supply. Typically, a 64GB card can store several hours to days of footage before overwriting old files.
Conclusion
Recording from a bird box camera is simple and rewarding. Choose the right camera and storage method. Set up the device carefully for clear footage. Check recordings often to ensure good quality. Enjoy watching birds without disturbing them. This process helps you learn about nature at home.
Keep your equipment clean and ready to capture moments. Start recording today and discover the joy of bird watching.


