
If you love watching birds visit your yard, putting up a bird feeder pole is a great way to attract more feathered friends. But how do you make sure your pole stays steady and safe in the ground?
You want it to be strong enough to hold the feeder, even on windy days. In this guide, you’ll discover simple, clear steps to set up your bird feeder pole quickly and securely. By following these easy tips, you’ll create a perfect spot for birds to gather—and enjoy the show right from your window.
Keep reading to learn how to do it right the first time.
Choosing The Right Location
Choosing the right location for your bird feeder pole is key to attracting birds and keeping the feeder safe. The spot affects bird visits, feeder cleanliness, and how easy it is to refill. Think about sunlight, shade, safety, and convenience before placing the pole. A good location helps birds feel safe and makes your job easier.
Consider Sunlight And Shade
Pick a spot that gets morning sun and afternoon shade. Birds like warmth early in the day. Shade in the afternoon stops the feeder from getting too hot. Too much sun can spoil seeds quickly. Shade helps keep the food fresh longer.
Avoid Predators And Hazards
Place the pole where cats and other predators cannot hide nearby. Avoid areas near busy roads or places with heavy foot traffic. Stay away from windows to prevent birds from flying into glass. Clear space around the feeder helps birds spot danger early.
Accessibility For Filling And Cleaning
Choose a place easy to reach for refilling and cleaning. Make sure you can get close without disturbing birds. A nearby path or patio works well. Regular cleaning keeps birds healthy and feeder working well.
Credit: dengarden.com
Selecting The Best Pole
Choosing the right pole for your bird feeder can make a huge difference in attracting feathered friends and keeping your setup durable. The pole you select needs to fit your outdoor space, handle the weight of your feeder, and stand up to changing weather. Let’s look at what makes a pole the best choice for your backyard birdwatching.
Material Options
Poles come in various materials, each with its own benefits. Metal poles, like steel or aluminum, are strong and long-lasting, perfect if you want something sturdy. Wooden poles blend naturally into garden settings but may require regular treatment to avoid rotting or insect damage.
Plastic poles are lightweight and easy to install but might not hold up well in strong winds or heavy feeders. Think about how much maintenance you’re willing to do and the look you want in your garden before picking a material.
Height And Stability
The height of your pole affects which birds will visit and how easy it is to fill your feeder. A pole between 4 to 6 feet tall often works well, keeping feeders away from pets and easy to access. But stability matters just as much—no one wants a wobbly pole tipping over at the first gust of wind.
Look for poles with wide or spiked bases for better grip in the ground. Sometimes adding extra support like guy wires or anchoring the pole in concrete can make a big difference. Have you noticed your feeder leaning or shaking? That’s a sign you need more stability.
Weather Resistance
Your pole will face rain, sun, snow, and wind, so it needs to handle these conditions without breaking down. Powder-coated metal poles resist rust and fading, keeping your setup looking good year-round. Treated wood can resist moisture, but untreated wood might swell or crack over time.
Consider your local climate when choosing a pole. If you live in a rainy area, rust-resistant metal or composite materials might save you headaches. Want your bird feeder to last through all seasons? Prioritize weather-resistant features to protect your investment.
Gathering Necessary Tools
Gathering the right tools makes installing a bird feeder pole easier. The right equipment helps set the pole firmly in the ground. This prevents wobbling and ensures safety for visiting birds.
Some tools are essential for basic installation. Others are optional but help improve stability and durability. Preparing these tools before starting saves time and effort.
Basic Tools Needed
- Shovel or post hole digger for digging a hole
- Level to check the pole’s straightness
- Measuring tape to measure hole depth
- Rubber mallet or hammer to tap the pole into place
- Gloves to protect your hands during work
- Water and mixing container if using concrete
Optional Equipment For Stability
- Concrete mix for a stronger base
- Gravel to improve drainage at the hole bottom
- Bracing stakes for extra support in soft soil
- Trowel or small spade for detailed digging
- Protective sleeve to prevent pole rust or damage
Preparing The Ground
Preparing the ground is a crucial step before installing your bird feeder pole. It ensures stability and longevity, giving your feathered friends a safe spot to visit. Taking a little time here saves you from future hassles like wobbling poles or feeders that topple over.
Clearing Debris
Start by removing leaves, sticks, rocks, and any other debris from the area where you plan to place the pole. A clean surface helps the pole sit firmly and prevents uneven settling.
I once skipped this step, and the pole leaned awkwardly because of hidden roots and stones beneath. Don’t let your feeder’s foundation be compromised by small, avoidable obstacles.
Checking Soil Type
Soil type affects how well your pole will hold up. Sandy soil might require deeper digging or added support, while clay soil can be hard to dig but holds poles firmly.
Dig a small hole and test how easily you can insert a stake or rod. If it’s tough, you might need tools like a post hole digger or even consider concrete for extra stability.
Marking The Spot
Choose a spot that gets good visibility but is also safe from strong winds or heavy foot traffic. Mark this spot clearly with a stake or a piece of tape.
Marking helps you visualize the exact location before digging. It also prevents confusion if you’re working with others or need to adjust the position slightly.
Installing The Pole
Installing the pole for your bird feeder is a crucial step that sets the foundation for attracting feathered visitors. Getting this right ensures stability and safety for both the feeder and the birds. Let’s walk through the process to make sure your bird feeder pole stands firm and lasts through all seasons.
Digging The Hole
Start by choosing a spot that offers good visibility and is away from predators. Use a shovel or post hole digger to create a hole about 2 feet deep and 8 to 12 inches wide.
Don’t rush this part. A deep and wide hole will give the pole a strong base. Think about the soil type too—loose soil may require a deeper hole.
Setting The Pole
Place the pole straight into the hole. Use a level to check that it’s perfectly vertical—this prevents wobbling later on.
If your pole has a spike, push it firmly into the ground. For poles without spikes, you might need a helper to hold it steady while you prepare to secure it.
Securing With Soil Or Concrete
You have two options to anchor your pole: packing soil tightly around it or using concrete for extra strength.
- Soil:Fill the hole back with soil in layers, pressing down firmly with your foot or a tool after each handful.
- Concrete:Mix quick-setting concrete according to package instructions and pour it around the pole. Hold the pole straight until the concrete sets.
Concrete adds durability, especially in windy areas, but soil works well if packed tightly. Which method suits your yard’s conditions better?
Credit: dengarden.com
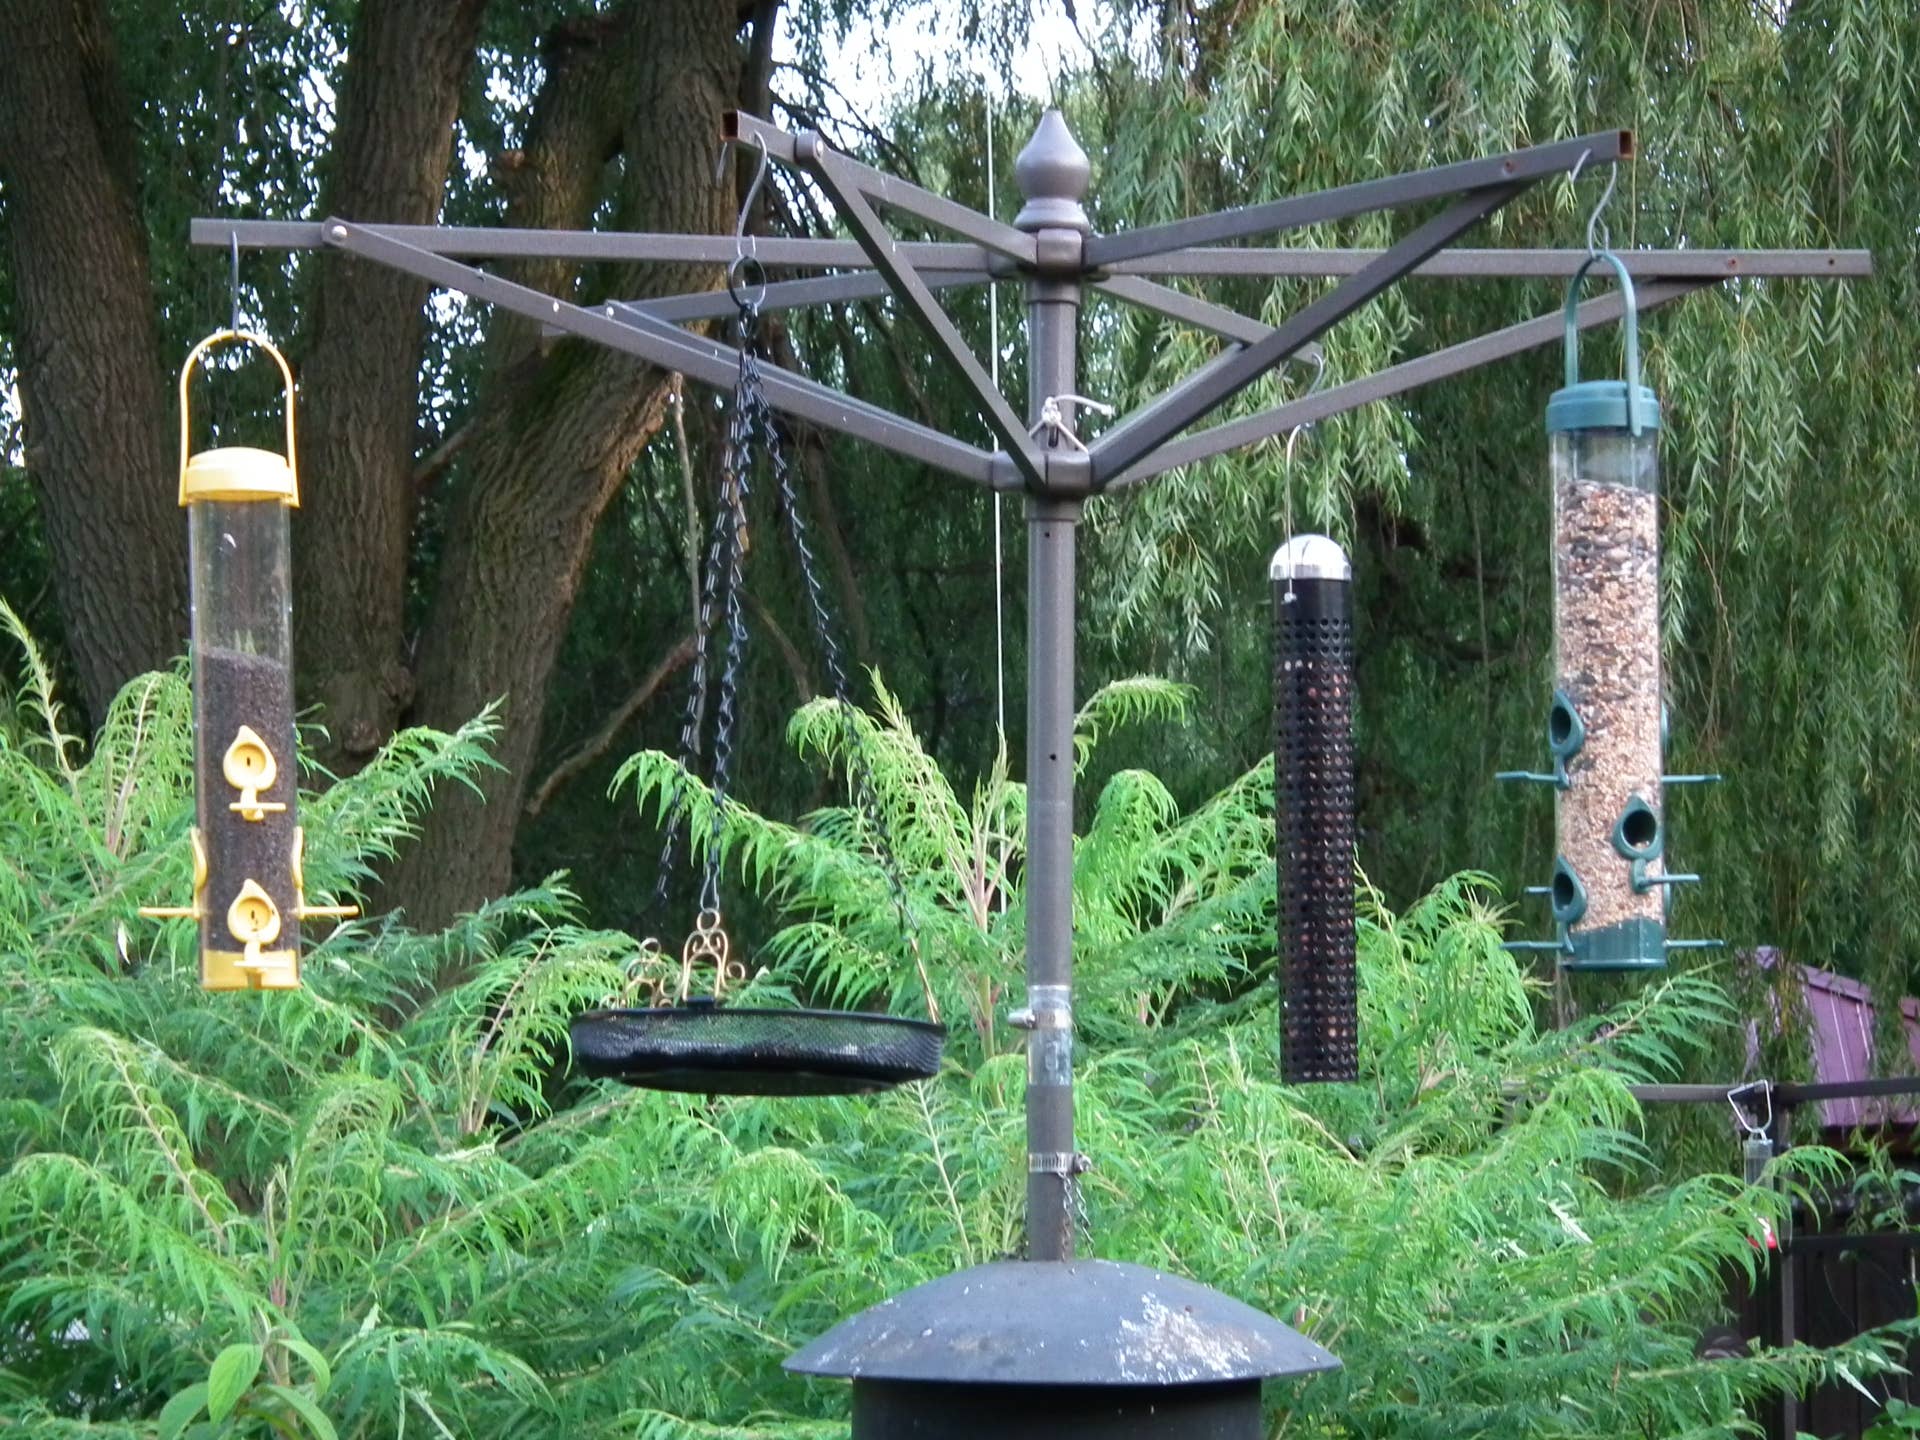
Attaching The Bird Feeder
Choose a sturdy spot with soft soil to place the bird feeder pole. Push the pole firmly into the ground for stability. Check that it stands straight before hanging the feeder.
Attaching a bird feeder to a pole in your garden brings birds closer to view. It also makes feeding more efficient and organized. This guide will help you attach your feeder securely and ensure a stable setup.Mounting Options
There are several ways to attach a bird feeder. Some feeders come with built-in hooks. These are the easiest to use. Simply hang them on the pole. If your feeder has no hooks, use a mounting bracket. The bracket can be screwed onto the pole. Ensure the screws are tight to prevent wobbling. For heavier feeders, consider using a clamp. Clamps provide extra support and are adjustable.Ensuring Stability
Stability is crucial for keeping the feeder upright. Use a level to check the pole’s alignment. If the pole leans, adjust its position. Soil can be compacted for extra grip. You can also use stabilizing brackets. These attach at the base of the pole. They prevent tipping over. In windy areas, consider adding extra support. A ground anchor can help keep the pole steady.Testing The Setup
Once the feeder is attached, test its stability. Gently shake the pole. It should remain firm and not sway. Check the feeder’s weight capacity. Ensure it can hold seeds without bending. Observe the setup over a few days. This will reveal any issues with the mounting. If the feeder stays stable, birds will come. Enjoy watching them feed safely!Maintaining Your Feeder Pole
Choose a stable spot with soft soil to place your bird feeder pole. Push it deep enough to keep it steady and prevent tipping. Regularly check the pole’s position and tighten any loose parts for lasting support.
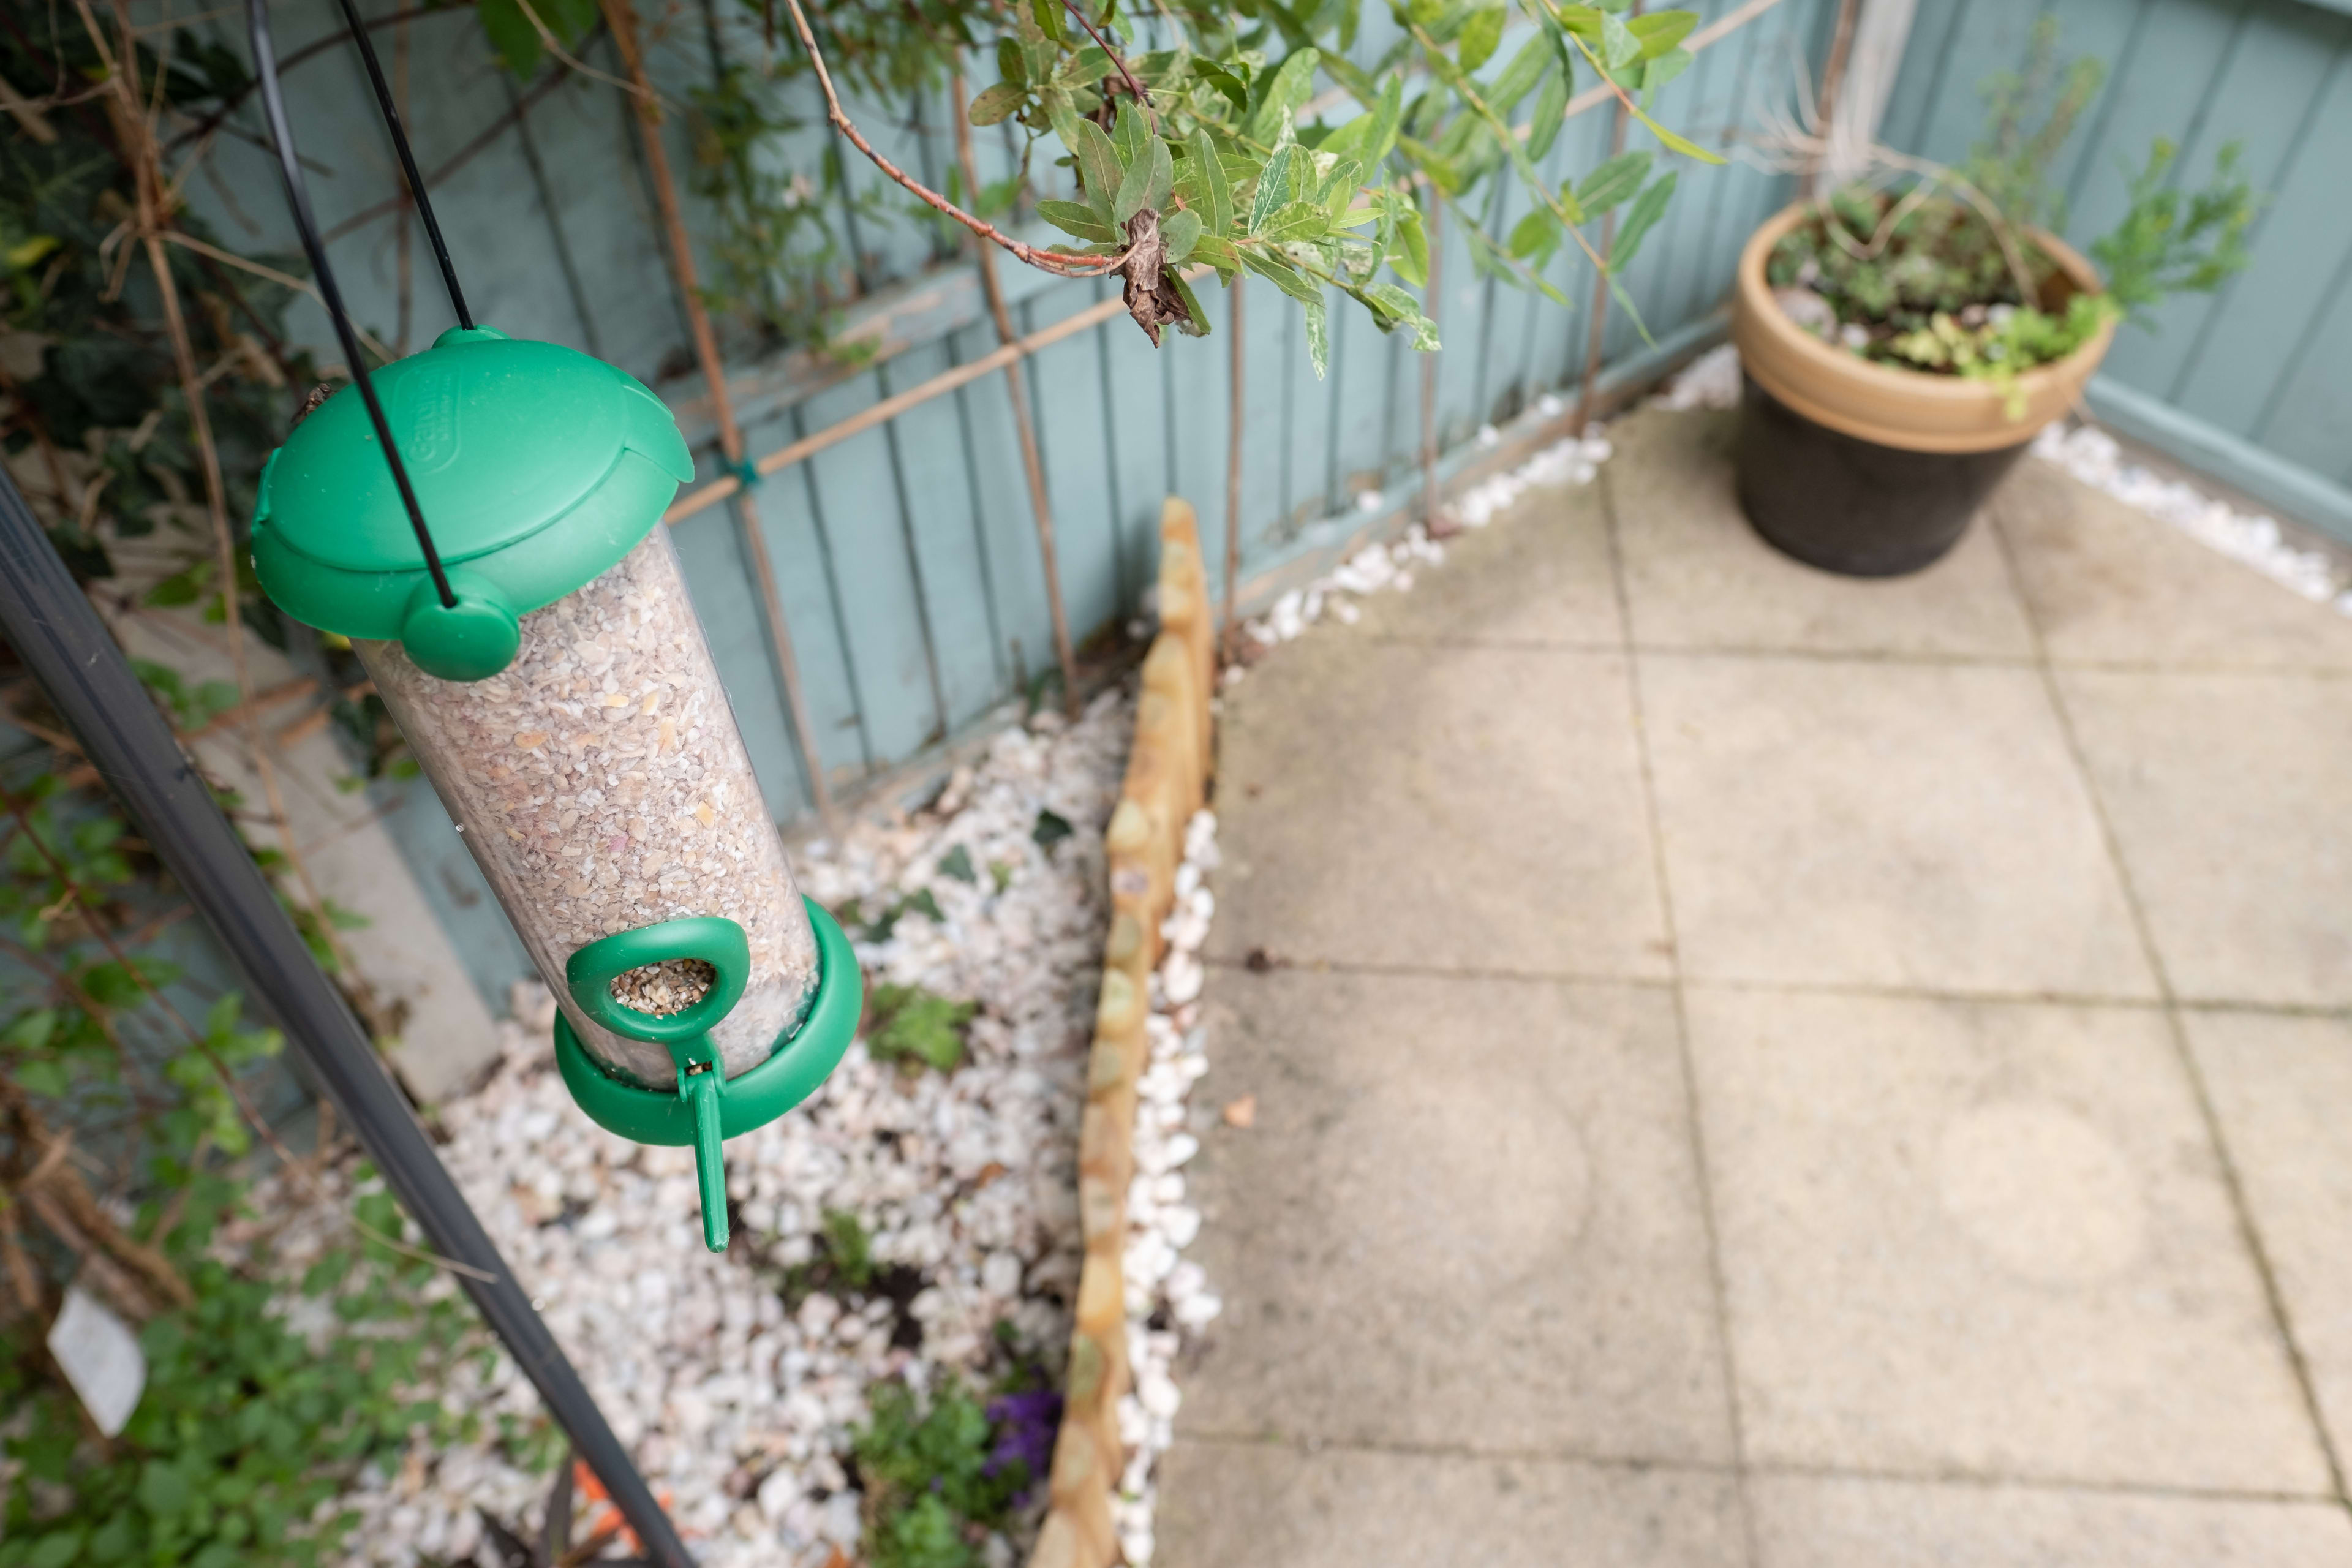
Maintaining your feeder pole ensures that your backyard remains a haven for birds and a delight for bird watchers. A well-maintained pole not only stands the test of time but also provides a safe space for birds to feed. Here’s how you can keep it in top condition.Regular Cleaning
Bird feeders can become breeding grounds for bacteria and mold if not cleaned regularly. Make it a habit to wash your feeder with warm water and mild soap at least once a month. A clean feeder attracts more birds and keeps them healthy. Use a small brush to reach tight spots and rinse thoroughly to remove any soap residues. Allow the feeder to dry completely before refilling it with seeds. This simple routine keeps your feathered friends safe and happy.Checking For Wear And Tear
A quick inspection of your feeder pole can reveal signs of wear and tear that need immediate attention. Look for rust on metal parts and cracks or splinters on wooden poles. Addressing these issues early prevents further damage and ensures longevity. If your pole is wobbly, tighten the screws or replace the parts that are beyond repair. A sturdy pole withstands strong winds and provides a stable feeding platform for birds.Seasonal Adjustments
Seasons change, and so should your feeder setup. In winter, consider adding a baffle to shield seeds from snow and ice. During summer, reposition the feeder to a shaded area to prevent seeds from spoiling in the sun. Think about the specific needs of birds during different times of the year. Providing fresh water in freezing temperatures or adjusting the height of the feeder can make a big difference. How do you adjust your feeding setup as the seasons change?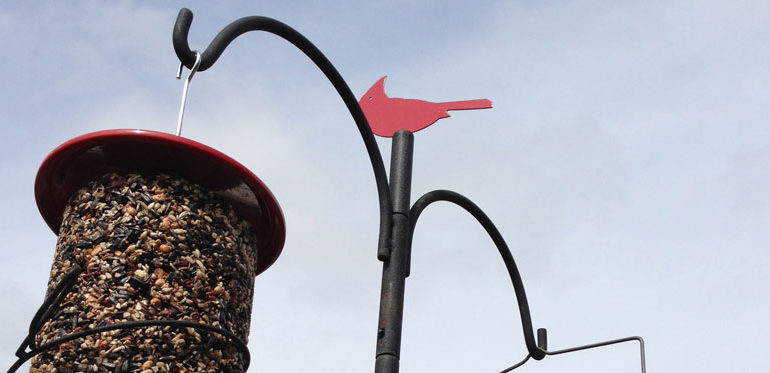
Credit: gardeningproductsreview.com
Frequently Asked Questions
How Deep Should A Bird Feeder Pole Be In The Ground?
The pole should be buried at least 18 to 24 inches deep. This depth ensures stability and prevents tipping. Use a post hole digger for accuracy. Adding gravel at the base improves drainage and firmness.
What Tools Are Needed To Install A Bird Feeder Pole?
You need a post hole digger, shovel, level, and gravel. A mallet or hammer helps drive the pole in. Having gloves protects your hands during digging and assembly. Optional tools include a tape measure and water for soil softening.
Can I Install A Bird Feeder Pole In Rocky Soil?
Yes, but it requires extra effort. Use a sturdy post hole digger to break rocks. You may need to remove large stones by hand. Adding concrete around the pole increases stability in tough soil.
How Do I Prevent Squirrels From Climbing The Bird Feeder Pole?
Install a squirrel baffle around the pole, about 3 feet above ground. Baffles are dome-shaped or cylindrical barriers that block climbing. Place the feeder above the baffle for extra protection. Regularly inspect to ensure the baffle is secure.
Conclusion
Placing a bird feeder pole in the ground is simple and rewarding. Choose a stable spot with good sunlight and easy access. Dig a hole deep enough to hold the pole firmly. Use soil or gravel to fill around it and press down tight.
Check the pole often to keep it steady. This helps birds visit safely and enjoy your feeder. Watching birds close by brings joy and calm. Start today, and enjoy nature right in your yard.


