
Are you ready to bring your Bird Buddy to life and enjoy watching birds up close? Mounting your Bird Buddy on a pole might seem tricky at first, but with the right steps, you’ll have it set up in no time.
Imagine capturing stunning bird photos and videos right from your backyard, hassle-free. In this guide, you’ll discover simple, clear instructions that make the whole process easy and stress-free. Keep reading, and you’ll be a pro at mounting your Bird Buddy before you know it!

Credit: www.amazon.com
Choosing The Right Pole
Choosing the right pole for mounting your Bird Buddy is crucial for both the safety of the device and the quality of your birdwatching experience. The right pole ensures stability, optimal viewing angles, and ease of maintenance. Before you start mounting, think about the material, height, and location carefully to get the best results.
Material Options
Poles come in various materials, each with pros and cons. Metal poles, like aluminum or steel, offer excellent durability and weather resistance. However, they can be heavy and may require tools for installation.
Wooden poles are easier to handle and can blend naturally into garden settings. The downside is they may degrade over time due to moisture and insects. Plastic or PVC poles are lightweight and resistant to rust but might not hold up well in strong winds.
Think about your local weather and how much maintenance you’re willing to do. Have you considered if a pole will rust or rot before you replace it?
Ideal Height
The height of the pole affects both bird activity and camera performance. Typically, placing Bird Buddy at about 5 to 7 feet off the ground works well. This height mimics natural bird perches and keeps the device accessible for cleaning and battery changes.
Too low, and you risk disturbances from pets or people. Too high, and you might miss close-up details or make maintenance difficult. What height allows you to enjoy your birds without hassle?
Location Tips
Position your pole where birds naturally visit, such as near feeders, bushes, or water sources. Avoid areas with heavy foot traffic to reduce stress on the birds. Also, think about sunlight direction to prevent glare on the camera lens.
Check for overhead cover that offers protection from rain but doesn’t block the camera view. Does your chosen spot provide a clear line of sight and some shelter? Experiment with different locations to find what works best for your backyard habitat.
Credit: www.amazon.com
Gathering Required Tools
Gathering the right tools is the first step to mount your Bird Buddy on a pole. Having everything prepared makes the process smoother and faster. It helps avoid interruptions and ensures a secure installation. Here, you will find what tools and safety gear you need.
Essential Tools List
- Drill with drill bits
- Screwdriver (Phillips and flathead)
- Adjustable wrench or pliers
- Measuring tape
- Level tool
- Mounting brackets or straps (usually included with Bird Buddy)
- Marker or pencil for marking holes
Safety Gear Recommendations
- Work gloves to protect your hands
- Safety glasses to guard your eyes
- Helmet if working near overhead obstacles
- Non-slip shoes for stable footing
- Hearing protection if using loud power tools
Preparing The Pole
Preparing the pole is a crucial part of mounting your Bird Buddy securely and ensuring it functions well. Taking time here helps avoid future issues like instability or poor camera angles. Let’s focus on two key tasks that make a big difference: cleaning and inspection, and marking the mounting points.
Cleaning And Inspection
Start by thoroughly cleaning the pole. Dirt, moss, or old paint can interfere with the mounting hardware gripping properly. Use a wire brush or sandpaper to remove any loose material and wipe the surface clean with a damp cloth.
Check the pole for any damage like cracks or rust spots. These can weaken the support and cause the Bird Buddy to shift or fall. If you spot any issues, consider repairing or replacing the pole before continuing. Have you ever mounted something only to find it wobbles later? Proper inspection can save you from that frustration.
Marking Mounting Points
Next, decide exactly where on the pole you want the Bird Buddy to sit. Mark these points clearly with a pencil or marker. Precise markings help you drill holes or attach brackets accurately, saving time and ensuring stability.
Think about the best height and orientation for your Bird Buddy’s camera view. Marking these spots before installation helps you visualize and adjust placement easily. Are you aiming for a spot that gets good sunlight or one that’s sheltered from wind? This step lets you plan for both functionality and protection.

Credit: www.amazon.com
Attaching The Bird Buddy
Attaching the Bird Buddy to a pole ensures stable placement for clear bird watching. Proper attachment helps protect the device and gives steady video and photo capture. Follow simple steps to install the mounting bracket and secure the Bird Buddy firmly.
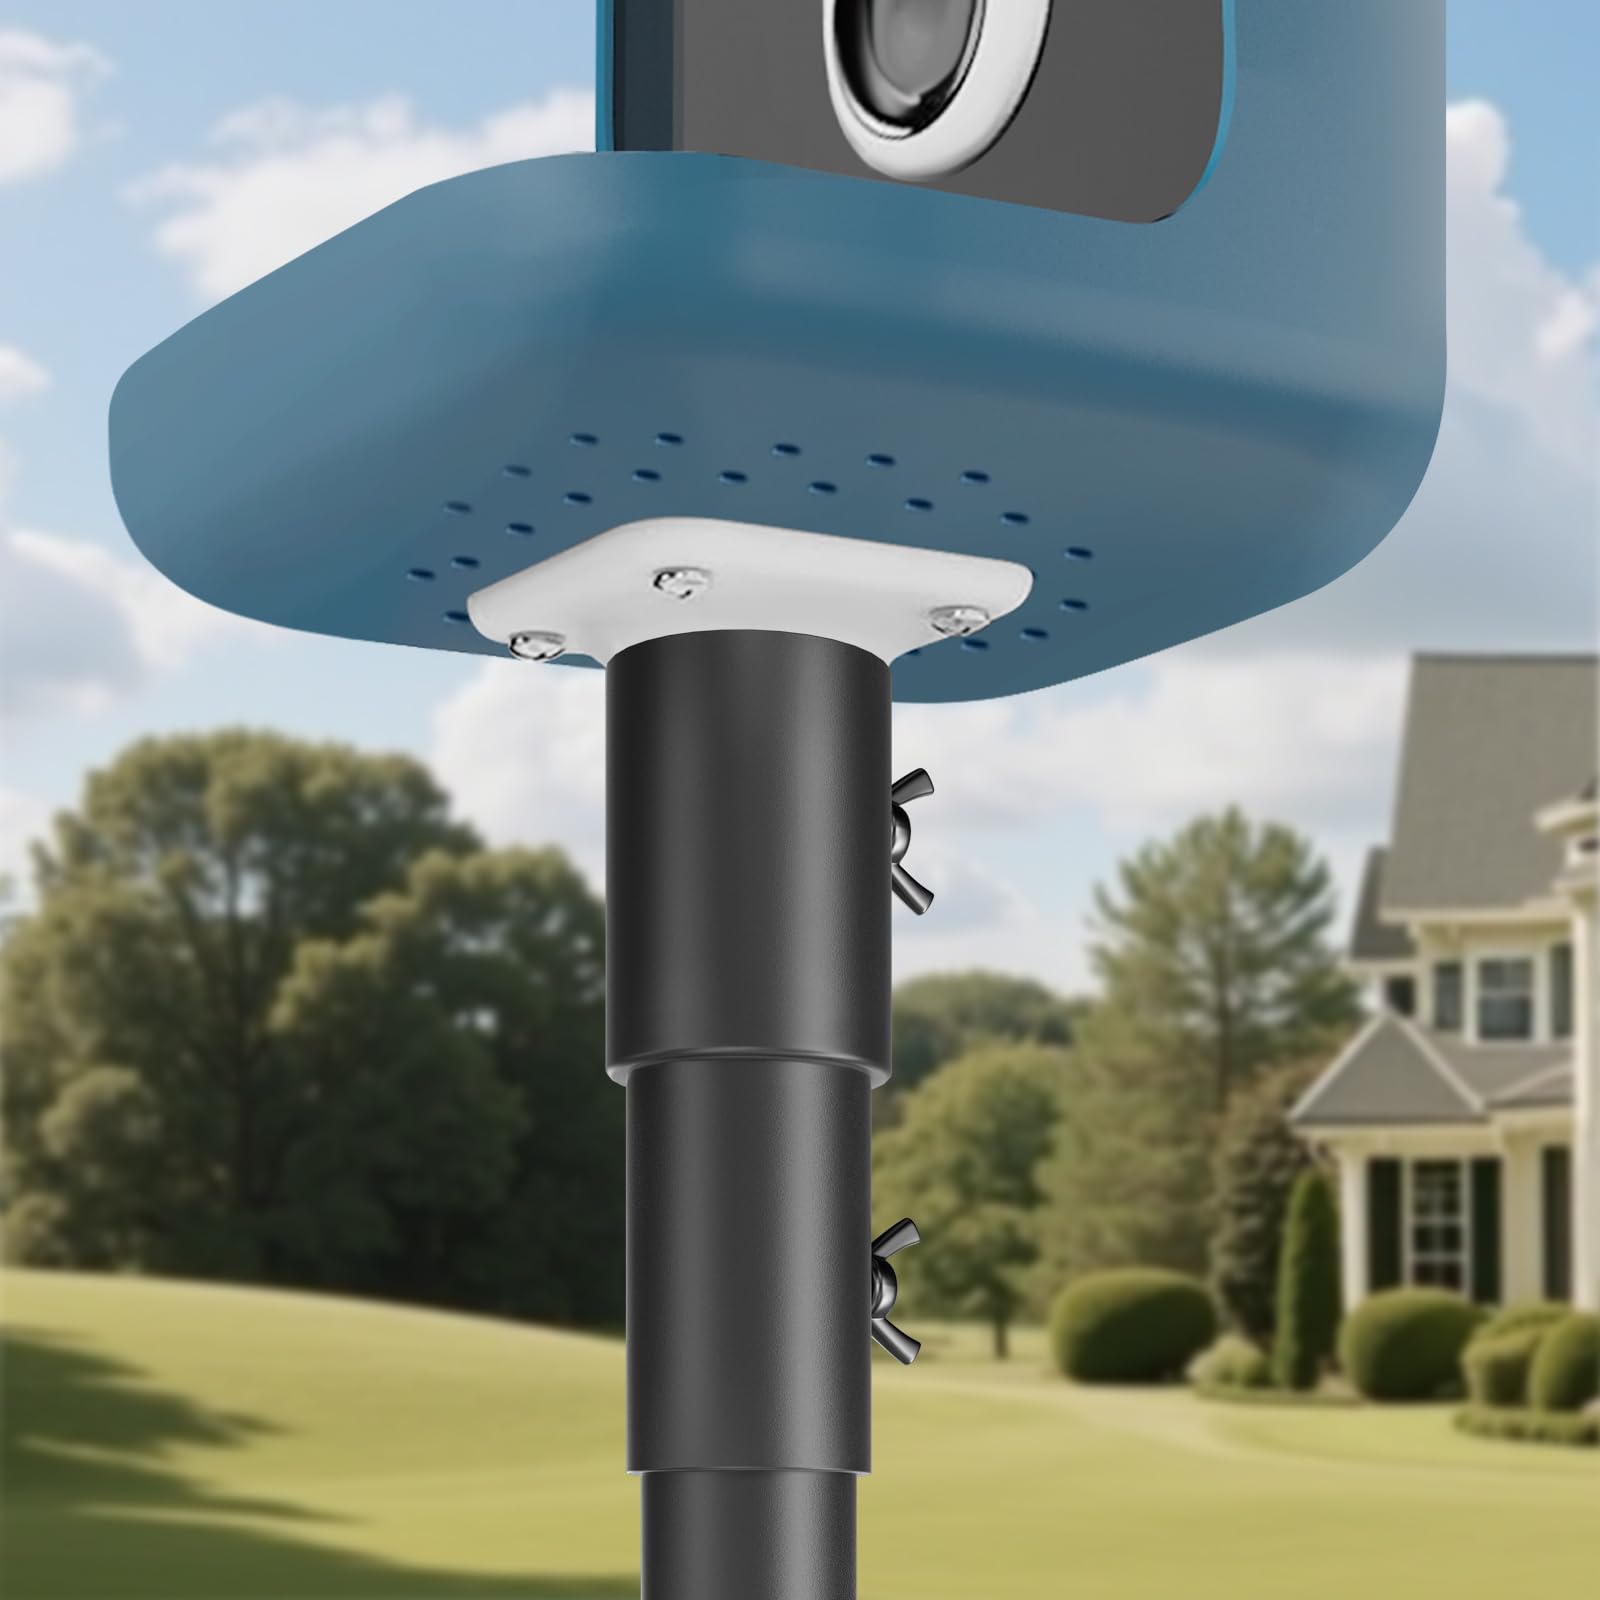
Mounting Bracket Installation
Start by selecting a pole with a smooth surface and suitable diameter. The Bird Buddy mounting bracket fits poles between 1.5 to 2 inches wide. Use the provided screws and straps to attach the bracket tightly to the pole.
- Position the bracket at the desired height on the pole.
- Wrap the adjustable straps around the pole and through the bracket slots.
- Tighten the screws to lock the straps in place.
- Check that the bracket is stable and does not move.
Ensure the bracket faces the direction with the best bird activity. A secure bracket keeps the Bird Buddy steady during wind and weather.
Securing The Device
After installing the bracket, attach the Bird Buddy to it. Align the device’s mounting plate with the bracket’s clip. Slide the Bird Buddy into the bracket until it clicks firmly.
- Make sure the Bird Buddy is level and facing forward.
- Use the safety lock or screw to prevent accidental removal.
- Double-check the device’s stability by gently shaking it.
Secure attachment prevents damage and ensures continuous bird watching. Regularly inspect the mounting to keep it tight and safe.
Power And Connectivity Setup
Setting up power and connectivity for your Bird Buddy on a pole is essential. This ensures the device works smoothly and captures every bird visit. Proper setup avoids interruptions and keeps your device responsive.
Focus on choosing the right power source. Also, establish a strong Wi-Fi connection for real-time updates. Both elements play a key role in the device’s performance.
Power Source Options
Bird Buddy needs a reliable power source to run all day. Consider these options:
- USB Power Bank:Portable and easy to replace. Ideal for spots without electricity.
- Solar Panel:Eco-friendly and automatic charging. Best for sunny locations.
- Direct Outlet Connection:Use an outdoor-rated adapter. Offers continuous power without interruptions.
- Rechargeable Battery Pack:Convenient for remote areas. Make sure it has enough capacity for long use.
Choose a power source based on pole location and weather conditions. Secure cables to prevent damage or disconnections.
Wi-fi Connection Tips
A strong Wi-Fi connection keeps Bird Buddy connected to your app. Follow these tips to improve signal strength:
- Place the pole near your home’s router if possible.
- Use a Wi-Fi extender to boost signal at the pole’s location.
- Check Wi-Fi frequency; 2.4 GHz works better for longer range.
- Keep the device away from metal objects that block signals.
- Test signal strength before final mounting to avoid connectivity issues.
Ensure your Wi-Fi network is stable and has a strong password for security. Good connectivity helps Bird Buddy send photos and alerts without delay.
Testing And Adjustments
Check the Bird Buddy’s angle and stability after mounting it on the pole. Adjust the position to ensure clear bird views and secure fitting. Test the setup for a few days to confirm it stays steady and captures good images.
Mounting your Bird Buddy on a pole is just the beginning. Once it’s in place, it’s essential to ensure everything is working perfectly. Testing and adjusting are crucial steps to guarantee that your setup is flawless, allowing you to capture the most beautiful bird moments. These steps can make the difference between a missed opportunity and a perfect shot.Aligning The Camera
Proper camera alignment is key to capturing stunning images. Start by standing back and checking if the camera lens is facing the area where birds are likely to perch. Adjust the camera angle by slightly rotating or tilting the Bird Buddy, ensuring the field of view is optimal. Think of this as setting the stage for a perfect bird performance. Is there a specific branch or spot where birds frequently land? Make sure your camera is focused there.Functionality Checks
Once aligned, it’s time to perform functionality checks. Test the camera by snapping a few trial photos or videos. Review them to see if the quality and focus meet your expectations. Don’t forget to check connectivity. Ensure that the Bird Buddy is successfully communicating with your smartphone or other devices. This ensures you won’t miss any bird activities due to a technical glitch. Ask yourself, does everything look as it should? If not, make the necessary tweaks. Remember, a few extra minutes spent on adjustments can lead to hours of stunning bird-watching enjoyment.Maintenance And Safety
Secure the Bird Buddy firmly to the pole using the provided brackets for stability. Check all screws and connections to ensure safety and prevent falls. Mount at a height clear of obstacles for better bird visibility and camera function.
Maintaining your Bird Buddy and ensuring its safety on a pole is crucial for its longevity and the well-being of your feathered friends. A well-cared-for Bird Buddy not only functions effectively but also attracts more birds to your backyard. Paying attention to regular cleaning and weather protection can make all the difference.Regular Cleaning
Regular cleaning of your Bird Buddy is essential to prevent the build-up of dirt and debris. Use a gentle brush and mild soap to clean the surface and interior. Rinse thoroughly with water and let it dry before reattaching. Cleaning also helps in preventing the spread of diseases among birds. A clean feeder will attract more birds, ensuring your backyard remains lively and vibrant. Make this a weekly ritual to keep your Bird Buddy in top shape.Weather Protection
Weather can take a toll on your Bird Buddy if not properly managed. Consider using a weather guard or placing it under a sheltered area to protect it from rain and snow. This not only prolongs the life of your feeder but also ensures a dry and comfortable space for the birds. Think about how fluctuating temperatures might affect the feeder. Extreme heat can warp plastic parts, while cold can make materials brittle. By proactively managing weather exposure, you keep your Bird Buddy functional and inviting year-round.Frequently Asked Questions
How Do I Securely Attach Bird Buddy To A Pole?
Use a sturdy mounting bracket designed for poles. Secure the bracket tightly using screws or clamps. Ensure the Bird Buddy is stable and faces an open area for optimal bird watching.
What Pole Size Fits Bird Buddy Mounting Best?
Bird Buddy works well with poles between 1 to 2 inches in diameter. Check your pole’s thickness before installation. Using the correct size ensures a stable and secure mount.
Can I Mount Bird Buddy Outdoors Year-round?
Yes, Bird Buddy is weather-resistant and suitable for year-round outdoor use. Mount it in a sheltered spot to prolong its life. Regularly check for dirt or debris to keep the camera clear.
How High Should I Mount Bird Buddy On A Pole?
Mount Bird Buddy at eye level or slightly above, around 4 to 6 feet. This height attracts birds naturally and makes it easy to view and maintain the device.
Conclusion
Mounting your Bird Buddy on a pole is simple and quick. Just follow the steps carefully for a secure fit. This setup helps you enjoy bird watching from any angle. Keep the device steady and safe from wind or rain.
Regular checks ensure it stays in place and works well. Enjoy seeing birds up close with your new pole mount. Happy bird watching!


