
Have you ever wanted to draw a turtle from a bird’s eye view but didn’t know where to start? You’re not alone.
Drawing animals from above can be tricky, but with the right steps, you can create a simple and impressive turtle sketch quickly. This guide will show you how to break down the shapes and lines so your drawing looks great every time.
Keep reading, and you’ll be surprised at how easy it is to bring your turtle to life from this unique angle!
Materials Needed
Drawing a turtle from a bird’s eye view is fun and simple. You need the right tools to make your drawing clear and neat.
This guide lists all materials you should gather before starting your turtle drawing.
Paper
Choose smooth white drawing paper. It helps pencils glide and makes erasing easy.
Pencils
- HB pencil for sketching outlines
- 2B or 4B pencils for shading and details
- Mechanical pencil for fine lines
Eraser
A soft eraser removes unwanted lines without damaging the paper. A kneaded eraser works well for lightening marks.
Sharpener
Keep your pencils sharp for detail work. Use a small hand sharpener or a craft knife for precision.
Coloring Tools
| Tool | Use |
| Colored pencils | Add color and depth |
| Markers | Draw bold outlines |
| Watercolors | Create soft backgrounds |
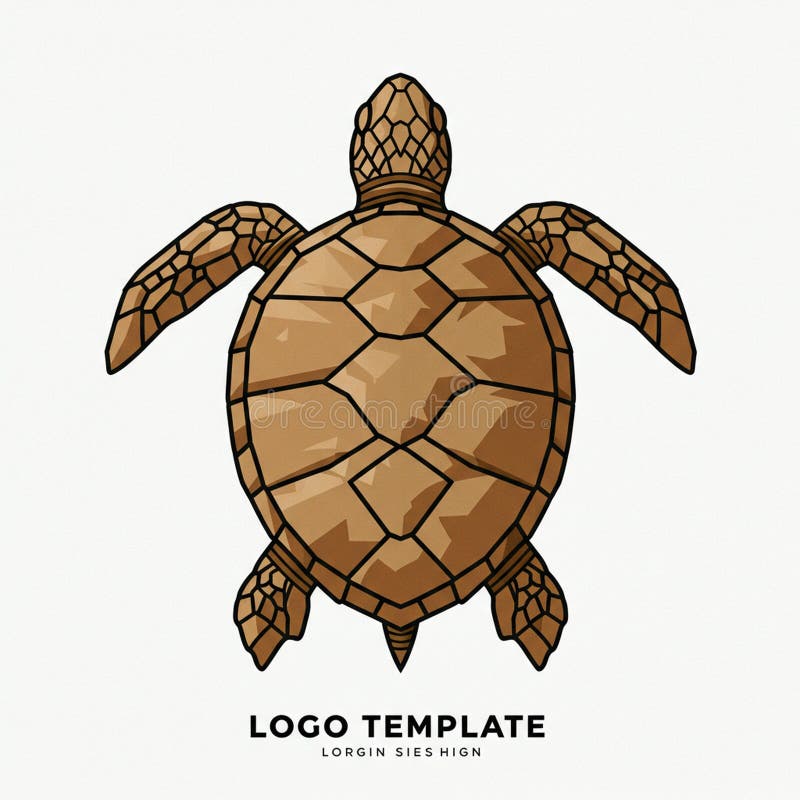
Credit: www.dreamstime.com
Basic Shapes For Turtle
Drawing a turtle from a bird’s eye view can be easy with simple shapes. This approach helps you see the turtle’s body parts clearly.
Start by breaking down the turtle into basic shapes. These shapes form the shell, head, legs, and tail.
Shell Shape
The shell is the largest part of the turtle. Use an oval or a rounded rectangle shape to show the shell from above. Keep the edges smooth and curved.
Head And Neck
The head and neck look small from the top. Use a small circle or oval for the head. A thin rectangle or elongated oval works well for the neck.
Legs And Feet
Legs appear as short shapes extending from the shell. Use rounded rectangles or ovals for the legs. The feet can be simple small ovals at the end of each leg.
- Front legs: slightly wider and point outward
- Back legs: shorter and rounder
- Feet: small ovals attached to legs
Tail Shape
The tail is small and narrow. Draw a tiny triangle or thin wedge shape at the back of the shell.
| Body Part | Suggested Basic Shape |
| Shell | Oval or Rounded Rectangle |
| Head | Small Circle or Oval |
| Neck | Thin Rectangle or Elongated Oval |
| Legs | Rounded Rectangles or Ovals |
| Feet | Small Ovals |
| Tail | Small Triangle or Wedge |
Sketching The Shell
Drawing a turtle from a bird’s eye view starts with the shell. The shell is the largest part and sets the shape for the whole turtle.
Focus on simple shapes first. Use light lines to outline the shell before adding details.
Draw The Outer Shape
Start by sketching an oval for the shell. The oval should be wider than it is tall. This shape shows the turtle’s back from above.
Keep your lines smooth. Avoid sharp angles to make the shell look natural.
Add The Shell Sections
The shell has many sections called scutes. Draw a small shape in the center first. This is the middle scute.
Draw shapes around the middle one to form the surrounding scutes. These shapes look like small hexagons or rounded diamonds.
- Center scute is the largest
- Surrounding scutes are smaller
- Shape them evenly around the center
Sketch Light Patterns On The Shell
Use light lines to add patterns on each scute. Patterns help the shell look textured and real.
Try drawing small lines or dots inside each section. Keep the lines soft to avoid making the shell look too busy.
Refine The Shell’s Edge
Give the shell a smooth edge by rounding the oval corners. Add small bumps to show the shell’s texture.
These bumps show where the shell curves downward. They make the shell look three-dimensional.
Drawing The Head And Limbs
Drawing a turtle from a bird’s eye view can be fun and simple. Focus on the head and limbs to add life to your sketch.
Start by observing the shape and position of the head and limbs. This will help you create a natural and balanced drawing.
Sketching The Head
Begin by drawing a small oval near the front of the shell. This oval represents the turtle’s head from above.
Add two tiny circles on the top sides of the oval for the eyes. Keep them close to the edges to give a realistic look.
Drawing The Front Limbs
The front limbs stretch out from the shell’s sides. Draw them as rounded rectangles or ovals that curve slightly outward.
- Place the limbs near the front corners of the shell.
- Make the limbs wider at the base and narrower at the ends.
- Add small lines to show the turtle’s claws.
Drawing The Hind Limbs
The hind limbs appear smaller and point slightly backward. Use short oval shapes angled away from the shell.
| Limbs | Shape | Direction |
| Front Limbs | Rounded rectangles | Outward, forward |
| Hind Limbs | Short ovals | Outward, backward |
Adding Bird’s Eye Details
Drawing a turtle from a bird’s eye view means showing the top of the shell and the shape of the body. Adding details helps your drawing look real and interesting.
Focus on small parts like the shell pattern, the head, and legs. These details make your turtle drawing more alive and clear.
Drawing The Shell Pattern
The shell is the main part of the turtle. Use shapes like hexagons or pentagons to draw the shell pattern. Make sure the shapes fit well together to cover the shell evenly.
- Start with a large shape in the center of the shell.
- Draw smaller shapes around the center shape.
- Keep the shapes even and symmetrical.
- Add lines inside the shapes for texture.
Showing The Head And Legs
From above, the turtle’s head and legs stick out from the shell. Draw the head as a small oval near the front of the shell. The legs look like short, rounded shapes on the sides and bottom.
| Part | Shape | Position |
| Head | Oval | Front center |
| Front Legs | Rounded rectangle | Left and right near head |
| Back Legs | Rounded rectangle | Left and right near shell rear |
| Tail | Small triangle | Rear center |
Adding Texture And Shadows
Texture and shadows give your turtle depth. Use short lines or dots on the shell and legs to show texture. Add soft shadows under the shell edges to show roundness.
Refining The Outline
Refining the outline is an important step in drawing a turtle from a bird’s eye view. It helps make the shape clear and neat.
This stage focuses on cleaning up rough lines and adding details that show the turtle’s form better.
Smooth The Main Shapes
Start by going over your sketch lines gently. Use a darker pencil or pen to make the main shapes stand out.
Erase extra marks and keep only the lines that show the turtle’s shell and body clearly.
Add Details To The Shell
Draw small sections on the shell to show its texture. These can be hexagons or other simple shapes.
- Keep the shapes light and even
- Make sure they follow the shell’s curve
- Do not overfill the shell with too many lines
Define The Head And Limbs
Outline the turtle’s head and legs clearly. Use smooth curves to show their roundness.
| Part | Outline Tip |
| Head | Draw a small oval shape with a rounded tip |
| Front Legs | Use short, curved lines that angle outward |
| Back Legs | Make them wider and slightly longer than front legs |
| Tail | Draw a small triangle at the back of the shell |
Check Proportions And Adjust
Look at your drawing from above. Make sure the parts look balanced and in the right size.
Tip:Use a mirror or flip the paper to see mistakes more clearly.
Shading And Texturing
Shading and texturing bring your turtle drawing to life. They add depth and make the image look real.
Using simple shading and texture techniques can show the shape and roughness of the turtle’s shell and skin.
Shading The Shell
Start shading the turtle’s shell with light strokes to show its round shape. Darken areas where shadows fall.
Use soft lines to blend the light and dark parts smoothly. This makes the shell look curved and shiny.
- Shade darker near the edges and under the shell
- Keep the top center lighter to show light
- Use circular strokes for a smooth look
Adding Texture To The Shell
Draw small shapes like hexagons or pentagons on the shell to create texture. These shapes look like the shell’s plates.
Use short, light lines inside these shapes to add roughness. This makes the shell look natural and detailed.
- Draw shapes evenly across the shell
- Add small lines inside shapes for rough texture
- Keep the texture light to avoid clutter
Shading The Turtle’s Skin
Shade the turtle’s skin lightly to show its round form. Darken areas under the neck and legs for shadows.
Blend the shading gently to keep the skin soft but textured. Avoid hard lines on the skin.
- Shade under the neck and legs
- Use soft strokes for smooth skin
- Keep some areas lighter for light reflection
Texturing The Turtle’s Skin
Add tiny dots or small lines on the skin to show roughness. This detail makes the skin look more real.
Draw these textures lightly and evenly. They should not cover the whole skin but add small details.
- Use dots or short lines
- Add texture on legs and neck
- Keep texture light and sparse
Coloring Tips
Coloring your turtle bird drawing brings it to life. Use simple colors to keep it easy and fun.
Picking the right colors can show the turtle’s shape and details from a bird’s eye view.
Use Natural Colors
Choose colors that match real turtles and birds. Greens, browns, and grays work well.
This makes your drawing look more realistic and easier to recognize.
- Green for the turtle’s shell and skin
- Brown for the turtle’s head and legs
- Gray or white for bird feathers
Add Light And Shadow
Use lighter colors where light hits the turtle and bird. Use darker shades for shadows.
This adds depth and makes your drawing look 3D from above.
- Light green or yellow on the shell’s top
- Darker green on the shell’s sides
- Shadow under the turtle’s legs and bird’s wings
Keep Coloring Inside The Lines
Color carefully inside the drawing lines. This keeps your turtle bird neat and clear.
Use small brush strokes or coloring tools for detailed parts like eyes and feet.
- Use colored pencils or fine markers for small areas
- Use crayons or markers for bigger parts
- Take your time to avoid color outside the lines
Blend Colors Smoothly
Blend colors gently to make smooth transitions. This shows the turtle’s round shell better.
Use light strokes to mix two colors where they meet.
- Start with a base color
- Add a second color softly over the base
- Use a blending tool or your finger to smooth edges
Highlight Key Features
Use brighter or different colors to highlight eyes, beak, or shell patterns.
This draws attention to important parts and adds interest to your drawing.
- Use white or light yellow for eye highlights
- Use orange or red for the bird’s beak
- Use darker lines to show shell patterns
Common Mistakes To Avoid
Drawing a turtle from a bird’s eye view can be tricky. Many artists make simple mistakes that make the drawing look wrong. Avoiding these errors helps create a better picture.
Understanding what to watch out for saves time and improves your drawing skills. Here are common mistakes and how to avoid them.
Ignoring The Turtle’s Shell Shape
The shell is the main part of the turtle. It is not flat or perfectly round from above. Many beginners draw the shell as a simple circle or oval, which looks unnatural.
Remember to draw the shell with a slight curve and show some depth. This gives the turtle a more real look.
Wrong Limb Placement
Some artists place the turtle’s legs and head in the wrong spots. From above, the limbs come out from the sides of the shell, not the center or the bottom.
- Place front legs near the shell’s front edges
- Draw hind legs near the back edges
- Keep the head centered and slightly forward
- Show the claws pointing outward
Skipping Texture And Details
Many drawings look flat because they miss the shell’s texture and skin details. The shell has patterns and small ridges. The skin has scales and wrinkles.
Overlooking Perspective And Proportions
The bird’s eye view changes how the turtle looks. The shell appears wider, and the limbs look shorter. Beginners often draw limbs too long or the shell too narrow.
| Common Mistake | Correction |
| Shell too narrow | Make shell wider horizontally |
| Legs too long | Draw legs shorter and angled outward |
| Head too large | Keep head smaller and closer to the shell |
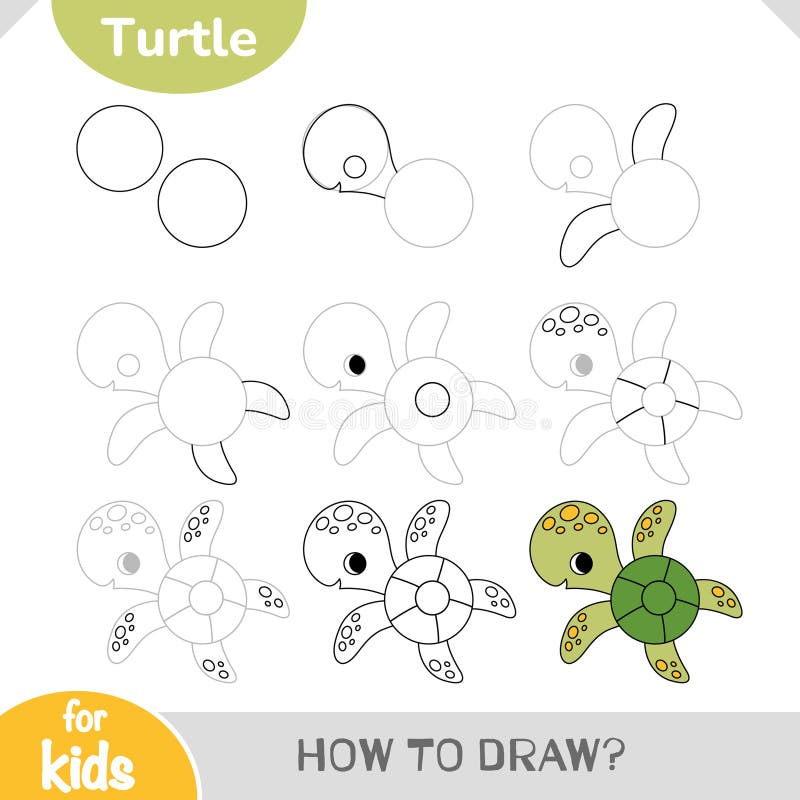
Credit: www.dreamstime.com
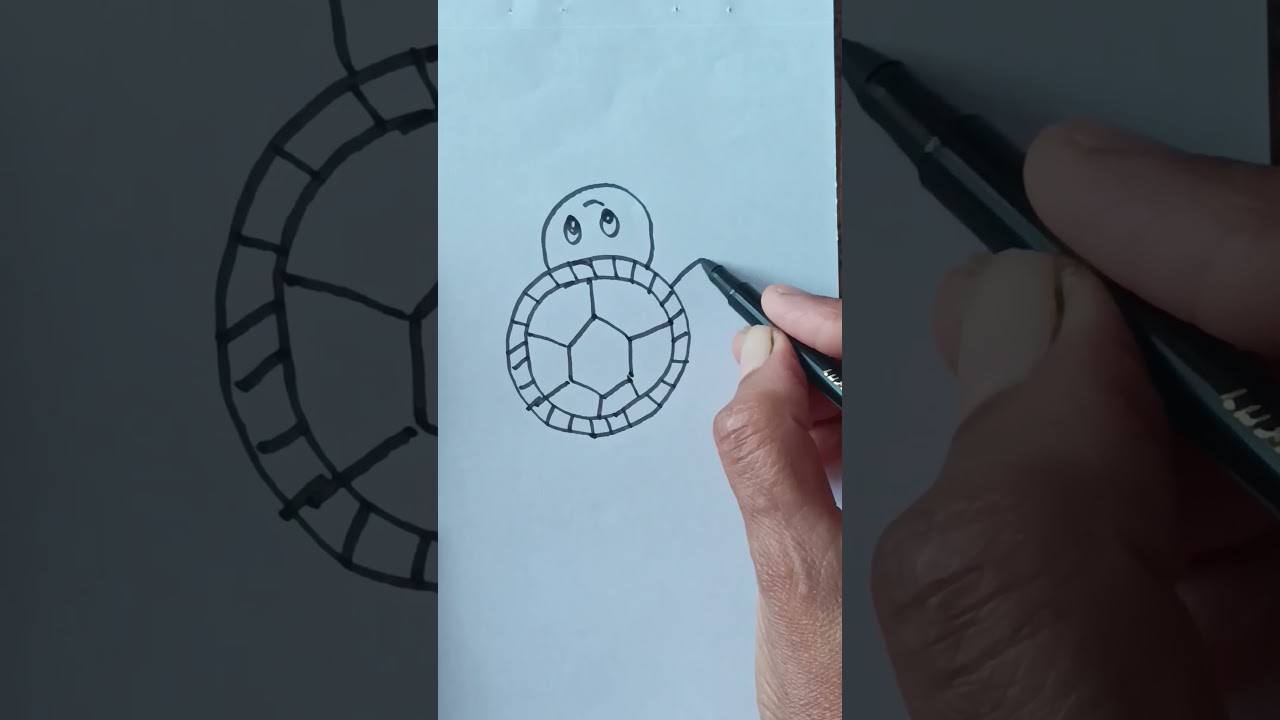
Credit: www.youtube.com
Frequently Asked Questions
What Materials Do I Need To Draw A Turtle Bird’s Eye View?
You need a pencil, eraser, paper, ruler, and colored pencils. These tools help create precise shapes and add vibrant details. A sharp pencil makes drawing clear lines easier. Using an eraser lets you correct mistakes quickly.
How Do I Start Drawing A Turtle From Above?
Begin by sketching the turtle’s shell as an oval shape. Add the head, legs, and tail around the shell. Use light lines to adjust proportions easily. Focus on symmetry to capture the bird’s eye perspective accurately.
What Are Key Features In A Bird’s Eye Turtle Drawing?
Focus on the shell’s patterns, limb placement, and head shape. The shell should appear rounded with visible segments. Legs extend outward, showing the turtle’s stance. The head is small and slightly protruding for realism.
How Can I Make My Turtle Drawing Look Realistic?
Add shading to show the shell’s texture and depth. Use varied pencil strokes for skin details on legs and head. Highlight light reflections on the shell for a natural look. Keep proportions accurate to maintain realism.
Conclusion
Drawing a turtle from a bird’s eye view is simple. Follow the steps carefully. Practice regularly to improve your skills. Remember to enjoy the process. Use basic shapes as your guide. Keep your lines smooth and light. This approach helps you stay relaxed.
Add details slowly for a polished look. Share your drawings with friends. They might offer helpful feedback. Keep experimenting with new techniques. Every drawing is a learning experience. Stay patient and persistent. Enjoy your artistic journey.


