
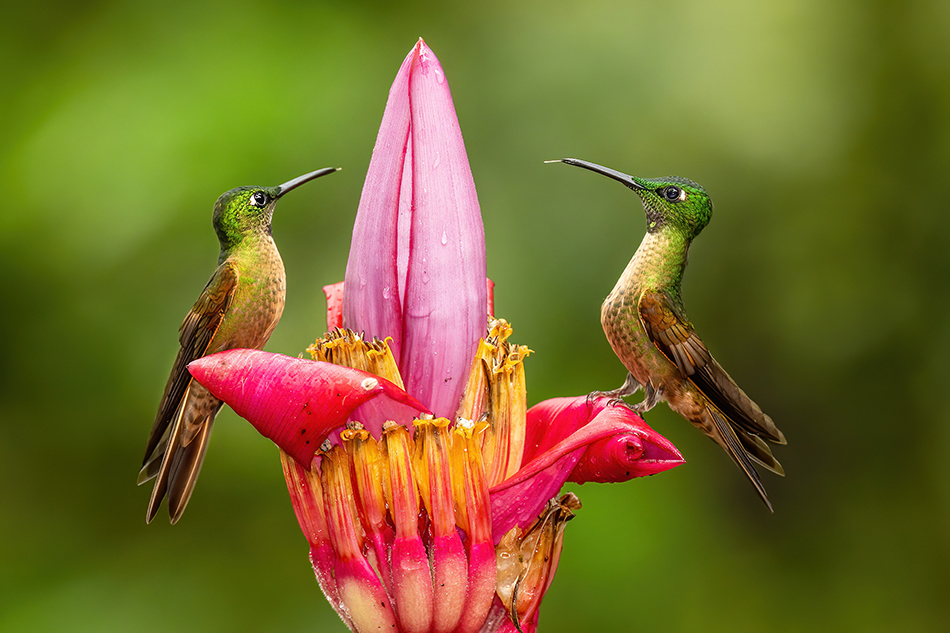
Are you struggling to capture the perfect shot of a hummingbird in flight? You’re not alone.
These tiny, fast-moving creatures can be tricky to photograph, but with the right camera settings, you can freeze their motion and reveal every delicate detail. Imagine snapping a sharp, vibrant photo that makes your friends stop and stare. You’ll discover exactly what camera settings will help you do just that.
Get ready to unlock the secrets to stunning hummingbird photography that anyone can master. Keep reading—you’re about to transform your shots forever.
Choosing The Right Camera
Choosing the right camera is key to capturing stunning photos of hummingbirds. These tiny birds move fast and are often in tricky light. Your camera must handle quick action and sharp focus. Picking the right tool makes a big difference in image quality and ease of shooting.
Dslr Vs Mirrorless
DSLR cameras have a mirror that reflects light to the viewfinder. They offer fast autofocus and long battery life. Mirrorless cameras use digital screens instead of mirrors. They are lighter and often shoot faster bursts. Both types can capture sharp hummingbird photos. Mirrorless models usually have better video features. DSLRs often excel in battery power for long sessions.
Sensor Size And Resolution
Sensor size affects image clarity and low-light performance. Larger sensors capture more light and detail. Full-frame sensors are best but cost more. APS-C sensors still offer good quality and are affordable. Resolution matters for cropping photos. Higher megapixels let you crop without losing detail. Balance resolution with sensor size for best results.
Lens Selection For Hummingbird Photography
Choosing the right lens is essential for close-up shots. Telephoto lenses let you photograph from a distance without scaring birds. A focal length of 300mm or more works well. Fast lenses with wide apertures help in low light. Macro lenses capture tiny details of feathers and beaks. Image stabilization helps reduce blur from hand shake.
Optimal Shutter Speed
Choosing the optimal shutter speed is crucial when photographing hummingbirds. Their wings beat incredibly fast, and capturing sharp images requires precise timing. Adjusting your shutter speed properly will determine whether you freeze the delicate wing motion or create a beautiful blur that conveys movement.
Freezing Wing Motion
To freeze the rapid wing beats of a hummingbird, you need a very fast shutter speed—often 1/2000 second or faster. This speed stops the wings mid-flap, revealing every feather in crisp detail.
In my experience, setting the shutter speed around 1/3200 second works well in bright daylight. It lets you capture those impressive, frozen wing shots that make viewers stop and stare.
Have you tried slowing down the shutter speed just to see how much wing movement you can capture without losing sharpness? It’s a great way to experiment and understand your camera’s limits.
Balancing Exposure And Motion Blur
While freezing wing motion is exciting, sometimes a slight motion blur adds energy and life to your photo. Shutter speeds between 1/250 and 1/1000 second can produce this effect.
Balancing exposure becomes tricky here. Slower shutter speeds allow more light, but you must adjust your aperture or ISO to prevent overexposure. Using a smaller aperture or lower ISO can help maintain image quality.
Try shooting in different lighting conditions and tweak your settings step-by-step. Notice how a tiny change in shutter speed can completely alter the mood of your hummingbird photo. Are you ready to experiment and find your perfect balance?
Aperture Settings
Aperture settings play a vital role in hummingbird photography. They control how much light enters the camera lens. Aperture also affects the depth of field and the overall sharpness of the image. Choosing the right aperture helps keep the hummingbird in focus while creating a pleasing background. It balances exposure and artistic effect to capture stunning photos.
Depth Of Field Considerations
The depth of field determines how much of the image is sharp. A smaller aperture (higher f-number) gives a deeper depth of field. This keeps more of the hummingbird and surroundings in focus. A wider aperture (lower f-number) creates a shallow depth of field. This isolates the bird by blurring the background and foreground. For hummingbirds, a moderate aperture like f/5.6 to f/8 works well. It keeps the bird sharp and the wings clear while softening distractions.
Background Blur Techniques
Background blur, also called bokeh, makes the hummingbird stand out. A wide aperture (f/2.8 to f/4) creates strong background blur. It separates the subject from busy scenes like flowers or leaves. Use a telephoto lens to enhance this effect. The longer the lens, the more background blur you get. Position the bird far from the background for better blur. Avoid too wide an aperture if the bird’s entire body must be sharp.
Credit: www.tombolphoto.com
Iso Settings For Clarity
ISO settings play a crucial role in capturing sharp and clear images of hummingbirds. Choosing the right ISO helps balance light sensitivity and image quality. It allows the camera to adjust for different lighting conditions while maintaining detail and clarity. Proper ISO settings ensure hummingbirds appear crisp, even when they move fast.
Low Light Adjustments
Hummingbirds often appear in shaded areas or during early morning hours. In low light, increasing ISO helps brighten the image without using a slow shutter speed. A higher ISO setting makes the camera sensor more sensitive to light. This sensitivity allows faster shutter speeds, reducing blur from the bird’s quick movements.
Start with an ISO around 800 in dim light. Adjust higher only if needed. Avoid extreme ISO values that may cause graininess. Use a tripod to help stabilize shots when light is very low.
Minimizing Noise
Noise looks like small dots or grain in photos. High ISO can increase noise, reducing image quality. Keep ISO as low as possible to avoid noise. Use ISO 100 or 200 in bright daylight for the cleanest image.
Modern cameras handle noise better at higher ISOs, but noise reduction tools in editing software also help. Balancing ISO and shutter speed is key to clear hummingbird photos without unwanted noise.
Focus Modes And Techniques
Using continuous autofocus helps keep hummingbirds sharp during quick movements. Choosing a fast shutter speed freezes their rapid wing beats clearly. Select a small aperture for better depth of field and sharper details.
Capturing the swift and delicate movements of hummingbirds requires skillful focus modes and techniques. These tiny birds flutter their wings rapidly. So, the right focus settings on your camera are crucial. With the right techniques, you can capture their beauty. Let’s explore the best focus modes and techniques to photograph hummingbirds.Continuous Autofocus
Continuous autofocus is ideal for moving subjects. It keeps your lens focused as the bird moves. This setting is often labeled as AI Servo on Canon or AF-C on Nikon. It is perfect for capturing sharp images of hummingbirds in flight. Ensure your camera is set to a high shutter speed. This helps to freeze the motion effectively. A fast lens with a wide aperture is beneficial. It allows more light to enter, aiding in focus tracking.Manual Focus Tips
Manual focus offers control for stationary shots. It is essential when photographing hummingbirds at a feeder. Use live view to zoom and adjust focus precisely. This ensures sharpness on the bird’s intricate features. A tripod can stabilize your camera, reducing blur. Set your lens to a narrow aperture. This increases the depth of field, keeping more of the scene in focus. Practice by focusing on different objects before capturing the bird.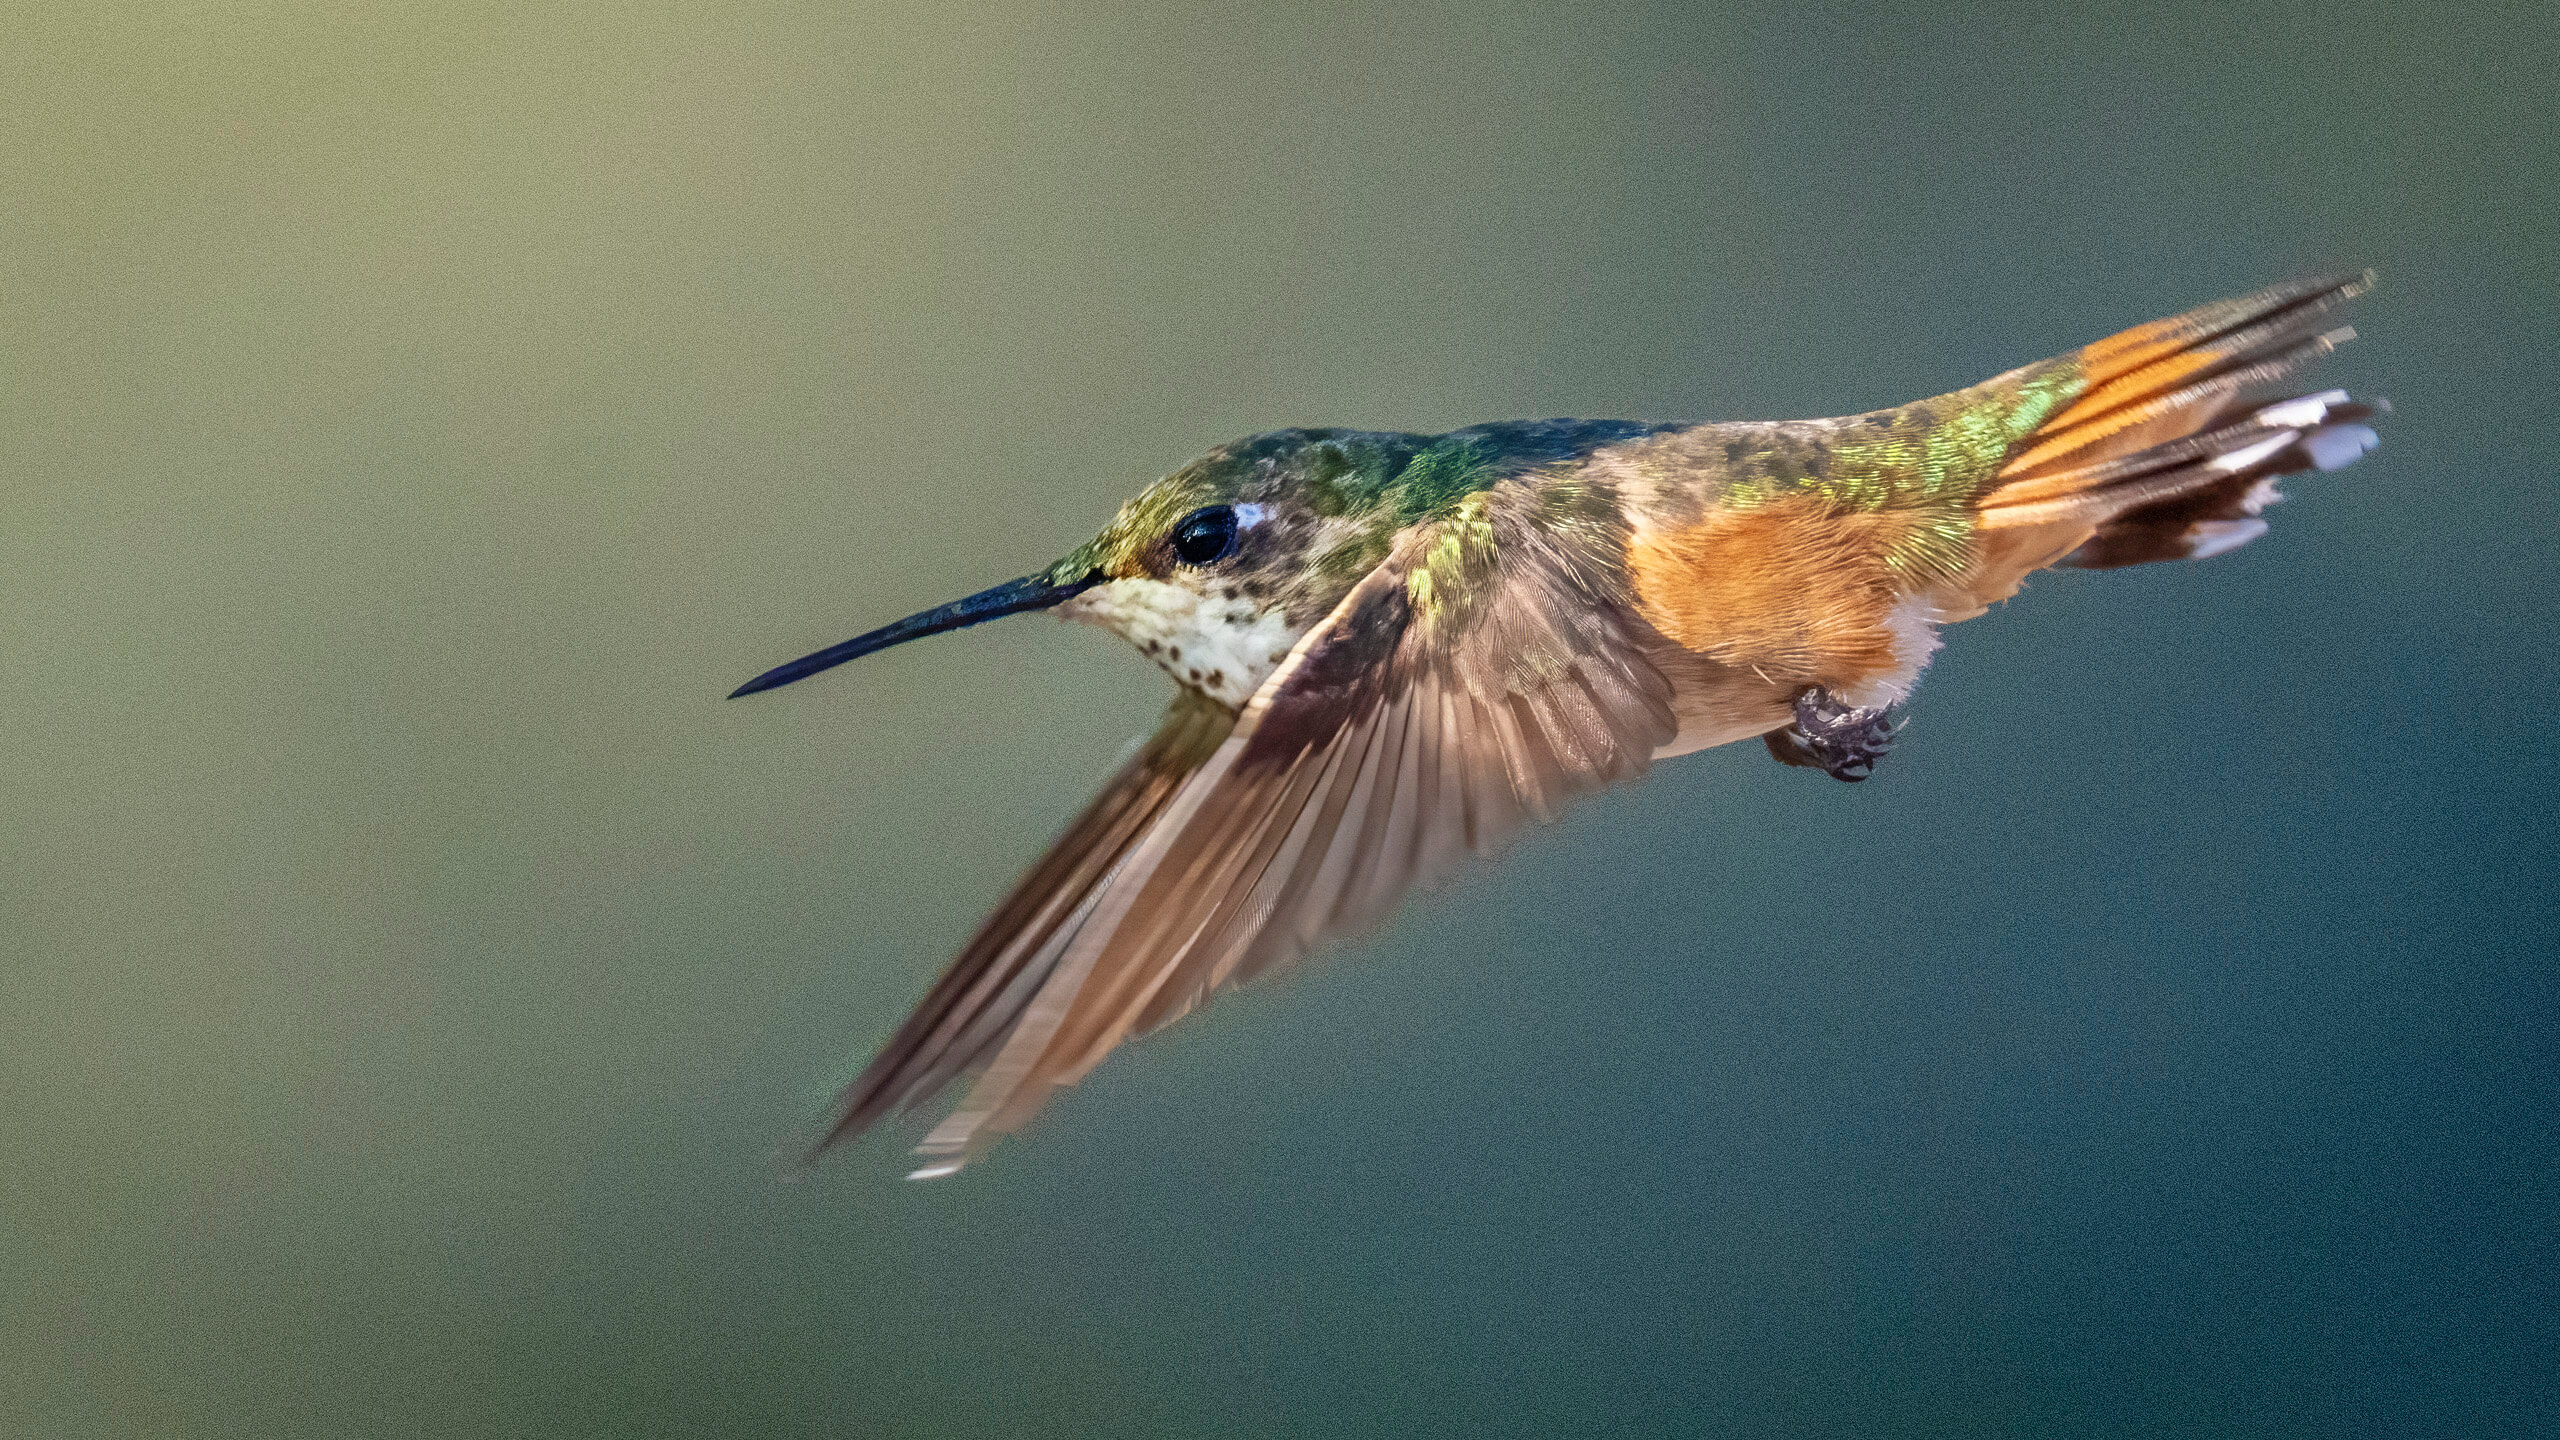
Credit: photofocus.com
Lighting And White Balance
Proper lighting helps capture the fast movement of hummingbirds clearly. Adjust white balance to keep colors natural and bright in your photos. Bright daylight often works best to highlight their vibrant feathers.
Capturing the magic of hummingbirds requires attention to lighting and white balance. These tiny creatures move quickly and are often found in vibrant surroundings. Proper lighting highlights their shimmering feathers, while accurate white balance ensures true colors. Understanding these elements elevates your hummingbird photography.Natural Light Usage
Natural light is ideal for photographing hummingbirds. It brings out their iridescent colors. Early morning or late afternoon provides soft, gentle light. This helps in avoiding harsh shadows. Position yourself with the light behind you. Ensure it illuminates the bird without casting shadows on your subject. Avoid midday sun as it may cause overexposure.Adjusting White Balance For Color Accuracy
White balance affects how colors appear in your photos. Set your camera to the correct white balance setting. Use the ‘Daylight’ setting in bright sun. In shaded areas, switch to ‘Shade’ for warmer tones. Experiment with ‘Auto White Balance’ for varying conditions. This setting adapts to changing light, ensuring true-to-life colors. Always review images to confirm color accuracy. Adjust as needed for the best results.Shooting Modes And Burst Settings
Choosing the right shooting modes and burst settings can make a big difference when photographing hummingbirds. These tiny creatures move incredibly fast, so your camera needs to be set up to capture their rapid wing beats and quick movements with precision. Understanding how to use these settings effectively can help you freeze those magical moments in sharp detail.
Using Burst Mode Effectively
Burst mode lets your camera take multiple shots in quick succession. This is essential for hummingbirds since their wings flap so fast you might miss the perfect moment with a single shot.
Try setting your camera to its highest burst rate. This increases your chances of capturing a clear image during their rapid movements. However, keep in mind that shooting in burst mode uses more memory and battery, so be prepared.
Focus on timing. Start shooting just before you expect the hummingbird to hover or dart. This way, you get a sequence of images showing different wing positions and body angles. Later, you can pick the sharpest and most dynamic shot from the series.
Recommended Shooting Mode
For hummingbirds, using the shutter priority mode (often marked as “S” or “Tv” on your camera dial) is highly effective. It lets you control the shutter speed while the camera adjusts the aperture automatically.
A fast shutter speed is crucial to freeze the hummingbird’s wings. Aim for at least 1/2000 of a second or faster. This prevents blur and captures crisp details.
If your camera has a manual mode and you’re comfortable with it, you can set both shutter speed and aperture yourself. This gives you full control, especially in tricky light conditions.
Auto-focus mode should be set to continuous or tracking (AI Servo/AF-C) to keep the hummingbird sharp as it moves. Have you experimented with different modes to see which gives you the best results in your environment?
Additional Accessories
Capturing the delicate beauty of hummingbirds requires more than just the right camera settings. Additional accessories can significantly enhance your photography experience and image quality. These tools help you stabilize your shot and manage lighting, which are critical when working with such fast and tiny subjects.
Tripods And Stabilizers
Using a tripod or stabilizer is essential for sharp images, especially when shooting at slower shutter speeds or with heavy lenses. A sturdy tripod keeps your camera steady, reducing the chance of blurry photos caused by hand movement.
Imagine trying to hold your camera perfectly still while waiting for a hummingbird to hover in front of your lens. It’s tough, right? A tripod frees you from this struggle and allows you to focus on composition and timing instead.
Look for tripods with adjustable legs and a smooth head for easy repositioning. Some photographers prefer monopods or handheld stabilizers for more mobility while still gaining some stability benefits.
Using External Flashes
Natural light isn’t always enough to capture the vibrant colors and rapid wing motion of hummingbirds. An external flash can add the right amount of light without disturbing your subject.
Try using a flash with adjustable power settings and bounce capabilities to soften the light and avoid harsh shadows. Position the flash at an angle rather than directly in front of the bird to create a natural-looking illumination.
Have you noticed how a well-timed flash can freeze the wings in mid-air? That’s the kind of impact an external flash can make on your hummingbird photos.
Post-processing Tips
Post-processing is key to making hummingbird photos stand out. It helps improve details and colors. Editing enhances the natural beauty captured in your shots. Small adjustments can create big differences.
Enhancing Sharpness
Sharpness brings out fine details like feathers and eyes. Use sharpening tools carefully to avoid noise. Focus on edges and textures to keep the image crisp. Mask out areas that do not need sharpening.
- Apply moderate sharpening to the entire image.
- Use a radius of 1 to 2 pixels for clarity.
- Increase detail without causing graininess.
- Zoom in to check feather edges and eyes.
Color Correction Techniques
Correct colors to reflect the bird’s true hues. Adjust white balance for natural light tones. Enhance saturation subtly to avoid unnatural colors. Use selective color tools to boost greens and blues.
- Set white balance based on natural daylight or shade.
- Increase vibrance to brighten muted tones.
- Lower saturation in overly bright areas.
- Adjust hue slightly to match real feather colors.

Credit: www.birdwatchingdaily.com
Frequently Asked Questions
What Shutter Speed Is Best For Hummingbird Photography?
A fast shutter speed of 1/2000 to 1/4000 seconds freezes hummingbird motion. It captures sharp images of rapid wing beats clearly. Using this speed reduces blur and enhances photo quality.
Which Aperture Setting Suits Hummingbird Shots?
An aperture between f/5. 6 and f/8 balances depth of field and light. It keeps the hummingbird sharp while softly blurring the background. This setting improves subject isolation and detail.
How To Set Iso For Hummingbird Photos?
Set ISO between 400 and 800 for optimal exposure and minimal noise. Adjust higher only in low light to maintain shutter speed and aperture. This helps keep images bright and clear.
Should I Use Continuous Or Single Autofocus?
Continuous autofocus (AI Servo/AF-C) tracks hummingbirds in motion effectively. It maintains focus on fast-moving subjects, ensuring sharp shots. Single autofocus may miss quick movements or focus changes.
Conclusion
Capturing hummingbirds needs quick settings and patience. Use a fast shutter speed to freeze their wings. Choose a wide aperture for sharp focus and soft background. Adjust ISO carefully to keep photos bright but clear. Keep your camera ready and stay quiet to avoid scaring them.
Practice often to improve your skills and get better shots. Enjoy the process and watch these tiny birds up close. Great photos come from simple settings and steady hands. Keep trying, and your hummingbird pictures will improve.


