
Have you ever wondered how filmmakers and photographers create that stunning top-down view that makes everything look fresh and exciting? Shooting a bird’s eye camera angle can completely change the way your story is told.
It gives your audience a new perspective, making even ordinary scenes feel extraordinary. You’ll discover simple, practical tips to master this technique and make your shots stand out. Ready to capture your world from above and impress your viewers? Keep reading, because your next great shot is just a few steps away.

Credit: digital-photography-school.com
Choosing The Right Equipment
Choosing the right equipment is crucial to capturing stunning bird’s eye camera angles. The gear you pick impacts not only the quality of your shots but also how easily you can achieve those elevated perspectives. Let’s look at some practical options that fit various budgets and shooting styles.
Cameras Ideal For Bird’s Eye Shots
Compact mirrorless cameras are great for bird’s eye shots because they combine high image quality with portability. Models like the Sony Alpha series or Canon EOS M50 offer sharp lenses and lightweight bodies, making it easier to handle overhead.
If you prefer using smartphones, newer models with wide-angle lenses can deliver impressive results. Adding clip-on lenses boosts versatility without needing heavy gear. Think about your comfort and mobility when choosing a camera—it affects how smoothly you can maneuver for the perfect angle.
Using Drones For Elevated Angles
Drones have transformed bird’s eye photography by giving you access to heights that were once impossible or expensive. Affordable options like the DJI Mini series provide stability and 4K video quality, perfect for beginners and pros alike.
Remember to check local regulations before flying a drone to avoid legal troubles. Practice flying in open spaces to get smooth, controlled shots. Drones let you experiment with dynamic movement, adding fresh perspectives to your work.
Tripods And Mounts For Stability
Stability is key for clear bird’s eye shots, especially if you’re shooting handheld cameras or smartphones from above. A sturdy tripod with an adjustable arm lets you position your camera exactly where you want it, minimizing shake.
Look for mounts that can clamp onto tables, poles, or other structures to expand your setup options. I once used a flexible tripod wrapped around a tree branch to capture a unique overhead shot—don’t be afraid to get creative with your mounts.
What type of equipment do you currently use, and how could upgrading it improve your bird’s eye shots?
Setting Up Your Shot
Setting up a bird’s eye camera angle requires careful planning. This setup helps capture scenes from directly above, giving a unique view. The right preparation enhances the shot’s clarity and impact. Focus on choosing the spot, positioning the camera, and adjusting its height and angle.
Finding The Perfect Location
Choose a location that offers a clear, unobstructed view from above. Open spaces work best, such as rooftops, balconies, or hills. Avoid areas with too many shadows or distractions below. Consider the lighting to ensure the subject is well-lit. The background should be simple, not cluttered.
Positioning For Maximum Effect
Place the camera directly above the subject for the true bird’s eye view. Use a tripod or mount to keep the camera steady. Center the subject in the frame to draw attention. Test different distances to find the best composition. Keep the camera stable to avoid blurry images.
Adjusting Height And Angle
Height controls how much of the scene appears in the shot. Higher positions show more area but less detail. Lower heights focus on details but reduce the scene size. Tilt the camera straight down for a perfect top-down shot. Slight angle changes create dynamic effects but lose the pure bird’s eye look.
Camera Settings For Clarity
Achieving clarity in a bird’s eye camera angle depends heavily on your camera settings. Proper adjustments ensure every detail stands out. Sharp images make your shots more professional and engaging.
Balancing light and focus creates crisp photos from high above. Small tweaks in settings greatly affect image quality. Understanding aperture, shutter speed, ISO, and focus helps you capture clear shots.
Optimizing Aperture And Shutter Speed
Use a smaller aperture (higher f-number) for more depth of field. This keeps the entire scene sharp and in focus. A narrow aperture reduces light but increases clarity across the frame.
Shutter speed controls motion blur. Choose faster speeds to freeze moving subjects and avoid blur. For still scenes, slower shutter speeds allow more light and detail.
- Aperture: f/8 to f/16 for sharpness
- Shutter speed: 1/250s or faster for movement
- Adjust based on light conditions
Iso Settings For Brightness
ISO affects your camera’s sensitivity to light. Lower ISO values reduce noise and grain in photos. Use ISO 100 or 200 for bright daylight shots.
Increase ISO only if lighting is poor. Higher ISO can brighten images but may reduce clarity. Find a balance to keep images clean and bright.
- ISO 100-200 for sunny outdoors
- ISO 400-800 for cloudy or shaded areas
- Avoid ISO above 1600 to reduce noise
Focus Techniques For Sharpness
Manual focus often works best for bird’s eye shots. It allows precise control over the area in focus. Autofocus can struggle with high angles and wide scenes.
Use focus peaking if your camera supports it. This highlights sharp edges to help adjust focus correctly. Lock focus before shooting to avoid blur from movement.
- Set focus to infinity for distant scenes
- Use single-point focus for specific details
- Check focus on the camera screen before shooting
Composing Bird’s Eye Shots
Composing bird’s eye shots requires a sharp eye for detail and a sense of structure. Since this angle offers a top-down view, every element in your frame plays a crucial role in guiding the viewer’s attention. Your challenge is to create a balanced image that feels intentional and visually appealing, not cluttered or chaotic.
Symmetry And Patterns
Symmetry can make your bird’s eye shots incredibly satisfying to look at. Look for scenes where objects or structures mirror each other perfectly or nearly so. Patterns—whether natural like leaves or man-made like tiles—add rhythm and interest.
Imagine a plaza with evenly spaced benches or a garden with repeating flower beds. Capturing these patterns from above emphasizes order and harmony. Ask yourself: does the scene’s symmetry enhance the story you want to tell?
Leading Lines And Shapes
Lines and shapes guide the viewer’s eyes through the photo. Roads, rivers, fences, or shadows form natural leading lines from a bird’s eye view. These lines create pathways that pull the viewer deeper into the frame.
Shapes—circles, triangles, rectangles—add structure and help organize the visual flow. When shooting, identify lines that lead to your main subject or draw attention across the frame. How can you position yourself to maximize these natural guides?
Balancing Elements In Frame
Balance means distributing visual weight evenly, so no part of your photo feels too heavy or empty. In bird’s eye shots, this might mean placing a strong object opposite a cluster of smaller elements. It keeps your image dynamic but stable.
Try shifting your camera angle or cropping slightly to achieve better balance. Notice how your eye moves around the photo—does it linger too much on one side? You want the viewer to explore the entire frame comfortably.
Lighting Tips
Lighting plays a crucial role in shooting a bird’s eye camera angle. It can highlight details and create a striking visual effect. Proper lighting helps separate subjects and enhances textures. Understanding how light works from above makes your photos or videos more dynamic.
Shooting In Natural Light
Natural light offers soft, even illumination for bird’s eye shots. Shooting outdoors or near windows gives a gentle glow. Avoid harsh midday sun that causes strong shadows and overexposure. Cloudy days provide balanced light perfect for overhead angles. Use reflectors to bounce natural light and fill dark areas.
Using Shadows To Add Depth
Shadows add dimension and interest to flat bird’s eye views. Position your light source at an angle to create soft shadows. Shadows reveal shapes and textures that might go unnoticed. Play with shadow length to highlight important parts of the scene. Shadows can guide the viewer’s eye and add mood.
Time Of Day Impact
Early morning and late afternoon light produce warm, golden tones. These times are called the golden hours and offer soft shadows. Midday light is bright but can be too harsh for overhead shots. Evening light creates cool, blue hues and long shadows. Choose your shooting time based on the mood you want to create.
Post-production Enhancements
Post-production enhancements improve the clarity and color of bird’s eye shots. Adjusting brightness, contrast, and sharpness makes the angle more striking and clear. Simple edits can highlight details and create a polished final video.
Post-production enhancements can transform your bird’s eye camera shots from basic to breathtaking. After capturing that perfect aerial view, the real magic happens when you refine your images to highlight their beauty and detail. This process is where you can truly let your creativity shine and ensure your photo stands out.Cropping And Straightening
Cropping your image is one of the simplest yet most effective enhancements you can make. It allows you to eliminate distractions and focus on the most compelling parts of the scene. Don’t hesitate to experiment with different aspect ratios to find the composition that speaks the loudest. Straightening is equally essential, especially with bird’s eye shots where horizons or straight lines are apparent. A slight tilt can distract the viewer, so use editing software to align everything perfectly. Imagine showing your photo to a friend; you want them to be captivated by the subject, not distracted by a skewed angle.Color Correction And Contrast
Adjusting colors can dramatically change the mood of your photo. Boosting contrast can make elements pop, creating a more dynamic image. Think about the ambiance you want to convey: a bright, cheerful scene or a moody, dramatic one? Balancing the colors can also help create a cohesive and natural look. Pay attention to white balance; ensuring the colors are true to life can make a significant difference. Trust your eyes and experiment until the image feels right.Adding Creative Effects
After perfecting the basics, it’s time to add a touch of creativity. Subtle effects like vignetting can draw attention to the center of your photo. Or perhaps you’d like to apply a filter to give your shot a vintage or cinematic feel. Think about adding elements that convey motion, like blur effects, if you want to highlight movement. The key is not to overdo it; enhancements should complement, not overshadow, your original photo. What effect will make your image unforgettable?Common Mistakes To Avoid
Avoid shaky shots by using a stable mount or tripod for clear bird’s eye views. Neglecting proper lighting can cause dull images and hide important details. Ensure the camera is positioned high enough to capture the full scene without cutting off key elements.
Capturing a perfect birds eye camera angle can transform an ordinary scene into something extraordinary. However, many photographers stumble over common mistakes that can ruin the shot. Knowing what to avoid can save you time and enhance your skills. Let’s dive into some pitfalls to dodge when aiming for that perfect overhead shot.Ignoring Stability
A shaky camera is the enemy of a sharp image. Always ensure your equipment is stable. You might consider using a tripod or even a drone with good stabilization features. If you’re shooting handheld, brace yourself against a solid surface. Small movements can blur the image, ruining the clarity you aim for. Stability is key; it’s worth investing in the right gear to keep your shots crisp.Overcomplicating Composition
Simplicity often trumps complexity in photography. An overcrowded frame can confuse the viewer. Focus on the subject and eliminate unnecessary elements. Think about what you want to highlight. Does every element in the frame add value to the story you’re telling? Less is often more, so be selective with your composition.Poor Lighting Choices
Lighting can make or break your photo. Natural light is usually best, but it’s not always available. If you’re indoors, avoid harsh overhead lighting that can create unflattering shadows. Experiment with light sources. A soft box or a ring light can offer even lighting that flatters your subject. Adjust your settings to adapt to the available light; it’s an art that requires practice but pays off with stunning results. Are you making any of these mistakes in your photography? Identifying these errors is the first step to improving your bird’s eye shots. With a little attention to detail, your photos can soar to new heights.
Credit: digital-photography-school.com
Creative Bird’s Eye Ideas
Bird’s eye camera angles offer a fresh and exciting way to see the world. They show scenes from directly above, giving a new view of familiar places. Creative use of this angle can make photos and videos stand out. Experimenting with different subjects reveals unique patterns, shapes, and stories.
Urban Landscapes
Capture city streets, rooftops, and parks from above. Look for geometric patterns created by roads and buildings. Highlight contrasts between nature and concrete. Crowded intersections and empty alleys offer dramatic perspectives. Use shadows and light to add depth and mood.
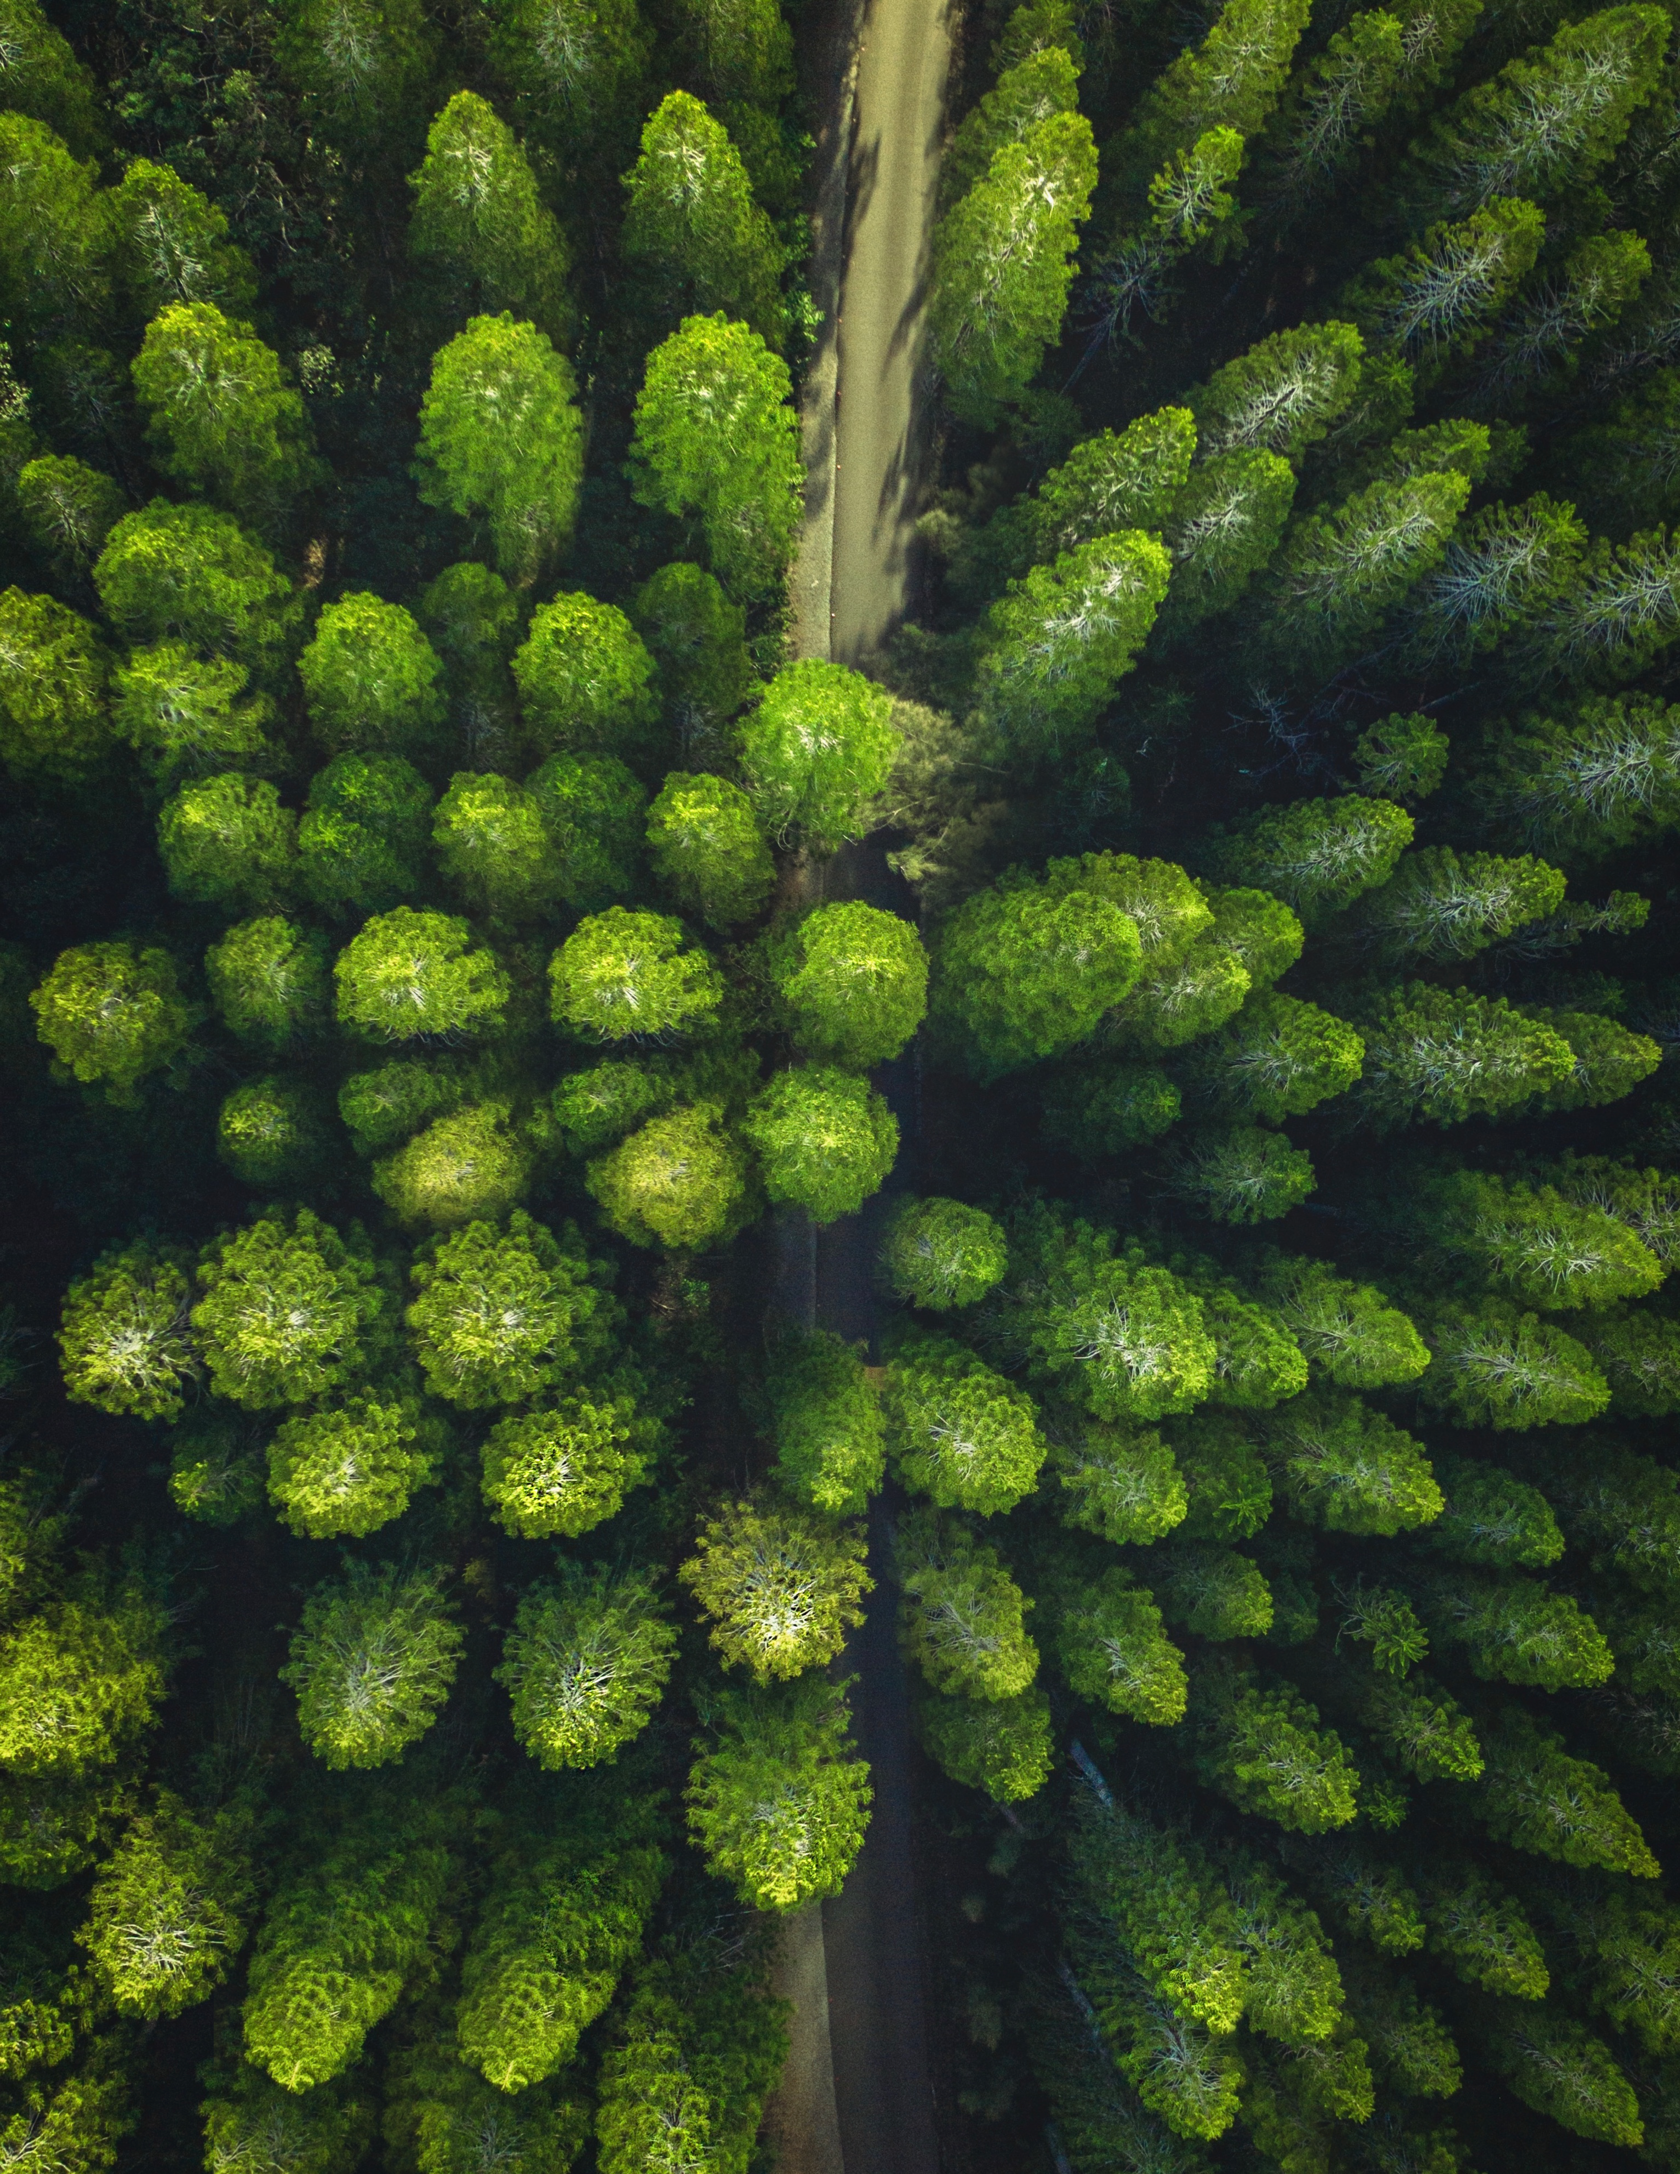
Nature And Wildlife
Show forests, rivers, and fields from a high view. Spot animal trails, nests, or herds moving below. Capture the symmetry of leaves or flowers. Shoot during different seasons for varied colors and textures. Use drone shots or climb to high points for the best angle.
Events And Crowd Shots
Take photos of festivals, markets, or sports events from above. Show how people gather and interact in groups. Capture movement patterns and shapes formed by crowds. Highlight the energy and scale of the event. Use wide lenses to include as much as possible in one frame.
Credit: skylum.com
Frequently Asked Questions
What Equipment Is Best For Shooting A Bird’s Eye Angle?
A drone or a tall tripod with a camera mount works best. They provide a stable, elevated view essential for bird’s eye shots.
How Do I Position The Camera For A Bird’s Eye Shot?
Place the camera directly above the subject, pointing straight down. This creates the classic overhead perspective typical of bird’s eye views.
What Lighting Works Well For Bird’s Eye Camera Angles?
Natural, even lighting is ideal. Avoid harsh shadows to maintain clarity and highlight details from the top-down perspective.
Can I Shoot A Bird’s Eye Angle Indoors Effectively?
Yes, use ladders or ceiling mounts to achieve height. Ensure the area below is well-lit and safe for equipment setup.
Conclusion
Shooting a bird’s eye camera angle can add fresh views. Plan your shot carefully. Use high places or drones safely. Keep the camera steady for clear images. Think about light and shadows to create depth. Practice often to improve your skills.
Try different heights and angles to find what works best. This angle can tell unique stories and show more details. Keep experimenting and enjoy capturing your scenes from above.


