
Are you struggling to capture sharp, close-up shots of birds without scaring them away? Choosing the right lens can make all the difference in your bird photography.
But with so many options out there, how do you know which millimeter (mm) lens suits your style and needs? This guide will help you find the perfect lens to bring your bird photos to life, making every feather detail stand out.
Keep reading, and you’ll discover how to take stunning bird pictures that will impress everyone.
Choosing The Right Focal Length
Choosing the right focal length is vital for bird photography. It affects how close you appear to your subject and how much of the scene fits in your frame. Picking the right lens helps capture sharp, detailed images of birds without disturbing them.
Short Vs. Long Lenses
Short lenses usually range from 50mm to 100mm. They are lighter and easier to carry. These lenses work well for birds in open spaces or when you can get close.
Long lenses start at 300mm and go beyond 600mm. They let you photograph birds from a distance. This avoids scaring the birds and helps capture fine details.
Common Focal Lengths For Birds
- 300mm: Good for larger birds and moderate distances.
- 400mm to 500mm: Great for most bird photography needs.
- 600mm and above: Ideal for small or shy birds far away.
These focal lengths balance image quality, size, and weight.
Impact On Composition
Short lenses capture more background. They show birds in their environment. This creates storytelling images but may make birds look smaller.
Long lenses isolate the bird from the background. They create a blurred backdrop that highlights the bird. This draws attention to details and colors.
Choosing focal length changes the photo style. It affects how viewers see your subject.
Credit: www.livescience.com
Prime Vs. Zoom Lenses
Choosing between prime and zoom lenses is a key decision for bird photography. Each type offers unique strengths that can shape how you capture your feathered subjects. Understanding these differences helps you pick the right tool for your style and shooting conditions.
Advantages Of Prime Lenses
Prime lenses have a fixed focal length, which often means sharper images and better low-light performance. Their simpler design usually results in lighter and more compact gear, making long birdwatching sessions less tiring.
I once used a 400mm prime lens on a foggy morning and was amazed by the crisp details on a distant hawk’s feathers. The wide aperture on primes also lets in more light, helping you freeze fast bird movements with faster shutter speeds.
Benefits Of Zoom Lenses
Zoom lenses offer flexibility by covering a range of focal lengths, allowing you to adjust your framing without changing lenses. This is especially useful when birds move unpredictably or when you can’t get closer physically.
For example, a 100-400mm zoom lets you switch from wide shots of a flock to tight portraits without packing extra lenses. Zooms tend to be heavier and sometimes less sharp than primes, but the convenience often outweighs these downsides for many photographers.
When To Use Each Type
Use prime lenses when image quality and speed are your top priorities, such as in controlled environments or when you know your subject’s typical distance. They shine in low light and deliver exceptional detail.
Zoom lenses work best in dynamic settings where birds move quickly or you encounter various distances. They give you the freedom to react instantly without interrupting your workflow to swap lenses.
Think about your typical birding spots and shooting habits. Do you prefer carrying lighter gear for long hikes? Or do you need the ability to zoom quickly during fast action? Your answers will guide the best lens choice for your bird photography journey.
Lens Aperture And Sharpness
Choosing the right lens aperture plays a crucial role in bird photography. It directly impacts how sharp your images turn out and how much of the scene remains in focus. Understanding aperture settings will help you capture crisp, detailed shots of birds, even in challenging lighting conditions.
Importance Of Wide Aperture
A wide aperture, like f/2.8 or f/4, lets in more light, which is essential for fast shutter speeds. This is particularly helpful when birds are moving quickly or when shooting in low light, such as early morning or late afternoon. I once photographed a hummingbird hovering at dawn and only managed to freeze its wings using a wide aperture combined with a fast shutter speed.
Besides light, wide apertures create a beautiful background blur, making your bird stand out sharply. This effect draws attention to the subject and reduces distractions, which is a big plus in bird photography.
Effect On Depth Of Field
The aperture setting controls the depth of field (DoF), or how much of the image is in focus from front to back. A wide aperture produces a shallow DoF, isolating the bird from its background. This is great for portraits or when the background is busy.
On the other hand, a smaller aperture (like f/8 or f/11) increases depth of field, keeping more of the scene sharp. This might be useful when you want both the bird and its environment clearly visible. Think about your story—do you want to highlight the bird alone or show it within its habitat?
Balancing Aperture And Shutter Speed
Aperture and shutter speed work hand in hand to create sharp images. Opening your aperture wide allows a faster shutter speed, which is key to freezing motion in bird photography. But sometimes, light conditions or lens limitations mean you have to find a middle ground.
Try adjusting your aperture just enough to maintain a shutter speed that matches your subject’s movement—faster for quick flyers, slower for perched birds. Using ISO settings can also help maintain this balance without sacrificing image quality.
Are you willing to compromise a bit on background blur to avoid motion blur? Experimenting with these settings will help you find what works best for your style and the conditions you encounter.
Image Stabilization Features
Bird photography demands precision and patience. Capturing fast-moving birds in flight can be challenging. A lens with image stabilization features helps in this pursuit. It reduces blur and ensures sharp images, even with shaky hands. Understanding how these features work can enhance your photography experience.
How Stabilization Helps
Image stabilization reduces camera shake. It helps in achieving crisp bird photos. This is crucial when using long lenses. Handheld shots often suffer from movement. Stabilization compensates for this, providing clear images. It is especially helpful in low light conditions.
Types Of Stabilization
Two main types exist: optical and digital. Optical stabilization involves lens movement. It counteracts shakes physically. Digital stabilization uses software. It adjusts the image electronically after capture. Each has its pros and cons. Choosing the right one depends on your needs.
Choosing Stabilized Lenses
Consider your shooting conditions first. If shooting handheld, optical stabilization is beneficial. It offers real-time correction. Check the lens specifications. Look for phrases like “Optical Stabilization” or “Image Stabilization.” Test the lens before buying. Ensure the stabilization meets your expectations.
Autofocus Performance
Autofocus performance is crucial when choosing an mm lens for bird photography. Birds are often quick and unpredictable, so your lens needs to focus swiftly and precisely to capture sharp images. Understanding how autofocus works can help you pick the right lens that keeps up with your subject’s movements and your shooting style.
Speed And Accuracy
Fast autofocus lets you snap photos the moment a bird appears in your frame. But speed alone isn’t enough; accuracy ensures your subject is sharply focused, not the background. Some lenses use advanced motors like ultrasonic or stepping motors to deliver both quick and silent focusing, which is especially helpful in natural settings where noise can startle birds.
Think about the last time you tried photographing a bird in flight. Did your lens struggle to lock focus quickly? A lens with high autofocus speed and pinpoint accuracy can make the difference between a blurred shot and a keeper.
Tracking Moving Birds
Birds rarely stay still, and tracking their movement is a real challenge. Lenses with reliable continuous autofocus (AF-C) modes help maintain focus on flying or hopping birds. Features such as predictive focus tracking anticipate where the bird will move next, keeping your shots sharp even in fast action.
Have you noticed how some lenses lose focus when birds dart around? Choosing one with excellent tracking capabilities means you’ll spend less time adjusting focus and more time capturing the perfect moment.
Lens Compatibility With Cameras
Your lens’s autofocus performance depends heavily on how well it communicates with your camera body. Some lenses are optimized for specific camera brands or models, offering better autofocus speed and accuracy. Check if the lens supports your camera’s autofocus system, such as phase detection or contrast detection.
Before buying, ask yourself: Does this lens fully support my camera’s autofocus features? Compatibility ensures you get the best autofocus performance without frustrating delays or missed shots.

Credit: www.reddit.com
Lens Weight And Portability
Lens weight and portability are crucial factors in bird photography. Carrying heavy lenses for hours can tire you quickly. Lightweight lenses help you stay agile and ready. Portability lets you explore different spots with ease. Choosing the right lens means balancing size and function.
Carrying Lenses In The Field
Bird photography often requires long walks and waiting times. Heavy lenses can strain your neck and shoulders. Using a comfortable camera strap or harness reduces fatigue. A backpack designed for camera gear keeps lenses safe and organized.
Consider carrying only essential lenses to reduce weight. Switching lenses too often may scare birds away. A single versatile lens can simplify your gear. Compact lenses fit better in small bags and pockets.
Trade-offs Between Size And Quality
Large lenses usually offer better zoom and sharpness. They capture distant birds with great detail. But big lenses add bulk and weight. Small lenses are easier to carry but may limit zoom range.
Image stabilization helps reduce blur in lighter lenses. Fast lenses perform well in low light but can be heavy. Decide what matters more: image quality or ease of carrying.
Many photographers choose medium-sized lenses for balance. They provide good image quality and manageable weight. Test different lenses to find your comfort zone.
Budget-friendly Lens Options
Affordable lenses around 300mm to 400mm offer good reach for bird photography without high costs. These options balance price and performance, ideal for beginners.
Bird photography can be an exhilarating hobby, but the costs can add up quickly. Fortunately, there are budget-friendly lens options that allow you to capture stunning avian images without breaking the bank. Whether you’re just starting out or looking to expand your gear on a budget, these options will help you make the most of your bird photography pursuits.Affordable Telephoto Lenses
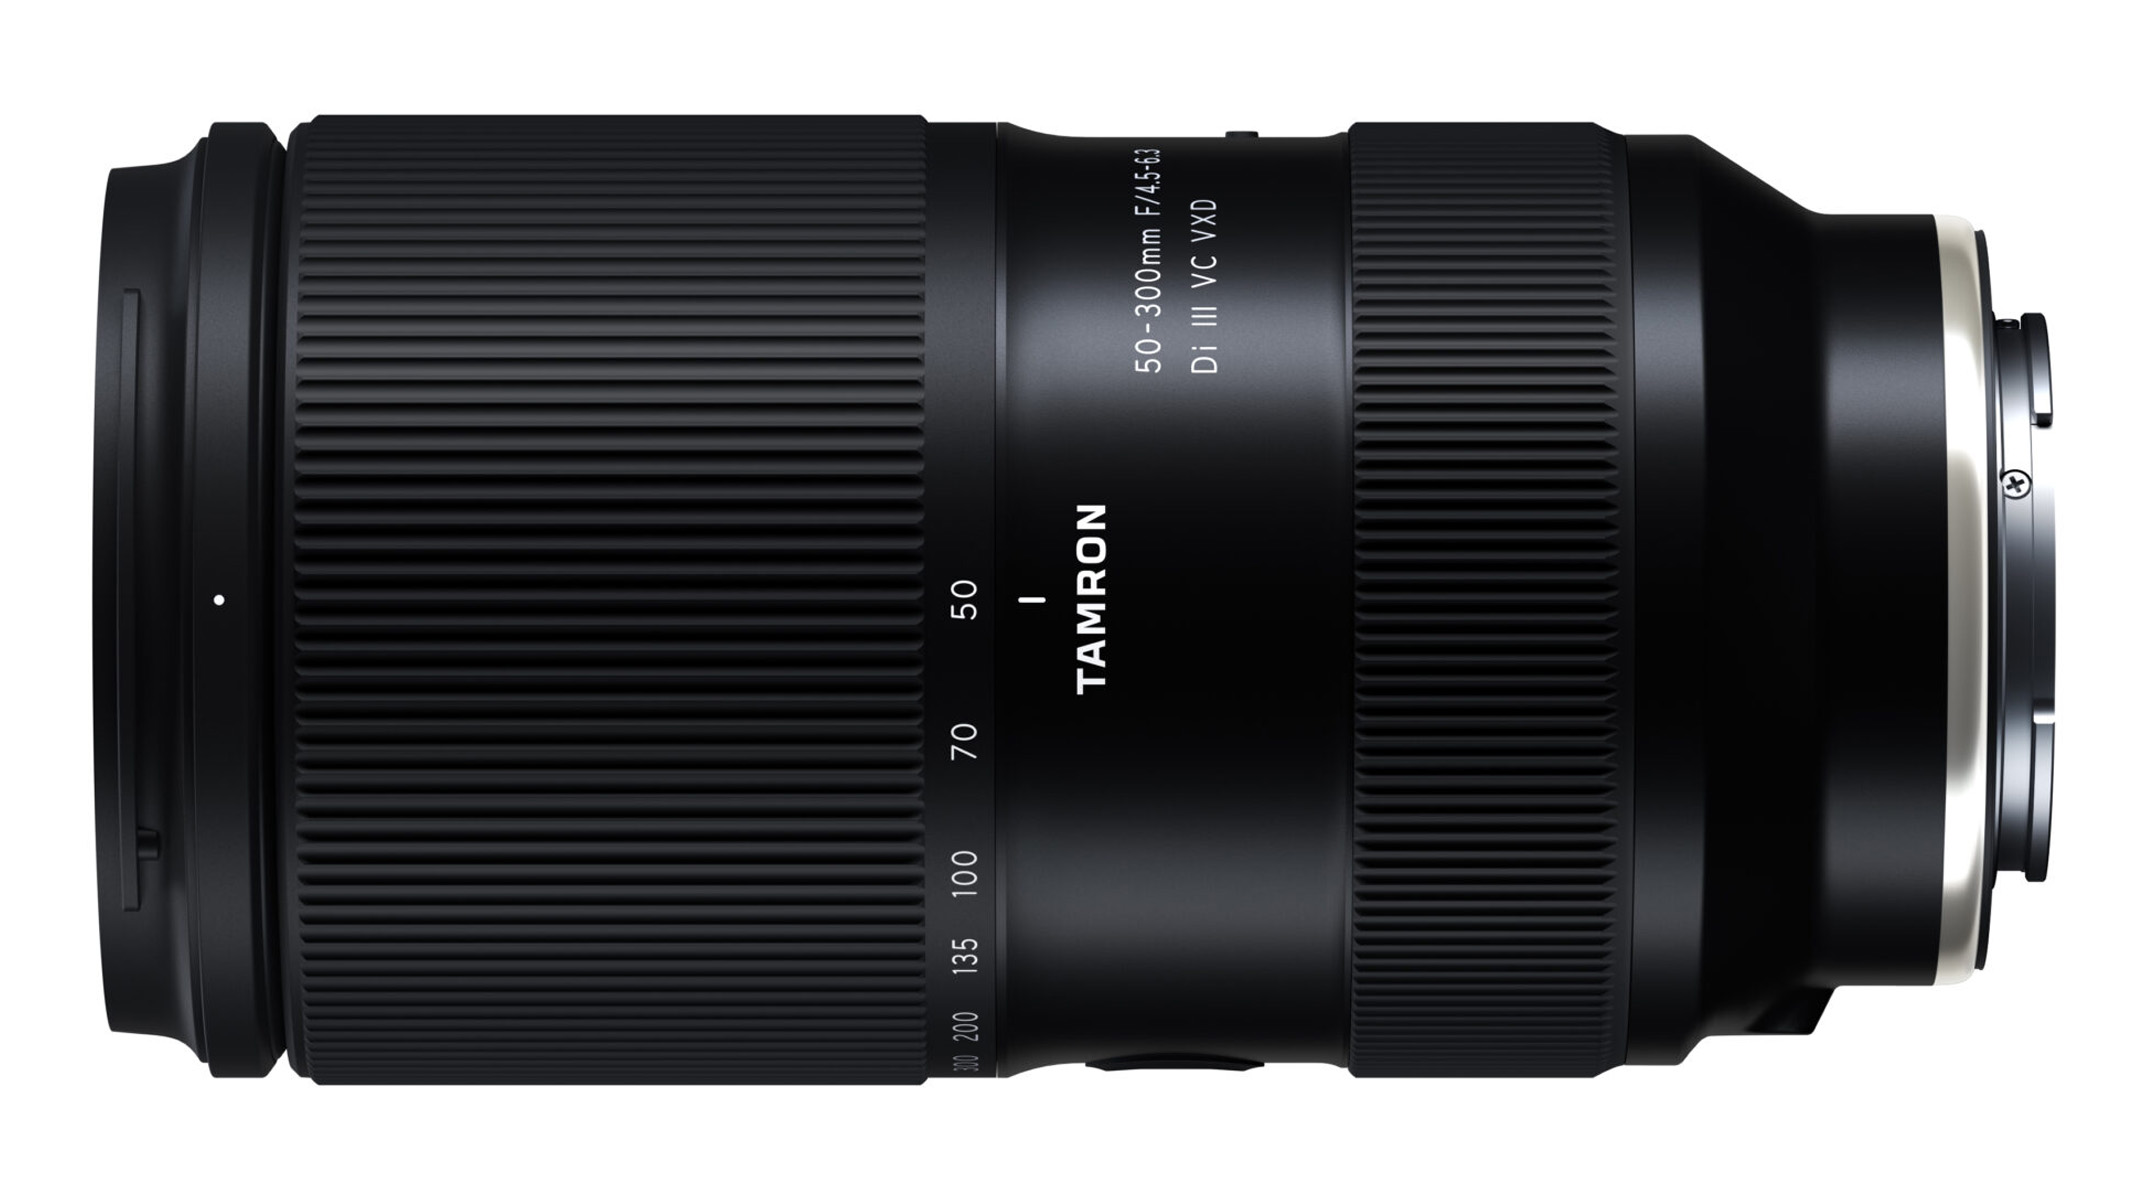
When you think about capturing distant birds, telephoto lenses are essential. Some brands offer affordable options that still provide excellent image quality. For instance, lenses in the 300mm to 400mm range are often more budget-friendly while still offering a good reach for birding. Consider lenses with a fixed aperture, as they tend to be lighter and less expensive. Brands like Canon and Nikon offer affordable telephoto lenses that are great for beginners. These lenses may not have all the bells and whistles of high-end models, but they deliver in terms of value and performance.Used And Third-party Lenses
Buying used lenses can be a smart way to save money. Many photographers upgrade their gear regularly, so you can find quality lenses at a fraction of the original price. Websites like KEH and B&H offer a wide range of used lenses with warranties, providing peace of mind with your purchase. Third-party manufacturers like Sigma and Tamron also produce excellent lenses that are often significantly cheaper than brand-name counterparts. These lenses frequently offer unique features and can be a great way to stretch your budget further.Maximizing Value
To get the most out of your budget-friendly lens, focus on technique. Good lighting and proper settings can dramatically enhance your photos, even with a less expensive lens. Practice patience and timing to capture birds in their natural behavior, which can add magic to your shots. Invest in a sturdy tripod or monopod to stabilize your lens and reduce camera shake, especially for longer focal lengths. This simple addition can greatly improve the sharpness of your images. Remember, sometimes it’s not just about the gear but how you use it that makes the difference. What budget-friendly lens strategies have you found most effective in your bird photography journey? Share your thoughts and experiences in the comments below!
Credit: medium.com
Tips For Sharp Bird Photos
Sharp bird photos capture the fine details of feathers and expressions. Achieving this clarity requires more than just a good lens. Careful handling, proper settings, and steady support play vital roles. These tips will help you produce crisp, clear images that highlight your subject’s beauty.
Using Tripods And Supports
Tripods reduce camera shake and keep your lens steady. Use a sturdy tripod with a smooth head for easy movement. A monopod works well for quick adjustments and lighter setups. Place your tripod on firm ground to prevent wobbling. Adding a bean bag or sandbag can stabilize the camera further. Stability is key for sharp shots, especially with long lenses.
Optimal Camera Settings
Select a fast shutter speed to freeze bird movement. Aim for at least 1/1000 second or faster. Use a wider aperture to let in more light and blur the background. ISO should be as low as possible to avoid grainy images. Enable continuous autofocus to track moving birds. Shoot in burst mode to capture multiple frames per second. This increases chances of getting a perfect shot.
Techniques For Focus And Stability
Focus on the bird’s eye for sharpness and impact. Use single-point autofocus for precise targeting. Hold your breath or exhale slowly when pressing the shutter. This reduces body movement and camera shake. Use image stabilization if your lens or camera has it. Practice smooth panning to follow flying birds. Keep your posture relaxed but steady to improve stability.
Frequently Asked Questions
What Focal Length Lens Is Best For Bird Photography?
A 300mm to 600mm lens is ideal for bird photography. It allows close-up shots without disturbing birds. Longer lenses help capture detailed images from a distance.
Can I Use A 50mm Lens For Bird Photography?
A 50mm lens is generally too short for bird photography. It lacks the zoom needed to capture distant birds clearly. Telephoto lenses are better suited for this purpose.
Why Choose A 400mm Lens For Bird Photography?
A 400mm lens offers a perfect balance of reach and portability. It provides enough zoom to capture birds clearly without being too heavy. This makes it a popular choice among bird photographers.
Is Image Stabilization Important In Bird Photography Lenses?
Yes, image stabilization helps reduce blur caused by camera shake. It is crucial when using long telephoto lenses. This feature ensures sharper images, especially in low light or handheld shooting.
Conclusion
Choosing the right mm lens helps capture birds clearly and up close. Lenses with 300mm to 600mm work well for bird photography. They bring distant birds closer without disturbing them. A good lens improves focus and sharpness in your photos.
Remember, lens choice depends on your budget and shooting style. Practice with your lens to get better shots every time. Enjoy the process and watch your bird photos improve!


