
Have you ever wished you could watch birds up close without disturbing them? Setting up a bird watch camera lets you do just that.
Imagine capturing the secret moments of your backyard visitors—their colors, behaviors, and daily routines—all from the comfort of your home. In this guide, you’ll learn simple, step-by-step tips to set up your own bird watch camera easily. Whether you’re a beginner or looking to improve your current setup, this article will help you get started quickly and enjoy the magic of birdwatching like never before.
Keep reading to discover how you can bring the beauty of nature right to your screen.
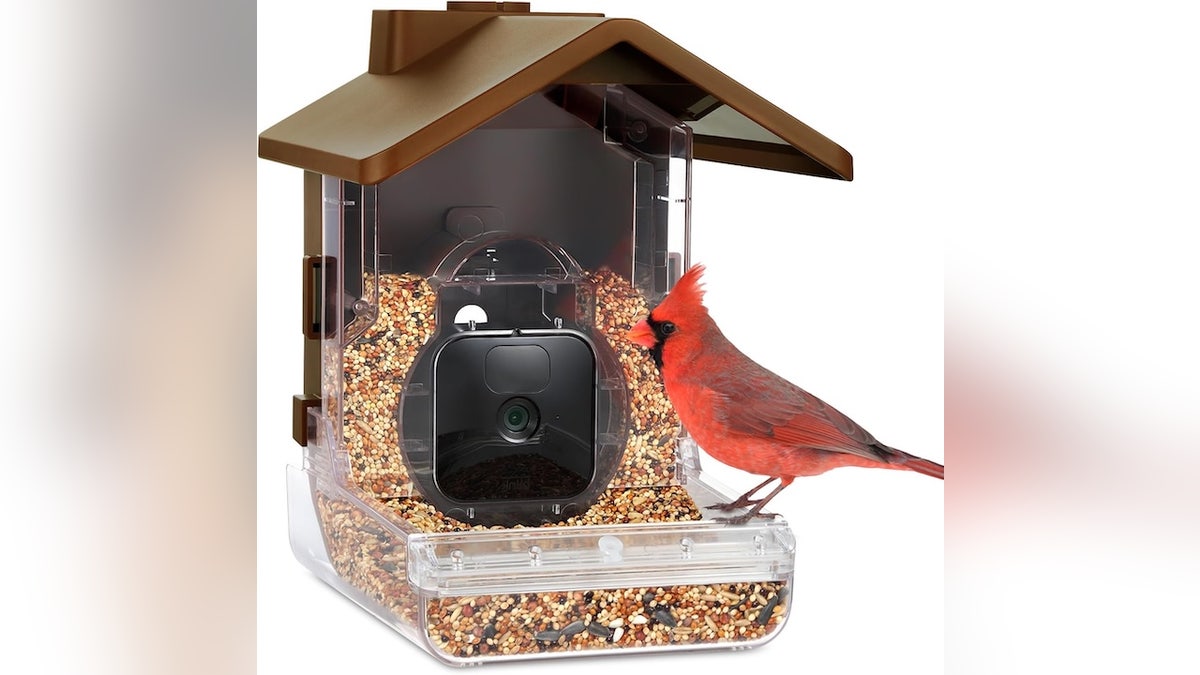
Credit: www.foxnews.com
Choosing The Right Camera
Choosing the right camera is a crucial step in setting up your bird watch camera. The camera you pick will directly affect the quality of your footage and your overall birdwatching experience. It’s important to understand the types of cameras available and what features truly matter for capturing those perfect bird moments.
Types Of Bird Watch Cameras
There are several types of bird watch cameras, each suited for different needs:
- Trail Cameras:These are motion-activated and weatherproof, ideal for outdoor use. They capture images or videos only when birds are present, saving storage space.
- Webcams:These offer live streaming but usually need a power source and internet connection. Great for continuous monitoring from a distance.
- GoPro or Action Cameras:Compact and durable, these cameras provide high-quality video but often require manual activation or additional equipment for motion sensing.
- DSLR or Mirrorless Cameras:Best for professional-grade images and videos, but typically require more setup and can be expensive.
Which type fits your environment and birdwatching style? That’s the first question to ask yourself.
Key Features To Look For
Not all cameras are created equal, especially for birdwatching. Pay attention to these features:
- Motion Detection:Saves battery and storage by recording only when birds appear.
- Night Vision:Essential if you want to observe nocturnal birds.
- Resolution:Higher resolution means clearer images but larger files.
- Battery Life:Longer battery life reduces the need for frequent maintenance.
- Weatherproofing:Protects your camera from rain, dust, and harsh conditions.
- Ease of Setup:Some cameras offer simple plug-and-play, while others need more technical setup.
Have you thought about how often you’ll check the camera? It might affect which features are non-negotiable for you.
Budget Considerations
Bird watch cameras come in a wide price range. Knowing your budget helps narrow down options.
| Price Range | Typical Features | Best For |
|---|---|---|
| Under $100 | Basic motion detection, low to mid resolution | Beginners or casual birdwatchers |
| $100 – $300 | Improved image quality, better battery life, some weatherproofing | Enthusiasts wanting reliable performance |
| Above $300 | High resolution, advanced sensors, night vision, rugged design | Serious birdwatchers or professionals |
What’s your budget? Sometimes spending a bit more upfront saves frustration later. But don’t overspend on features you won’t use.
Selecting The Perfect Location
Choosing the right spot for your bird watch camera is key for great photos. The location affects what birds you capture and how clear the images are. Select a place where birds visit often. Also, think about the light and protect your camera from damage.
Identifying Bird Activity Areas
Find places where birds come to feed, rest, or build nests. Look near trees, bushes, or water sources. Watch these spots for a few days to see where birds appear most. Choose a location close to these busy bird areas. This increases your chances of good shots.
Considering Lighting Conditions
Good lighting makes bird photos clear and colorful. Avoid places with harsh direct sunlight that causes shadows. Early morning or late afternoon light works best. Position your camera so the sun lights the bird from the side or front. This shows bird details well without glare.
Ensuring Camera Safety
Protect your camera from weather and animals. Place it where rain or strong wind won’t hit directly. Use waterproof covers if needed. Avoid spots where curious animals can reach or damage the camera. Secure the camera firmly to prevent it from falling or moving.
Mounting And Positioning
Mounting and positioning your bird watch camera correctly is key to capturing clear, natural footage of birds in action. Where and how you place your camera affects not only the image quality but also the behavior of the birds you want to observe. Careful setup helps you get closer to nature without causing stress to your feathered friends.
Best Mounting Options
Choosing the right mounting option depends on your environment and the type of camera you have. Tripods offer flexibility and stability, making them great for backyard setups where you might want to adjust angles frequently.
Clamp mounts work well on tree branches or poles, securing your camera firmly in place. Suction mounts can be handy if you want to attach your camera to a window for indoor viewing.
- Use a tripod for easy repositioning and height adjustment.
- Clamp mounts provide a solid hold on uneven surfaces like branches.
- Suction mounts are good for steady shots through glass.
Have you tried different mounts and noticed how it changes the kind of shots you get?
Optimal Camera Angles
Angles can make or break your bird footage. Position your camera slightly above or at eye level with the birds to capture natural behaviors without distortion.
A downward angle often works well to catch feeding or nest activity. Side angles help highlight flight patterns and wing movements.
- Aim for a 30 to 45-degree angle relative to the bird’s typical perching spot.
- Keep the sun behind the camera to avoid glare and shadows on your subject.
- Experiment with angles early to see which gives the clearest, most vibrant shots.
Minimizing Disturbance To Birds
Disturbing birds can ruin your chances of capturing authentic moments. Always mount your camera quietly and avoid sudden movements near your setup.
Use camouflage or natural covers to blend your camera into the environment. Avoid placing the camera too close—observe from a distance that allows birds to feel safe.
Think about how you would feel if something strange appeared suddenly in your personal space. Do you think birds appreciate the same respect?
- Set up your camera when birds are less active, like midday.
- Use motion-activated cameras to reduce the need for frequent human presence.
- Check your setup regularly but quietly, to avoid startling your subjects.

Credit: green-backyard.com
Setting Up Camera Settings
Setting up your bird watch camera settings correctly can make a huge difference in capturing clear, exciting footage. It’s not just about pointing the camera and hoping for the best. You need to fine-tune the settings so that your camera reacts to bird movements and records high-quality videos or photos without wasting storage space.
Adjusting Resolution And Frame Rate
Choosing the right resolution affects the clarity of your bird videos and photos. Higher resolution means sharper images but also larger file sizes. If you want detailed shots of feathers or colors, go for at least 1080p.
Frame rate controls how smooth your video looks. A higher frame rate like 60fps captures fast bird movements more clearly but consumes more battery and storage. If you mostly want still images or slower video, 30fps usually works well.
Think about your main goal: Are you trying to see every flutter of wings or just get a general view? Adjust these settings based on your priorities.
Configuring Motion Detection
Motion detection is a game-changer for bird watching cameras. It triggers recording only when there’s activity, saving battery and memory. You want to set the sensitivity just right—too low, and you’ll miss quick movements; too high, and you get false triggers from wind or leaves.
Try testing your camera’s motion detection in different lighting and weather conditions. I once had my camera set too sensitive, and it recorded hours of empty branches swaying. Adjust until it captures mostly bird activity.
Does your camera allow you to specify detection zones? Use this feature to focus on the feeder or nest area and ignore irrelevant parts of the frame.
Using Timers And Intervals
Timers and intervals control when and how often your camera takes photos or videos. You can set the camera to operate only during daylight hours when birds are most active. This saves power and storage.
Interval shooting lets you capture images at fixed times, like every 10 seconds. This is useful if you want a time-lapse or don’t want to rely solely on motion detection. However, it can fill your memory card quickly, so balance frequency with available storage.
Ask yourself: Would you prefer continuous footage during peak bird activity or periodic snapshots throughout the day? Your answer will guide how you set timers and intervals.
Attracting Birds To Your Camera
Getting birds to show up in front of your camera takes more than just setting it up. You need to create an inviting space that makes birds feel safe and interested. Think about what attracts birds naturally and how you can use that to your advantage.
Using Feeders And Water Sources
Birds are drawn to places where they can eat and drink easily. Adding a feeder stocked with seeds or suet can bring a variety of species right to your camera’s view. Make sure to choose feeders that suit the types of birds you want to see.
Water is just as important. A shallow birdbath or a small pond can attract birds looking for a drink or a quick bath. Keep the water clean and fresh, changing it regularly to keep birds coming back.
Incorporating Natural Cover
Birds need places to hide and rest. Adding shrubs, trees, or even dense bushes near your camera spot gives them a sense of security. This natural cover encourages birds to stay longer and behave more naturally.
Think about how you can use native plants in your area to create this cover. They not only blend in well but also provide food and shelter. Have you noticed how birds linger longer when they feel safe?
Timing For Peak Bird Activity
Birds are most active during certain times of the day, especially early morning and late afternoon. Position your camera to catch these moments for the best shots. Patience is key here—spending time observing when birds visit can help you plan the perfect setup.
Consider the seasons too. Migration periods and breeding seasons often mean more bird activity. When was the last time you noticed a sudden increase in bird visits at your spot?
Maintaining And Troubleshooting
Regularly check the camera’s battery and clean the lens for clear images. If the camera stops working, reset it and ensure the memory card has space.
Maintaining and troubleshooting your bird watch camera can ensure great results. Keeping your equipment in top shape is key. Below, we discuss essential maintenance tips.Regular Cleaning And Checks
Regular cleaning keeps your camera functional. Dust and dirt can affect image quality. Use a soft cloth to clean the lens. Check for debris in the camera housing. Regular checks help spot issues early. Look for signs of wear or damage.Battery And Power Solutions
Ensure your camera has a reliable power source. Rechargeable batteries are a good option. Solar chargers can provide energy in remote locations. Always have spare batteries on hand. Test your power setup regularly.Dealing With Common Issues
Sometimes, issues arise with bird watch cameras. Blurry images may need lens cleaning. Check settings for correct configurations. If the camera doesn’t turn on, inspect the power source. Ensure all cables are connected securely.Editing And Sharing Your Shots
Editing your bird watch camera shots helps highlight the best moments clearly. Sharing these photos online connects you with other bird lovers and nature fans. Simple edits improve colors and sharpness without losing natural beauty.
Capturing stunning bird shots with your camera is just the beginning of your birdwatching journey. The magic truly unfolds when you edit and share your footage, turning raw clips into captivating stories. Whether you’re a novice or a seasoned editor, these tips will enhance your visuals and engage your audience.Basic Photo And Video Editing Tips
Editing is your chance to highlight the beauty of your bird footage. Start by cropping your images to remove distractions and focus on the bird itself. Adjust brightness and contrast to make details pop. Consider using simple software like Adobe Lightroom or free tools like GIMP for photo editing. For video, platforms like iMovie or DaVinci Resolve offer user-friendly options. Remember, the key is to enhance, not over-edit, keeping your shots natural and authentic.Organizing Your Footage
Keeping your footage organized is crucial for smooth editing and sharing. Create folders categorized by date, location, or bird species. This makes it easier to find specific shots later on. Consider using a cloud storage service for easy access and backup. Consistent naming conventions for your files can also save you time and effort. Think about what works best for you and stick with it.Sharing On Social Media And Platforms
Social media can amplify your birdwatching adventures. Platforms like Instagram and Facebook are great for sharing photos, while YouTube and TikTok are perfect for videos. Engage your audience by adding interesting facts or stories about the birds you capture. Encourage interaction by asking questions or prompting discussions in the comments. Use relevant hashtags to reach a wider audience and connect with other bird enthusiasts. By refining your editing skills and sharing techniques, you can inspire others and contribute to the birdwatching community. What’s your next step to make your bird footage shine?
Credit: www.youtube.com
Frequently Asked Questions
What Equipment Is Needed For A Bird Watch Camera?
You need a camera with good zoom, a tripod, memory card, and batteries. A weatherproof camera is ideal for outdoor use. Optional accessories include motion sensors and camouflage covers to avoid disturbing birds.
Where Is The Best Location To Set Up A Bird Watch Camera?
Place the camera near bird feeders, nests, or water sources. Choose a spot with natural light and minimal obstructions. Ensure the area is quiet and safe to avoid scaring birds away.
How Do I Avoid Disturbing Birds With The Camera?
Use camouflage or natural covers for the camera. Set up the camera quietly and leave the area. Use remote triggers or motion sensors to minimize human presence.
What Settings Are Best For Bird Watch Cameras?
Use a fast shutter speed to capture quick movements. Set high resolution for clear images. Adjust ISO for lighting conditions and enable continuous shooting mode for multiple shots.
Conclusion
Setting up a bird watch camera can be simple and fun. Choose a good spot where birds visit often. Make sure the camera is steady and not in direct sun. Check the settings to capture clear photos or videos. Be patient and watch quietly to avoid scaring birds away.
Enjoy the peaceful moments and learn about different bird species. With practice, your camera will help you see nature up close. Keep exploring and sharing your bird watching experiences.


