
Have you ever wanted to see your city from above, like a bird soaring high in the sky? Drawing a bird’s eye view of a city might sound tricky, but it’s easier than you think.
Whether you’re an artist, a student, or just curious, this guide will help you create a clear and impressive cityscape from a top-down perspective. By the end, you’ll have the skills to design your own aerial map that looks both detailed and realistic.
Ready to bring your city to life from above? Let’s get started!
Gathering Materials
Drawing a bird’s eye view of a city needs the right materials. Good tools help you create clear and detailed drawings.
Before you start, collect all the items you need. This makes your drawing process easier and more fun.
Essential Drawing Tools
You need some basic tools to draw from above. These tools help you sketch, erase, and add details.
- Pencils of different hardness (HB, 2B, 4B)
- Eraser for fixing mistakes
- Ruler to draw straight lines
- Sharpener to keep pencils sharp
- Drawing paper or sketchbook
- Colored pencils or markers for adding color
Having these tools ready helps you work smoothly. You can focus on your drawing without searching for materials.
Choosing Reference Images
Reference images show you how cities look from above. They guide your drawing and help with details.
Pick clear images that match the style you want. Satellite photos, maps, and aerial shots are good choices.
- Use online maps or satellite images
- Find photos of cities from high places
- Choose images with clear building shapes
- Look for pictures showing streets and parks
Save your images so you can look at them while drawing. This helps you draw buildings and streets correctly.
Planning The Layout
Drawing a bird’s eye view of a city starts with planning the layout. This helps organize streets, buildings, and landmarks clearly.
Good planning makes your city look realistic and easy to understand from above.
Sketching The City Grid
Begin by drawing a basic grid for streets and blocks. The grid forms the city’s structure and guides where buildings go.
Decide if streets are straight or curved. Straight streets create a neat grid, while curves add variety.
- Draw main roads first to define the city shape
- Add smaller streets inside the blocks
- Use light lines to adjust the grid easily
- Leave space for parks and open areas
Deciding On Key Landmarks
Choose important landmarks to make your city unique. Landmarks help people recognize places from above.
Place landmarks where they stand out, like city centers or near large open spaces.
- Mark government buildings and museums
- Add parks, stadiums, or monuments
- Include bridges or train stations if needed
- Space landmarks evenly to balance the view
Drawing Basic Shapes
Drawing a bird’s eye view of a city starts with simple shapes. These shapes help you plan the layout. Use squares, rectangles, and circles for buildings and landmarks.
Keep your shapes clear and consistent. This makes your drawing easy to understand and neat. Start with light pencil marks you can adjust later.
Outlining Buildings
Begin by sketching basic shapes for buildings. Most buildings look like rectangles or squares from above. Use different sizes to show small and large buildings.
- Draw rectangles for houses and offices
- Use squares for small shops or kiosks
- Circle shapes work for round buildings or towers
- Keep edges straight for man-made structures
- Place buildings close or far to show city density
Adding Roads And Pathways
Roads and pathways connect your buildings. Draw lines or shapes to show streets and walkways. Roads can be straight or curved depending on the city design.
| Road Type | Shape | Details |
| Main Roads | Wide rectangles | Use parallel lines to show lanes |
| Side Streets | Narrow rectangles | Draw thinner lines inside main roads |
| Pathways | Thin lines or dotted lines | Show pedestrian paths or bike lanes |
Adding Details
Adding details makes your bird’s eye view drawing more interesting. Small elements bring the city to life.
Details show the character of the city. They help viewers understand the scene better.
Incorporating Trees And Parks
Trees and parks break up the buildings and add green space. They make the city look natural.
Draw trees with simple round or oval shapes from above. Use small dots or lines for leaves.
- Use different tree sizes to show variety
- Draw parks with open green areas and paths
- Add benches, fountains, or playgrounds for more detail
Designing Vehicles And People
Vehicles and people add life and movement to your city view. Keep shapes simple and clear.
Draw cars as small rectangles or ovals. Use tiny dots or lines for people walking or sitting.
- Show cars on roads and parking spots
- Place people on sidewalks and parks
- Use different colors for variety and interest
Shading And Texturing
Drawing a bird’s eye view of a city needs shading and texturing to look real. These techniques help make buildings and streets appear three-dimensional.
Using shadows and surface details adds depth and interest to your drawing. This guide will focus on how to use these effects well.
Creating Depth With Shadows
Shadows show where light hits the city and where it does not. They give shapes a solid look and show height differences.
- Decide the light source direction before shading.
- Shade the sides of buildings opposite the light.
- Use softer shadows for distant objects.
- Add darker shadows under overhangs and bridges.
- Blend shadows smoothly for a natural look.
Using Textures For Surfaces
Textures make roads, rooftops, and parks look different from each other. They help viewers know what each surface is made of.
| Surface Type | Texture Tip |
| Roads | Use small dots or lines to show asphalt or concrete. |
| Buildings | Add brick or window patterns for walls. |
| Parks | Draw uneven lines or small leaf shapes for grass and trees. |
| Water | Use wavy lines or light shading to show rivers or lakes. |

Credit: www.youtube.com
Coloring Techniques
Coloring a birds eye view of a city brings your drawing to life. It helps show details and depth clearly.
Good coloring makes buildings, roads, and parks easy to see and understand.
Choosing A Color Palette
Pick a color palette that fits the city scene you want. Use colors that work well together.
Limit your palette to a few main colors. This keeps your drawing neat and easy to read.
- Use green for parks and trees
- Use gray or brown for buildings
- Use blue for water and rivers
- Use different shades of one color for depth
Applying Colors Effectively
Apply colors carefully to show different parts clearly. Use light colors for open areas.
Use darker colors for shadows and to add depth. Blend colors softly where areas meet.
- Start with base colors for large areas
- Add details with darker or lighter shades
- Use colors to separate roads from buildings
- Keep colors consistent across similar objects
Final Touches
Adding the final touches makes your bird’s eye city view clear and neat. This step helps highlight important parts and improves the overall look.
Take your time to refine lines and add labels. These small details guide viewers and make your drawing easy to understand.
Refining Lines And Details
Use a fine pen or pencil to sharpen your lines. Remove any stray marks or smudges to keep the drawing clean. Add small details like windows, trees, and roads to make the city feel alive.
- Darken main roads and building outlines
- Erase unnecessary sketch lines carefully
- Add texture to parks and water bodies
- Include shadows for depth and realism
- Highlight important landmarks with thicker lines
Adding Labels And Annotations
Labels help viewers know what each part of the city is. Use clear and simple text near buildings and streets. Annotations can explain special features or give extra info.
| Label Type | Purpose | Example |
| Street Names | Identify roads | Main St., Park Ave. |
| Landmark Tags | Mark important places | City Hall, Museum |
| Area Notes | Explain special zones | Residential, Commercial |
| Directional Arrows | Show flow or entrance | One-way, Entrance |
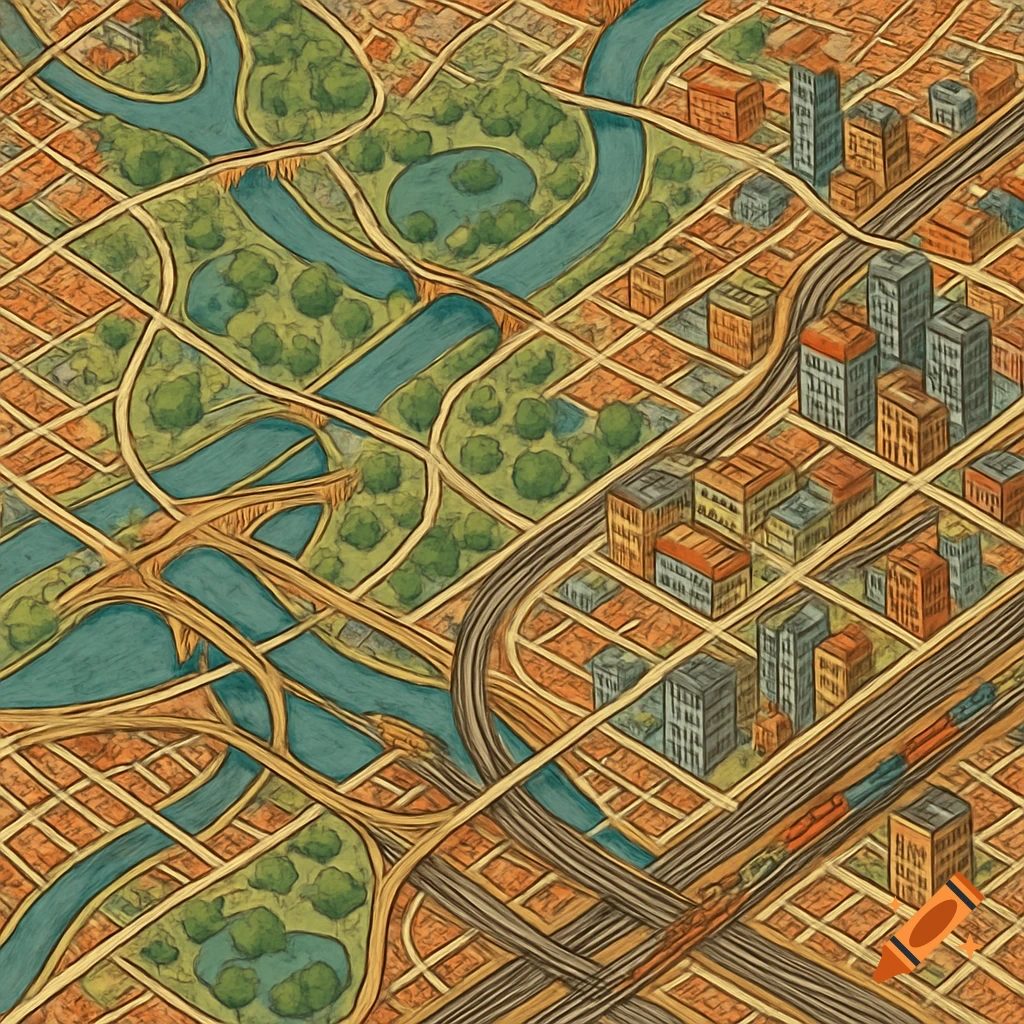
Credit: www.craiyon.com
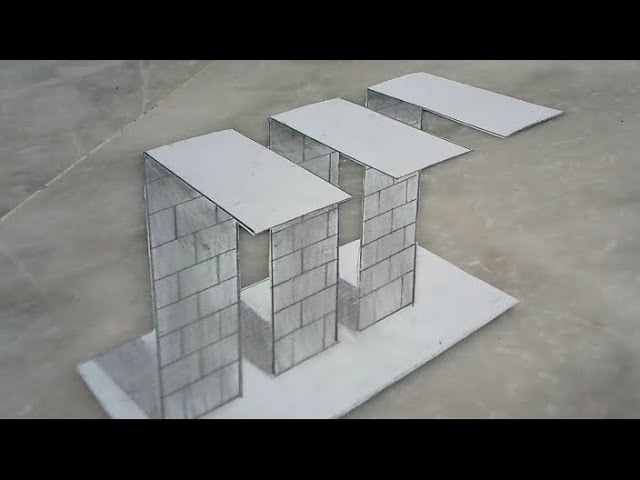
Credit: www.youtube.com
Frequently Asked Questions
How Do I Start Drawing A Bird’s Eye View Of A City?
Begin with a simple grid to map streets and blocks. Sketch major landmarks first to maintain scale and perspective. Use light pencil strokes for easy adjustments.
What Tools Are Best For Drawing City Bird’s Eye Views?
Use pencils, rulers, and graph paper for accuracy. Digital tools like CAD software or drawing tablets also help create precise layouts and perspectives.
How Can I Show Depth In A Bird’s Eye City Drawing?
Use smaller building sizes as they recede into the distance. Add shading and lighter colors for far objects to enhance depth perception.
What Details Make A Bird’s Eye City Drawing Realistic?
Include roads, parks, rivers, and recognizable landmarks. Add textures like rooftops and trees. Accurate proportions and perspective boost realism.
Conclusion
Drawing a bird’s eye view of a city can be fun and rewarding. Start with simple shapes and build details slowly. Focus on streets, buildings, and landmarks to make your drawing clear. Practice often to improve your skills and confidence.
Remember, every artist begins with basic steps. Keep your lines clean and your perspective steady. Soon, your city views will look more realistic and interesting. Enjoy the process and watch your city come to life on paper.


