
Have you ever wanted to watch birds up close without disturbing their natural behavior? Putting a camera inside a bird box lets you do just that.
Imagine seeing the first moments of a chick hatching or watching a mother bird care for her young—all from the comfort of your home. In this guide, you’ll learn simple steps to install a camera in your bird box, so you can enjoy this amazing experience.
Ready to bring the secret world of birds right to your screen? Let’s get started!
Choosing The Right Bird Box
Choosing the right bird box is key to capturing great footage. The box must suit the bird species and allow easy camera setup. Small details in materials, size, and design make a big difference. Picking the perfect box helps protect the birds and your camera gear.
Materials And Size
Wood is the best material for bird boxes. It breathes well and keeps birds comfortable. Avoid plastic boxes because they can overheat. The size depends on the bird species you want to watch. Small birds need smaller boxes, larger birds need bigger ones. The box should be roomy enough for the bird and camera.
- Use untreated wood for safety
- Choose thickness to keep temperature stable
- Check entrance hole size for the bird type
- Ensure internal space fits the camera comfortably
Designs For Camera Installation
Pick a box design that allows easy camera placement. Some boxes have removable panels or built-in camera slots. This makes installation quick and keeps the camera stable. Avoid designs with narrow interiors or no access points. Clear sightlines are important for good video angles.
- Look for boxes with side or back access panels
- Choose models with flat ceilings for mounting cameras
- Ensure the entrance hole does not block the camera view
- Consider boxes with transparent sections for better light

Credit: www.youtube.com
Selecting The Best Camera
Choosing the right camera for your bird box is crucial to capture clear, detailed footage of your feathered visitors. The camera you select affects not only the quality of the video but also how easy it is to install and maintain inside the box. Let’s look at what types of cameras work best and what features you should prioritize.
Types Of Cameras
There are several camera types suitable for bird boxes, each with unique strengths. Wired cameras offer stable connections but can be tricky to install in tight spaces. Wireless cameras provide flexibility and easier setup, but may suffer from signal interference or battery life issues.
Miniature cameras designed specifically for wildlife monitoring are ideal because they fit comfortably inside most bird boxes without disturbing the birds. Action cameras and small webcams also work well if you want a budget-friendly option.
- Wired Cameras:Reliable video feed, more challenging installation
- Wireless Cameras:Easy setup, potential connectivity issues
- Miniature Wildlife Cameras:Compact, designed for outdoor use
- Webcams and Action Cameras:Affordable, flexible options
Features To Look For
Look for cameras with high resolution to catch fine details like feather patterns and feeding behavior. Night vision or infrared capabilities are essential since birds often nest in dim light or at night.
Consider the camera’s power source—battery-operated models are easier to place but need regular charging or replacement. Some cameras offer motion detection, so they only record when birds are present, saving storage space.
| Feature | Why It Matters |
|---|---|
| High Resolution (1080p or higher) | Clear, detailed images and videos |
| Night Vision / Infrared | Visibility in low light inside the box |
| Power Source (Battery or Wired) | Ease of installation and maintenance |
| Motion Detection | Saves battery and storage by recording only when activity is detected |
| Durability and Weather Resistance | Withstands outdoor conditions and humidity |
Think about how much time you want to spend checking or changing batteries. A camera with remote access can help you watch birds live without disturbing the nest. What features matter most to you based on your bird box location and how often you can maintain the camera?
Preparing The Bird Box
Preparing your bird box for a camera is a crucial step that sets the stage for capturing amazing bird activity. It’s not just about fitting the camera inside; you need to think about how the camera will see the birds clearly and how to protect your equipment from the weather. Taking time to prepare the bird box properly ensures you get great footage without disturbing the birds or risking damage to your camera.
Creating Camera Openings
Start by deciding where the camera lens will have the best view. Typically, a small hole near the top or side of the bird box works well, giving a clear sightline to the nest area.
Use a drill with a bit size matching your camera lens diameter—usually around 1 to 2 cm. Avoid making the hole too large; this can let in too much light or allow predators to peek inside.
Consider lining the hole with a black rubber or foam ring to reduce glare and prevent the edges from scratching the lens. Have you noticed how light reflections can ruin a shot? This simple step helps keep your images crisp.
Ensuring Weatherproofing
Your camera and wiring need protection from rain, wind, and humidity. Seal the camera opening with a clear, waterproof window—plexiglass works well for this and doesn’t block the view.
Use weather-resistant silicone sealant around all openings and where cables enter the box. Don’t forget to check the seal regularly, especially after storms or heavy rain.
Also, make sure your cables are secured and routed through waterproof grommets or cable glands. These small additions keep moisture out and prevent your wires from fraying over time.
Credit: www.manomano.co.uk
Installing The Camera
Installing a camera inside your bird box is a delicate task that requires attention to detail. You want clear, close-up views without disturbing the birds’ natural behavior. Taking time to position and secure the camera properly will make a huge difference in the quality of your footage and the safety of your feathered visitors.
Positioning For Optimal Views
Start by thinking about what you want to capture. The camera should focus on the entrance and interior where the birds rest or feed their chicks. Avoid placing it too close to the entrance, as this can scare them away or block their path.
Try to position the lens so it faces slightly downward. This angle helps capture the entire inside without glare from outside light. If your bird box has a removable roof or side panel, use this feature to test different angles before finalizing the placement.
Ask yourself: Will the camera capture the most interesting activity without obstructing the birds? Adjust the position until you’re confident it won’t interfere with their routine.
Securing The Camera Inside
Once you find the right spot, you need to fix the camera firmly. Use small brackets, Velcro strips, or mounting putty that won’t damage the bird box or camera. Avoid adhesives that leave residue or could be toxic to wildlife.
Ensure the camera is stable and won’t move if the box shakes or if curious birds tap on it. A loose camera can ruin your footage and stress the birds. I once used a lightweight plastic bracket that clipped neatly inside the box—it held the camera perfectly without getting in the way.
Don’t forget to plan how you’ll route cables out of the box. Drill a tiny hole at the back or side, then seal around the cable with weatherproof silicone to keep rain and drafts out. This simple step protects both your equipment and the birds from unwanted exposure.
Power And Connectivity Options
Choosing the right power and connectivity options is key to setting up a camera in a bird box that works reliably and suits your needs. You want to capture amazing footage without constantly worrying about power outages or poor signal strength. Understanding the differences between wired and wireless setups, as well as the available power sources, helps you make a smart decision.
Wired Vs Wireless Solutions
Wired cameras often provide a stable and constant connection, which means less chance of losing video feed. They usually require running cables through tricky spots, which can be a hassle but pays off with reliability. If your bird box is close to a power source and your router, a wired setup might be the simplest choice.
Wireless cameras offer greater flexibility since you’re not tied down by cables. However, the signal can be interrupted by walls, trees, or distance, affecting video quality. If you want to place your bird box in a remote or hard-to-reach area, wireless might be your only option.
- Wired:More stable, needs cable installation, great for fixed locations.
- Wireless:Easier to install, flexible placement, can face interference issues.
Ask yourself: Is it more important to have a hassle-free setup or a rock-solid connection? Your answer will guide the choice between wired and wireless.
Battery And Solar Power Choices
Battery-powered cameras free you from needing a nearby outlet, but you must keep an eye on battery life. Some models can run for weeks on a single charge, but heavy video recording or cold weather can drain batteries quickly.
Solar panels can extend battery life or even eliminate the need for manual charging if placed correctly. But they need enough sunlight, so think about the bird box’s location—shaded spots might not work well.
- Battery:Portable and easy to install, requires regular charging or battery swaps.
- Solar:Eco-friendly, low-maintenance, depends on sunlight availability.
I once tried a battery-only camera in a shady backyard and had to recharge it every few days. Switching to a solar setup made a huge difference, letting me enjoy the footage without interruptions. What kind of power setup will let you enjoy watching your feathered friends without constant maintenance?
Testing And Adjustments
Testing and adjusting your bird box camera is crucial for great footage. Once your camera is installed, take time to ensure everything works perfectly. This will help capture the best possible bird activities. Let’s dive into some critical steps for testing and making adjustments.
Checking Camera Angles
Ensure the camera angle captures the entire bird box. The entrance hole and nesting area should be visible. Adjust the camera position if necessary. Use a live feed to check the view. A slight tilt can make a big difference.
Ensuring Clear Image Quality
Check the image quality under different lighting conditions. Birds are active at various times, so test during daylight and at night. Ensure the footage is clear and not grainy. If the image is blurry, adjust the focus. Most cameras allow for manual focus adjustments. Clear images make observing birds more enjoyable.
Maintaining The Bird Box Camera
Place the camera securely inside the bird box without disturbing the nest. Regularly check the camera to ensure it stays clean and functions well.
Maintaining the Bird Box Camera is crucial to ensure you don’t miss capturing those delightful moments of bird activity. Regular maintenance can extend the life of your camera and provide consistent, high-quality footage. Let’s explore how you can keep your bird box camera in top shape.Cleaning And Upkeep
Keeping your bird box camera clean is vital for clear footage. Dust and debris can accumulate on the camera lens, distorting the image. Use a soft microfiber cloth to gently wipe the lens every few weeks. Birds can be messy, leaving droppings on the camera. A mild, non-toxic cleaning solution can help remove stubborn spots. Ensure the camera is turned off and unplugged before cleaning to avoid any electrical mishaps. Check the camera housing regularly for any signs of wear or damage. Tighten any loose screws and ensure the housing is waterproof to protect the camera from rain.Troubleshooting Common Issues
Sometimes, the camera might not function as expected. If the image is blurry, check if the lens needs cleaning or if the focus needs adjustment. Intermittent connectivity issues can be frustrating. Make sure the camera’s Wi-Fi signal is strong and consider moving your router closer if needed. If the camera isn’t recording, double-check the SD card. Is it full or incorrectly inserted? A quick format might resolve the issue. Do you often find yourself facing connectivity problems at night? Ensure your camera has night vision capabilities and verify if the infrared lights are working properly. Regular maintenance and timely troubleshooting can save you from missing those special moments in your bird box. Keep your camera well-maintained, and it will reward you with endless footage of nature’s wonders.Capturing Stunning Bird Footage
Capturing stunning bird footage requires patience and care. A camera inside a bird box offers a close-up view of birds in their natural home. This setup reveals unique moments like feeding, nesting, and caring for young birds. The right timing and gentle filming help create beautiful, authentic videos. Small adjustments to camera placement can improve the quality and clarity of the footage.
Best Times To Film
Early morning and late afternoon are prime times to film birds. Birds are most active during these hours. Bright but soft natural light enhances video quality. Avoid filming at midday when light is harsh. Spring and early summer are ideal seasons. Birds are busy building nests and raising chicks. Filming during these times captures lively and interesting behavior.
Tips For Natural Behavior Shots
- Keep the camera steady and avoid sudden movements.
- Use silent mode to prevent scaring the birds.
- Minimize human presence near the bird box.
- Place the camera at a natural angle inside the box.
- Check the camera settings for clear focus and correct exposure.
- Be patient and let birds act freely without disturbance.
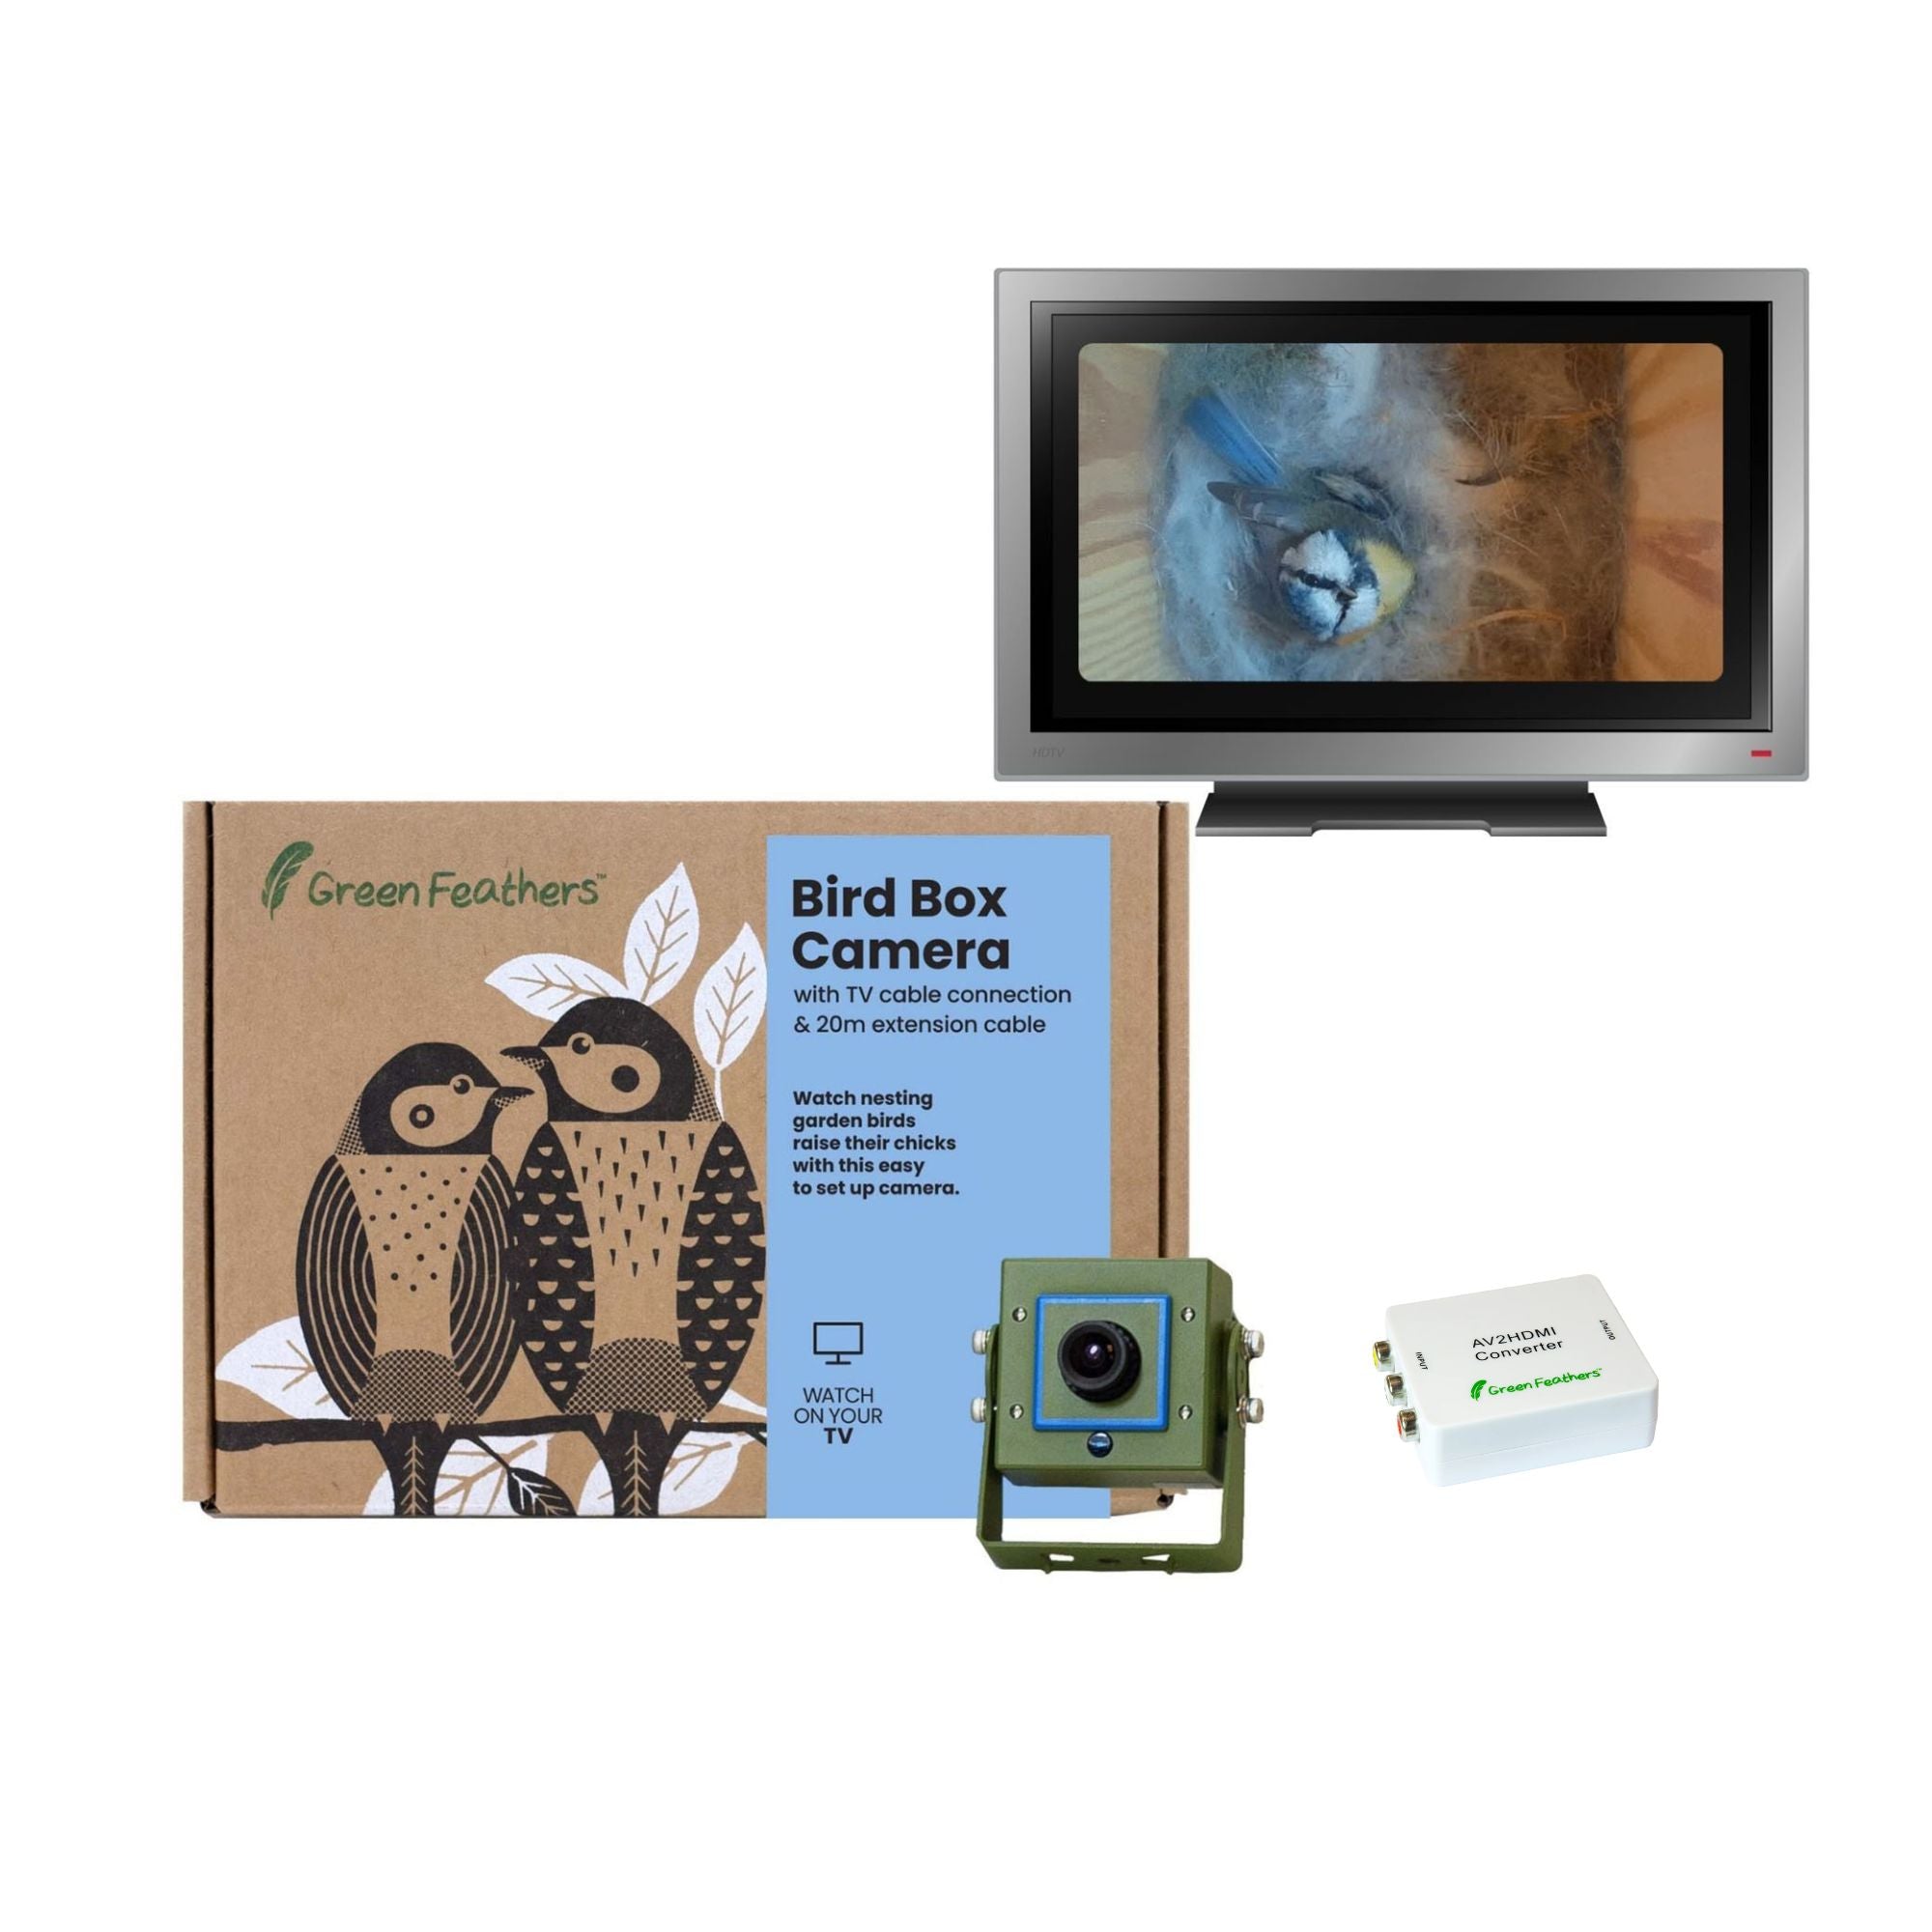
Credit: www.green-feathers.co.uk
Frequently Asked Questions
How Do I Choose The Right Camera For A Bird Box?
Select a small, lightweight camera with night vision and a wide-angle lens. Ensure it has good battery life or can connect to power. Wireless cameras offer easier installation and remote viewing options. Check for weatherproof features if the camera is exposed to elements.
What Is The Best Way To Mount A Camera Inside A Bird Box?
Mount the camera securely at the box’s entrance or inside the roof for clear views. Use screws or strong adhesive to avoid movement. Position it to capture bird activity without disturbing the birds. Ensure the lens is unobstructed by nesting materials.
Can I Use A Wi-fi Camera In A Bird Box?
Yes, Wi-Fi cameras work well for bird boxes. They allow live streaming and remote monitoring via smartphone or computer. Ensure good signal strength near the box. Choose low-power models to conserve battery life. Protect the camera from moisture for durability.
How Do I Power A Bird Box Camera Efficiently?
Power your bird box camera with rechargeable batteries or solar panels. Solar panels offer sustainable energy and reduce maintenance. Alternatively, use wired power if accessible. Ensure power sources are weatherproof and positioned safely to avoid disturbing birds.
Conclusion
Placing a camera in a bird box lets you watch birds up close. It helps you learn about their habits and nesting. Choose a small camera and set it carefully to avoid disturbing birds. Check the camera often to make sure it works well.
Enjoy the quiet moments of nature from your own home. This simple step brings the beauty of birds right to you. Happy bird watching!


