
Are you ready to bring more birds to your backyard? Installing a bird feeder pole is an easy way to create a safe and inviting space for feathered friends.
But if you’re unsure where to start, don’t worry—you’re about to learn simple steps that anyone can follow. By the end of this guide, you’ll have a sturdy bird feeder pole set up, attracting beautiful birds right outside your window.
Let’s dive in and make your outdoor space come alive with nature!

Credit: www.youtube.com
Choosing The Right Spot
Choosing the right spot for your bird feeder pole is key to attracting a variety of birds while keeping them safe and comfortable. A good location encourages frequent visits and helps you enjoy watching your feathered friends up close. Think about what makes a spot inviting not just for you, but for the birds as well.
Consider Bird Safety
Birds need a safe environment to feed without feeling threatened. Place your feeder pole away from busy footpaths or noisy areas where birds might get startled. Avoid locations near large windows to reduce the risk of collisions, which can harm the birds.
I once placed a feeder near my patio, only to notice fewer birds because of constant movement and noise. Moving it just a few feet to a quieter corner made a huge difference in visitor numbers.
Check Sunlight And Shade
Birds prefer a mix of sunlight and shade while feeding. Too much sun can make the feeder hot and uncomfortable, especially during summer afternoons. Look for a spot that gets morning sun and afternoon shade, providing warmth without overheating.
Notice how birds often pause in shaded areas to rest and cool down. Your feeder should offer them that option by positioning it near a tree or shrub that casts partial shade.
Avoid Predators
Predators like cats and squirrels can scare birds away or even pose a danger. Keep your feeder pole at least 10 feet away from places where these predators can hide or jump from, such as fences or dense bushes. Consider adding baffles or guards to the pole to make it harder for unwanted visitors to reach the feeder.
One time, squirrels took over my feeder, but installing a pole guard kept them at bay and allowed birds to feed peacefully. Protecting your birds means they’ll visit more often, and you’ll get to enjoy the show without interruptions.
Selecting A Bird Feeder Pole
Selecting the right bird feeder pole is key to attracting birds and keeping the feeder secure. The pole must fit your garden’s style and handle outdoor conditions well. Choosing carefully helps the feeder last longer and offers a safe spot for birds to visit.
Material Options
Bird feeder poles come in various materials. Metal poles are strong and resist weather damage. They often have a powder coat to prevent rust. Wooden poles blend well with natural surroundings. Treated wood lasts longer outside but may need occasional care. Plastic poles are lightweight and easy to move. They may not be as sturdy in strong winds.
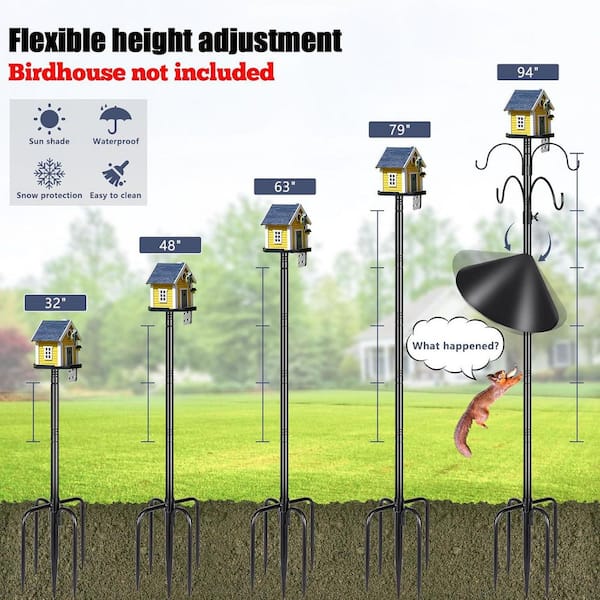
Height And Stability
Pick a pole height that keeps the feeder safe from pets and easy for birds to reach. Poles between 4 to 6 feet work well for most gardens. Stability is important to stop the pole from tipping over. Look for poles with wide bases or ground anchors. Some poles come with spikes for extra hold in the soil.
Additional Features
Extras can make a bird feeder pole more useful. Some poles include hooks or arms to hang multiple feeders. Squirrel baffles can be added to stop squirrels from stealing food. Decorative tops add charm and fit your garden’s look. Choose features that fit your needs and help protect your feeders.
Gathering Necessary Tools
Gathering the right tools is key before installing a bird feeder pole. Proper tools make the process smoother and safer. Having everything ready helps avoid delays and frustration. It also ensures the pole is stable and secure for your feathered friends.
Basic Tools List
- Shovel or post hole digger for digging the hole
- Level to ensure the pole stands straight
- Measuring tape to check hole depth and pole height
- Rubber mallet or hammer for securing parts
- Wrench or pliers to tighten bolts and screws
- Bucket or container for mixing concrete (if needed)
- Water source to mix concrete or moisten soil
Safety Equipment
- Gloves to protect your hands from sharp edges
- Safety goggles to shield eyes from dirt and debris
- Sturdy shoes to protect feet during digging
- Long sleeves and pants to avoid scratches and insect bites
Preparing The Ground
Preparing the ground is an important part of installing a bird feeder pole. It ensures the pole stands strong and lasts a long time. Proper preparation also makes the area safe for birds to visit. The process involves clearing the area, checking the soil type, and marking the right placement for the pole.
Clearing The Area
Remove all plants, rocks, and debris from the spot. A clean area helps the pole fit tightly into the ground. Clear a space wide enough to work comfortably. This prevents any obstacles during installation. Also, check for underground wires or pipes before digging.
Checking Soil Type
Test the soil to understand its texture and firmness. Soft soil may need extra support for the pole. Hard or rocky soil can make digging difficult. Knowing soil type helps choose the right tools. It also guides how deep to set the pole for stability.
Marking Placement
Pick a spot that gives birds a safe feeding area. Avoid places too close to windows or heavy foot traffic. Use stakes or flags to mark the exact pole position. Measure the distance from trees and other structures. Clear markings make the installation process smooth and accurate.
Installing The Pole
Installing the pole correctly is key to ensuring your bird feeder stays stable and safe for visiting birds. Getting this part right means your feeder won’t wobble or fall, even in strong winds. Let’s break down the process into simple, doable actions that anyone can manage in their backyard.
Digging The Hole
Start by selecting the spot for your bird feeder pole. Ideally, it should be away from branches where squirrels can jump but close enough for you to enjoy the birds.
Use a post hole digger or a sturdy shovel to dig a hole about 2 feet deep. This depth helps the pole stay firm and steady. The diameter should be wide enough to comfortably fit the pole plus some extra room for concrete if you plan to use it.
Setting The Pole
Place the pole into the hole, making sure it stands straight. Using a level can help here—your feeder will look better and stay balanced if the pole is perfectly vertical.
Hold the pole steady or have someone assist you while you prepare the next step. It might feel a bit tricky at first, but this support makes the job easier and safer.
Securing With Concrete
Mix quick-setting concrete according to the package instructions. Pour it around the pole in the hole, filling it up to ground level.
Check the pole’s alignment again before the concrete sets. Adjust if needed because once it hardens, the pole won’t budge.
Allow the concrete to cure for at least 24 hours before attaching the bird feeder. This wait time ensures the pole is fully stable and ready to support your feathered friends.
Credit: www.homedepot.com
Attaching The Bird Feeder
Secure the bird feeder firmly to the pole using the provided hooks or brackets. Ensure it hangs straight to prevent spillage and attract more birds. Check stability regularly to keep the feeder safe and steady.
Attaching the bird feeder to your newly installed pole is a crucial step. It’s where your effort turns into a rewarding experience as you watch birds visit. This task might seem straightforward, but a few simple tips can ensure your feeder is both stable and accessible.Mounting Techniques
Choosing the right mounting technique can make all the difference. You can use hooks or brackets, depending on your feeder design. Many bird feeders come with their own attachment hardware, making this process much easier. Hooks are generally the simplest option, requiring little more than a stable loop to hang from. For a more secure attachment, brackets might be the answer. They provide extra support, especially for larger feeders that hold more food.Ensuring Stability
Stability is key to ensuring your bird feeder remains in place during adverse weather conditions. A wobbly feeder could deter birds from visiting, or worse, cause it to fall and spill its contents. Make sure the feeder is tightly attached and check for any loose parts. To enhance stability, consider using additional support like zip ties or clamps. These can secure the feeder in place without damaging it. Regularly inspect the feeder and its attachments to ensure everything remains secure. What happens if a big gust of wind strikes? A well-mounted and stable feeder should withstand the elements, offering peace of mind and a welcoming spot for your feathered friends.Maintaining Your Setup
Keep the bird feeder pole steady by securing it firmly in the ground. Check regularly for rust or damage and clean the pole to ensure a safe feeding spot for birds.
Maintaining your bird feeder pole setup ensures its long life and functionality. Regular upkeep attracts more birds and keeps them safe. Consistent care prevents common problems and provides a better experience for you and the birds. Let’s dive into some essential maintenance tips.Regular Cleaning
Bird feeders and poles gather dirt over time. Clean them every two weeks. Use warm water and mild soap. Rinse thoroughly to remove soap residue. Dry completely before refilling with seeds. This routine prevents mold and keeps birds healthy.Seasonal Adjustments
Adjust your bird feeder pole as seasons change. In winter, consider using a squirrel baffle. It keeps squirrels away from the feeder. In summer, ensure the feeder gets enough shade. This prevents seeds from spoiling. Move the feeder to a new spot in spring. This keeps the area clean and fresh.Monitoring For Wear
Inspect the pole regularly for signs of wear. Check for rust, loose parts, or bent sections. Tighten any loose screws. Replace damaged parts immediately. Keeping an eye on these details ensures safety and durability. Regular checks help you spot problems early.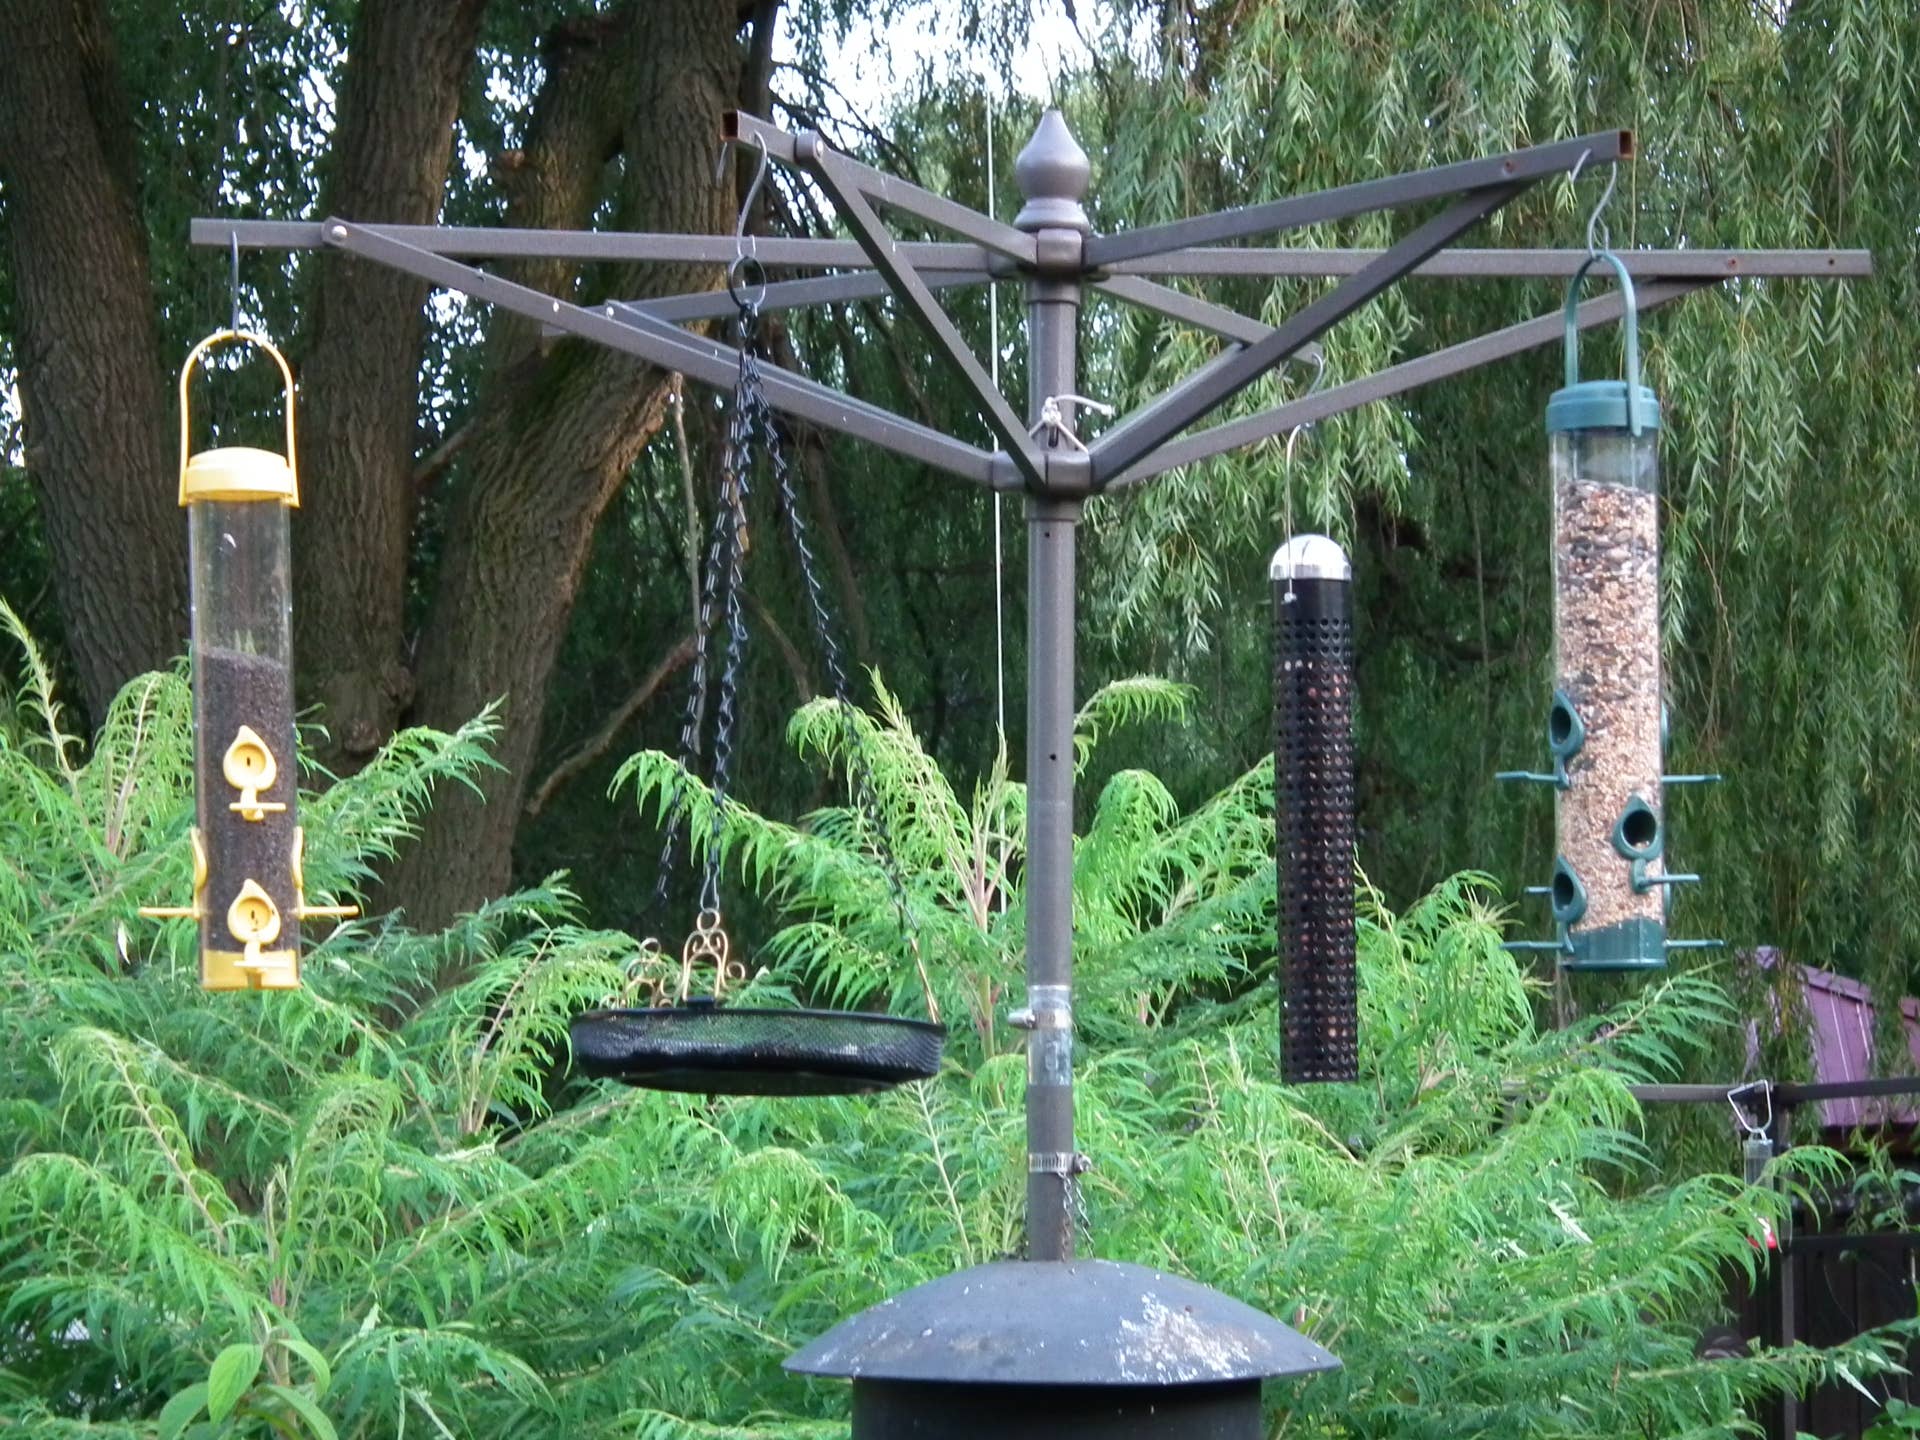
Credit: dengarden.com
Frequently Asked Questions
How Do I Choose The Right Bird Feeder Pole?
Select a sturdy, rust-resistant pole suitable for your feeder’s weight. Ensure it’s tall enough to keep birds safe from predators. Choose materials like metal or treated wood for durability and easy installation.
What Tools Are Needed To Install A Bird Feeder Pole?
Basic tools include a shovel, level, measuring tape, and a wrench. You may also need concrete for added stability. These tools help ensure a secure, straight installation for your feeder pole.
How Deep Should I Install The Bird Feeder Pole?
Install the pole at least 18-24 inches deep in the ground. This depth provides stability against wind and prevents tipping. Use concrete for extra support in loose or sandy soil.
Can I Install A Bird Feeder Pole On A Deck Or Patio?
Yes, use a weighted pole stand designed for decks or patios. Avoid digging holes in these areas. Weighted stands offer stability without damaging surfaces and are portable for repositioning.
Conclusion
Installing a bird feeder pole can bring birds closer to your home. Choose a good spot with enough sunlight and safety from predators. Dig a hole deep enough to keep the pole steady. Use concrete or soil to secure the pole firmly.
Attach the feeder at a comfortable height for birds and easy refilling. Regularly check the pole and feeder for stability and cleanliness. Enjoy watching birds visit your garden every day. Simple steps make bird feeding easy and fun for everyone.


