
Want to see your SketchUp model from a fresh, clear perspective? Positioning your camera to get a perfect bird’s eye view can transform how you understand and present your designs.
But if you’ve ever struggled to find that exact angle, you’re not alone. This guide will show you simple steps to easily set your camera for a top-down view in SketchUp. By the end, you’ll be able to showcase your projects like a pro, making your work stand out and impress everyone who sees it.
Ready to master the bird’s eye view? Let’s dive in.
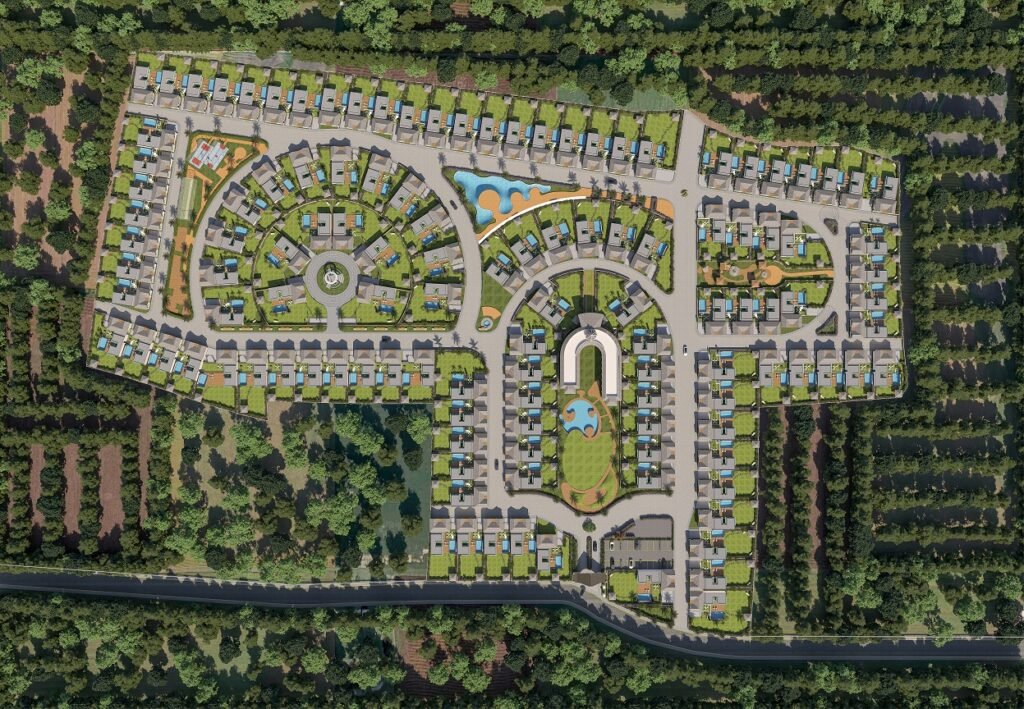
Credit: eyeview3d.com
Setting Up Birds Eye View
Setting up a bird’s eye view in SketchUp is a game-changer for presenting your project clearly and professionally. It gives you a clean, comprehensive look at your design from above, helping you spot details and improve your layout. Getting this view right requires careful camera positioning, so your audience sees exactly what matters most.
Choosing The Right Angle
Start by selecting an angle that highlights the key features of your project. A strict 90-degree top-down view works well for floor plans, but sometimes a slight tilt adds depth and context. Think about what you want to emphasize: the overall layout or specific sections.
Try adjusting the camera angle in small increments and observe how shadows and shapes change. This can reveal hidden details you might have missed. Don’t be afraid to experiment until you find the perspective that tells your design’s story best.
Adjusting Camera Height
The height of your camera determines the scope of your view. Too low, and you might miss parts of your model; too high, and details become too small to see clearly. Aim for a height that balances a wide view with enough detail to keep your design readable.
Think of it like looking down from a building versus a drone. Sometimes a higher viewpoint is useful for large site plans, but closer shots work better for intricate interiors. Adjust the height gradually and check how the scale feels to your eye.
Aligning With Project Layout
Align your camera with the main axes of your project to avoid awkward angles and make navigation easier. Ensuring your bird’s eye view matches the orientation of your floor plan or site plan helps maintain consistency. This alignment also makes it easier for others to understand your perspective.
Use SketchUp’s axis lines as a guide to keep your camera straight. If your project is rotated, adjust your view to match that rotation. This small step can greatly improve the professionalism of your presentation and reduce confusion.
Camera Controls In Sketchup
Camera controls in SketchUp allow precise positioning of the view. These controls help you adjust the camera angle and create a clear birds eye view. Smooth navigation improves your design process and presentation. Understanding these tools saves time and effort.
Using Orbit And Pan Tools
The Orbit tool lets you rotate the camera around your model. This action changes the perspective and helps see details from above. Click and drag to move the view in any direction.
The Pan tool moves the camera sideways or up and down. It shifts the entire view without rotating it. Use this tool to center your model in the frame quickly.
Zooming Techniques
Zooming changes the camera distance from the model. Scroll your mouse wheel to zoom in and out smoothly. Zoom in to focus on small details.
Zoom out to get a wider view of your entire project. Use the Zoom Extents feature to fit the whole model on screen instantly.
Shortcut Keys For Efficiency
- Oactivates the Orbit tool for quick rotation.
- Hswitches to the Pan tool to move the view.
- Zopens the Zoom tool to adjust distance.
- Shift + Middle Mousepans the view without changing tools.
- Double-click Middle Mousezooms to fit the entire model.
Using shortcuts speeds up navigation and camera control. Keep these keys handy for a smooth SketchUp experience.
Enhancing Visual Accuracy
Getting the camera position just right in a bird’s eye view within SketchUp can dramatically improve how your model communicates its design. Enhancing visual accuracy means making sure every angle, line, and space looks clear and true to scale. This precision helps others understand your vision instantly, reducing misinterpretations and saving time during presentations or revisions.
Applying Parallel Projection
Switching to parallel projection removes perspective distortion, giving you a true overhead view. This makes the dimensions and proportions more reliable when you’re sketching or reviewing plans. You’ll notice straight lines stay straight, which is crucial for architectural accuracy.
Try toggling between perspective and parallel views to see how your model changes. This simple adjustment can often reveal hidden alignment issues you might miss otherwise.
Fine-tuning Field Of View
The field of view controls how much of your model fits into the camera frame. Narrowing it down can reduce visual clutter and focus attention on key areas. On the other hand, a wider view provides context but can introduce distortion.
Adjust the field of view slider slowly and observe how the model reacts. Do you see any elements getting stretched or compressed? If yes, dial it back until everything looks balanced and natural.
Utilizing Guides And Grids
Guides and grids act like invisible rulers that help you position the camera with precision. You can snap the camera to specific points or align it perfectly along axes. This method reduces guesswork and speeds up your workflow.
- Enable guides to mark reference points on your model.
- Use grids to maintain consistent spacing and scale.
- Combine both to create a framework that keeps your camera aligned.
Have you ever noticed how much easier it is to work when you have clear visual markers? Using these tools in SketchUp can give you that same advantage.

Credit: forums.sketchup.com
Common Mistakes To Avoid
Positioning the camera for a bird’s eye view in SketchUp might seem simple. Yet, many users fall into common traps. Avoiding these mistakes saves time and improves your final render. Understanding what to watch out for helps create clear, accurate views.
Overlooking Model Scale
Using the wrong scale makes your bird’s eye view confusing. The camera might be too close or too far. This distorts the perspective and details. Always check your model’s size before placing the camera. Matching the scale ensures a realistic and useful view.
Ignoring Camera Clipping
Camera clipping cuts off parts of your model unexpectedly. It happens when near or far clipping planes are too tight. This hides important elements from your view. Adjust the camera’s clipping settings to see the whole scene clearly. Proper clipping avoids missing details in your render.
Misplacing Focus Point
The focus point controls where the camera looks. Setting it incorrectly can shift attention away from key areas. The scene might feel unbalanced or unclear. Position the focus on the main subject or area of interest. This draws the viewer’s eye where it matters most.
Advanced Camera Positioning Tips
Mastering advanced camera positioning in SketchUp can dramatically improve how you showcase your designs from a bird’s eye view. These tips will help you maintain precision, save time, and present your work professionally. Let’s dive into techniques that make your camera setup not just accurate, but also efficient and adaptable.
Using Scenes For Consistency
Scenes are your best friend for keeping camera views consistent across your project. By saving specific bird’s eye camera angles as scenes, you can jump back to exact positions anytime without manually adjusting the view again.
Think about how often you tweak your camera to get the perfect shot. Scenes save those settings, so you don’t lose track of your ideal perspective. This is especially helpful when you’re working on multiple design iterations or need to share steady views with clients or team members.
Try setting up scenes for different floors, sections, or phases of your project. It keeps your workflow organized and your presentations sharp.
Integrating With Layout For Presentation
Once your bird’s eye views are nailed down in SketchUp, using Layout to present your work can elevate your delivery. Layout lets you import your SketchUp scenes directly and arrange them on pages for reports or client presentations.
This integration keeps your camera angles intact and allows you to annotate, add dimensions, or create detailed callouts. It’s a game-changer for turning raw 3D views into polished documents.
Have you ever struggled to explain spatial relationships to clients? With Layout, you can highlight the exact viewpoint you want, making complex designs easier to understand.
Customizing Camera Settings
Don’t settle for default camera options. Tweaking your camera settings can enhance clarity and impact. Adjusting field of view, focal length, and camera height can reveal different aspects of your design that might otherwise go unnoticed.
For bird’s eye views, narrowing the field of view can reduce distortion and create a cleaner, more accurate representation. Changing the camera height lets you simulate different aerial perspectives—from a rooftop glance to a drone’s-eye snapshot.
Experiment with these settings and observe how subtle changes affect your composition. What new details emerge when you tweak the camera just a bit?

Credit: medium.com
Frequently Asked Questions
How Do I Set A Birds Eye View In Sketchup?
To set a birds eye view, select the Top view from the Camera menu. Then choose Parallel Projection. This positions the camera directly above your model for a clear overhead sketch.
Can I Adjust Camera Height In Birds Eye View?
Yes, you can adjust camera height by using the Orbit tool. Move the camera vertically to change the elevation. This helps control the perspective and scale in your birds eye view.
Why Use Parallel Projection For Birds Eye View?
Parallel projection removes perspective distortion. It shows true dimensions from above. This is ideal for architectural plans or accurate top-down sketches in SketchUp.
How To Save A Custom Birds Eye Camera Angle?
Use the Views toolbar to save scenes. Position your camera, then click “Add Scene. ” This saves the birds eye angle for quick access later in your project.
Conclusion
Positioning the camera for a bird’s eye view in SketchUp helps you see your model clearly. It shows the layout from above, giving a better idea of space and design. Practice moving and adjusting the camera to get the best angle.
This skill makes your work easier and more precise. Keep trying different views to find what fits your project. Soon, placing the camera will feel natural and simple.


