
Are you struggling to connect your Bird Box Camera to your laptop? You’re not alone.
Many people find it tricky to get their camera working smoothly with their computer. But don’t worry—this guide will walk you through simple, step-by-step instructions that anyone can follow. By the end, you’ll be able to view and manage your Bird Box Camera right from your laptop, making your life easier and your security smarter.
Ready to get started? Let’s dive in!
Choosing The Right Bird Box Camera
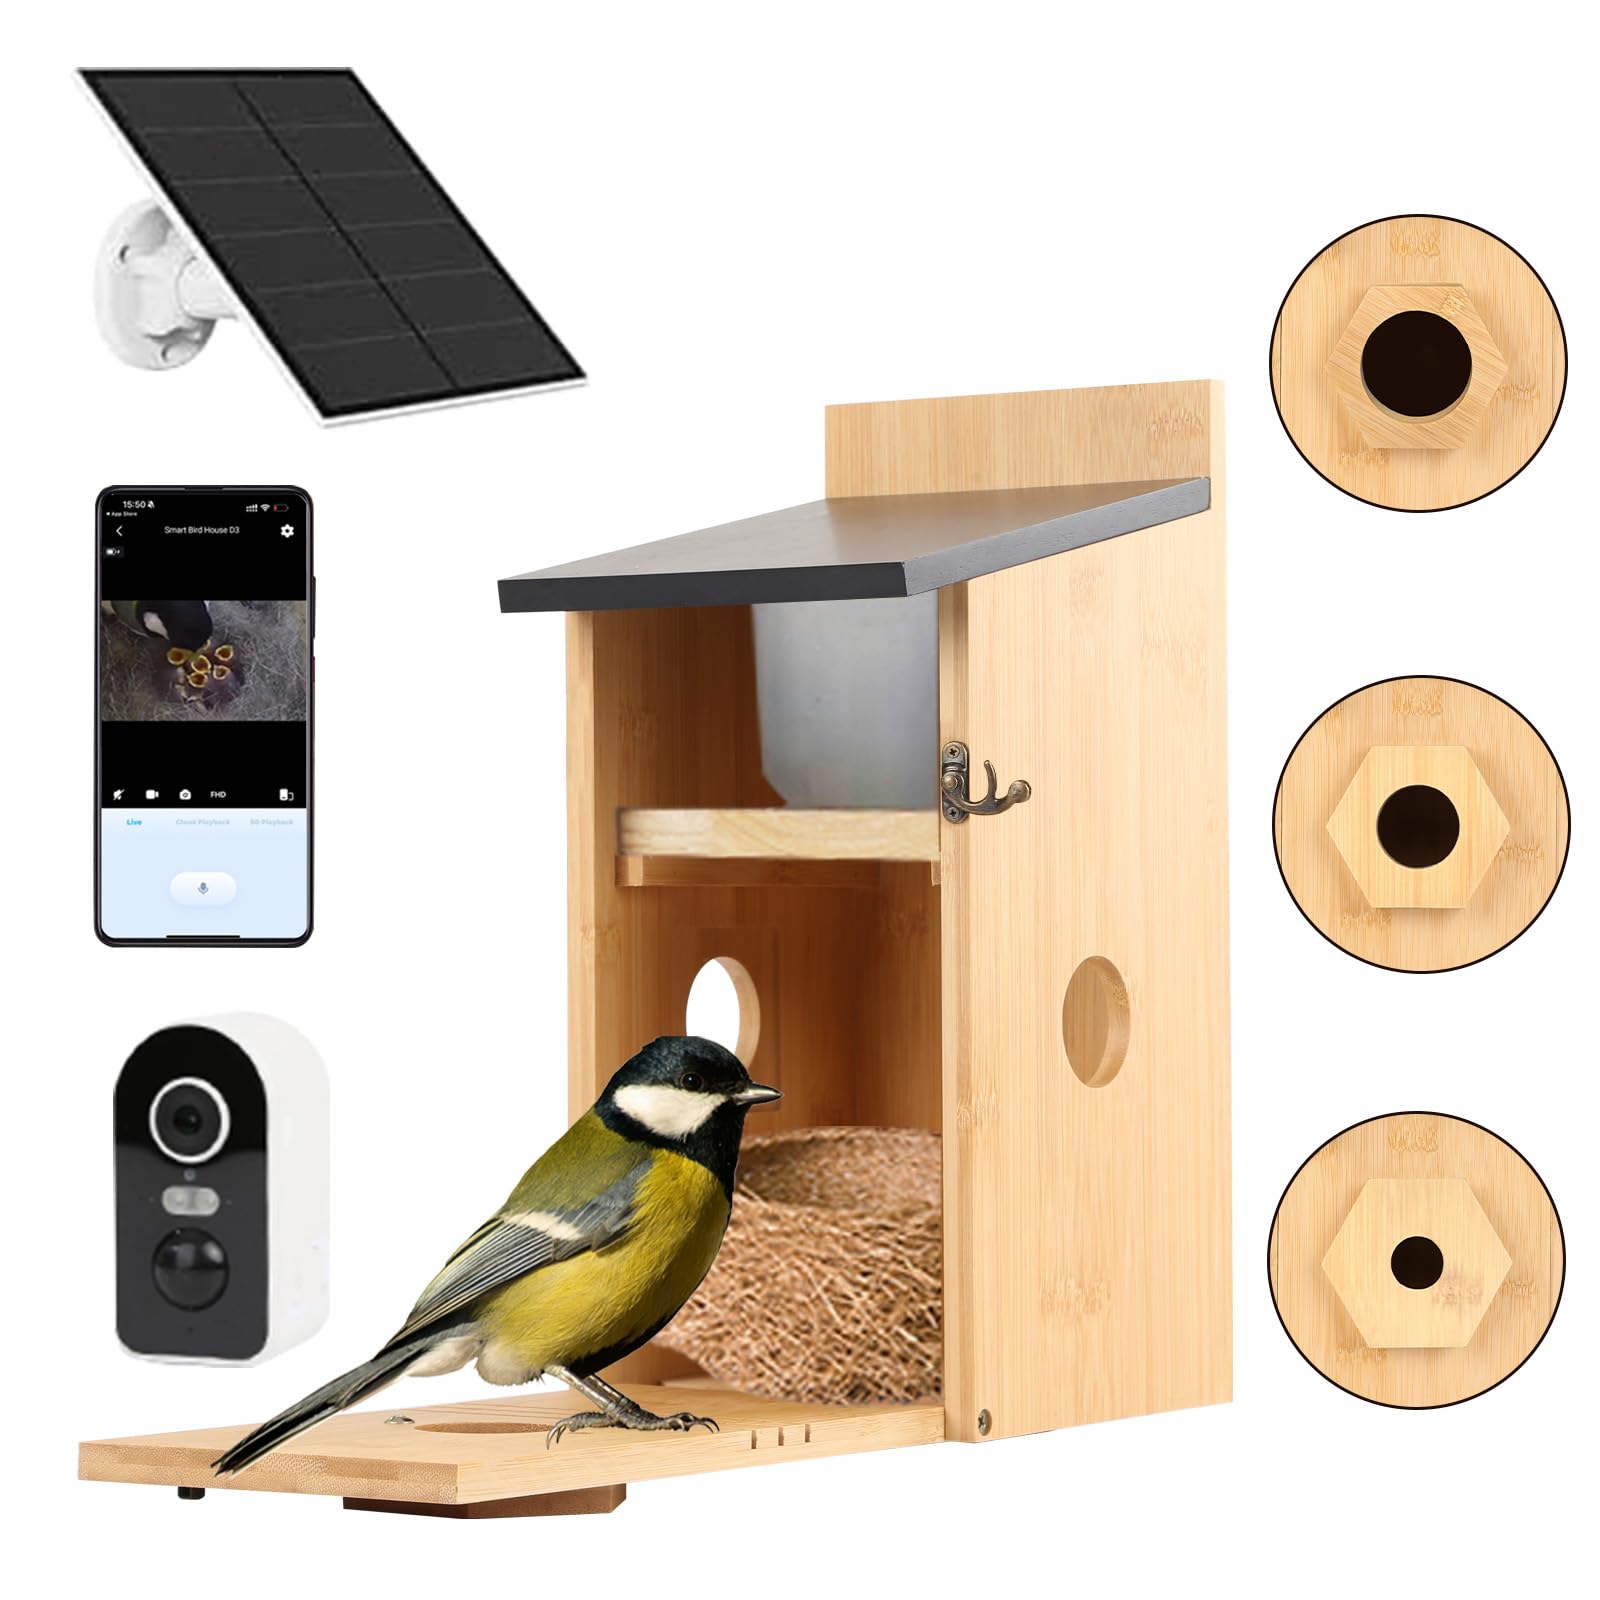
Choosing the right bird box camera is essential for capturing clear, detailed footage of your feathered visitors. The perfect camera not only fits your budget but also meets your specific needs, whether that’s live streaming or recording high-quality videos. Understanding the different types and key features will help you make a smart choice that enhances your birdwatching experience.
Types Of Bird Box Cameras
Bird box cameras come in various styles, each designed for different setups and purposes. Here are some common types you might consider:
- Wired Cameras:These provide a stable connection and high-quality video but require running cables, which can be tricky outdoors.
- Wireless Cameras:Easier to install with Wi-Fi connectivity, perfect if you want to access footage remotely, but watch out for signal range limitations.
- Infrared Cameras:Ideal for night vision, allowing you to see birds even in low light or darkness without disturbing them.
- HD and 4K Cameras:Offer crisp, detailed images, making it easier to spot small features and behaviors of birds.
Think about where you’ll place your bird box and how you want to watch the birds. Would you prefer a wired connection for reliability or wireless for convenience? Your answer will guide which type suits you best.
Key Features To Consider
Once you’ve narrowed down the type, focus on features that impact performance and ease of use.
- Resolution:Higher resolution means clearer images. A 1080p camera is usually sufficient, but 4K offers even more detail if your budget allows.
- Field of View:A wider angle lets you capture more of the nest and its surroundings, which can reveal interesting bird behaviors.
- Power Source:Check if the camera uses batteries, solar power, or needs direct electricity. This affects where and how long you can monitor.
- Weatherproofing:Your camera should withstand rain, wind, and temperature changes to keep working all season.
- Night Vision:Essential if you want to observe nocturnal species or check the nest after dark without using bright lights.
- Connectivity and Storage:Decide if you want live streaming, local storage on a memory card, or cloud storage for easy access and backup.
When I set up my first bird box camera, I underestimated the importance of weatherproofing. After a heavy rain, my camera stopped working for days. Don’t let that happen to you—make sure your camera is built to last in your environment.
What features matter most to you in your birdwatching setup? Pinpointing these will save you time and frustration when choosing your bird box camera.
Preparing Your Laptop
Before you connect your Bird Box camera to your laptop, making sure your laptop is fully prepared can save you a lot of headaches. Preparation involves more than just plugging in the device—it requires checking system compatibility and installing the right software. Getting these steps right can help you avoid connection issues and enjoy smooth video streaming or recording.
Checking System Requirements
Start by verifying that your laptop meets the Bird Box camera’s system requirements. These usually include the operating system version, available USB ports, and minimum RAM or processor speed. You can find this information in the camera’s user manual or on the manufacturer’s website.
For example, if your laptop runs an older operating system like Windows 7, but the camera needs Windows 10 or higher, you’ll need to update your system first. Don’t forget to check if your USB ports support the camera’s connection type, such as USB 3.0 for faster data transfer.
Installing Necessary Software
Next, install any software or drivers required for the Bird Box camera to work properly. This software often comes on a CD with the camera or is available as a free download from the official site. Without this step, your laptop might not recognize the camera, or some features may not function.
Sometimes, the software includes useful tools for adjusting camera settings or managing recordings. Installing it ensures you get the full experience. Have you ever tried skipping this step only to find your device doesn’t show up? Avoid that frustration by setting up the software first.
Connecting Via Usb
Connecting your Bird Box Camera to a laptop using a USB cable is one of the simplest and most reliable ways to transfer footage or update settings. This method ensures a stable connection without relying on Wi-Fi, which can sometimes be spotty or insecure. Before you start, make sure you have a compatible USB cable handy and your laptop is ready to recognize new devices.
Locating The Usb Port On The Camera
Most Bird Box Cameras have a clearly marked USB port, but its position can vary depending on the model. Usually, it’s found on the side or bottom of the device, often covered by a small flap to protect it from dust and moisture.
Check around the edges for a rectangular or micro-USB slot. If you’re unsure, consult your camera’s manual or look for a small USB symbol near the port. Taking a moment to locate this correctly saves you frustration later.
Connecting And Recognizing The Device
Once you have the USB port identified, plug one end of your USB cable into the camera and the other into your laptop. Your laptop should detect the device automatically and may show a notification that new hardware is connected.
If your laptop doesn’t recognize the camera right away, try these quick tips:
- Use a different USB port on your laptop
- Restart your laptop with the camera connected
- Check if your camera is powered on or in the correct mode for data transfer
After successful recognition, your Bird Box Camera will appear as an external device or drive. You can then open it to access your files or use the camera’s software to manage settings. Have you ever experienced a device not showing up immediately? Sometimes, patience and a simple cable swap can make all the difference.
Credit: www.amazon.co.uk
Connecting Via Wi-fi
Connecting your Bird Box camera to a laptop via Wi-Fi offers a flexible way to monitor live footage wirelessly. This process involves setting up the camera’s Wi-Fi and then linking it to your laptop’s network. A stable Wi-Fi connection ensures smooth video streaming and easy access from anywhere within range.
Setting Up The Camera’s Wi-fi
Begin by powering on the Bird Box camera. Locate the Wi-Fi setup button, usually found on the side or back of the device. Press and hold this button for a few seconds until the camera’s LED starts blinking, indicating it is in pairing mode.
Next, check the camera’s instruction manual for the default network name (SSID) and password. These details help you connect the camera to your home or office Wi-Fi network using the camera’s mobile app or web interface.
- Open the Bird Box camera app on your phone or access the camera’s IP address via a browser.
- Navigate to the Wi-Fi settings section.
- Select your preferred Wi-Fi network from the list.
- Enter the network password carefully.
- Save the settings and wait for the camera to connect.
Pairing With Laptop Network
After the camera connects to Wi-Fi, turn on your laptop and open its Wi-Fi settings. Search for the Bird Box camera’s network name if it creates its own hotspot, or ensure your laptop is on the same Wi-Fi network as the camera.
Launch the Bird Box camera software or visit the camera’s web portal. Enter the required login details to access the camera feed. The laptop and camera must share the same network for a successful connection.
- Confirm the laptop is connected to the correct Wi-Fi network.
- Open the camera’s application or web interface.
- Login using your camera credentials.
- Locate the live video feed to start monitoring.
Following these steps ensures a secure and stable Wi-Fi connection between your Bird Box camera and laptop. This setup allows you to watch real-time footage and manage camera settings remotely.
Using Camera Software
Using camera software is essential to connect your Bird Box Camera to a laptop. The software acts as a bridge between the camera and your computer. It allows you to view live footage, record videos, and adjust settings easily. Without the official software, the camera may not work properly on your laptop.
Installing the right software ensures smooth operation and better control. The software usually comes from the camera manufacturer. It supports all features and keeps your device secure. Follow simple steps to download and configure the software below.
Downloading The Official App
Start by visiting the Bird Box Camera official website. Look for the support or downloads section. Find the app designed for your camera model and laptop operating system. Download the installation file to your laptop.
Check the file size and source to avoid fake software. After downloading, open the file and follow the installation prompts. The setup process is simple and quick. Once installed, launch the app to start connecting your camera.
Configuring Camera Settings
Open the app and connect your Bird Box Camera using the recommended method. This might be via USB or Wi-Fi. The app will detect your camera automatically in most cases.
Adjust the camera settings inside the app for better performance. Settings include:
- Video resolution
- Motion detection sensitivity
- Audio controls
- Recording schedules
Save the changes to apply them instantly. Test the camera feed on the laptop screen. Make sure the video is clear and the controls respond well.

Credit: www.youtube.com
Troubleshooting Connection Issues
Check the camera’s Wi-Fi signal and ensure your laptop is connected to the same network. Restart both devices to fix simple glitches. Confirm the camera’s app or software is updated for smooth connection.
Connecting your bird box camera to your laptop can be an exciting endeavor, but it isn’t always smooth sailing. Sometimes, connection issues crop up, leaving you frustrated and wondering what went wrong. Understanding common problems and how to fix them can save you time and keep your birdwatching uninterrupted.Common Problems And Fixes
Many users face similar hurdles when connecting their bird box cameras to laptops. A common issue is the camera not appearing on your device. This often boils down to a simple cable issue. Ensure all cables are firmly connected and check for any wear or damage. Another frequent problem is software compatibility. Make sure your camera’s software is updated and compatible with your laptop’s operating system. If the camera still doesn’t connect, reinstall the drivers. This easy fix solves most recognition issues. Network problems can also disrupt your connection. If you’re using a Wi-Fi enabled bird box camera, check your network settings. Ensure your laptop and camera are on the same network. A quick router restart can often resolve connectivity issues.When To Seek Technical Support
Sometimes, despite your best efforts, the connection issues persist. When should you throw in the towel and call for help? If you’ve tried all the common fixes with no success, it might be time to consult technical support. Manufacturers often provide excellent customer service. Reach out to them if you suspect a hardware defect or if your camera’s manual troubleshooting steps don’t resolve the issue. They can offer advanced solutions or even replace faulty equipment. Don’t let a stubborn connection problem ruin your birdwatching experience. Remember, seeking help is part of the process, and it can lead to a quicker resolution than struggling on your own. Would you rather spend hours troubleshooting or have the experts guide you to a solution?Optimizing Camera Performance
Connecting a bird box camera to your laptop enhances viewing and recording. Use a USB or Wi-Fi connection for easy setup and smooth video streaming. Adjust settings on your laptop for clearer images and better camera performance.
Optimizing your bird box camera’s performance is crucial to ensure you capture every delightful moment of avian activity. By fine-tuning certain aspects, you can significantly enhance the quality and reliability of the footage. Whether it’s adjusting technical settings or maintaining your equipment, a few simple tweaks can make all the difference.Adjusting Resolution And Frame Rate
Tweaking the resolution and frame rate can drastically improve your camera’s performance. Higher resolution offers clearer images, but it requires more storage and can drain battery faster. Balance is key; find a resolution that captures details without overloading your laptop’s resources. Frame rate is equally important. A higher frame rate results in smoother videos, but may also consume more power and storage. A frame rate between 24-30 fps is usually optimal for observing quick bird movements without missing any action.Maintaining Battery And Storage
Efficient battery management ensures your camera remains operational when you need it most. Regularly check battery levels and recharge before they run too low. Consider investing in a high-capacity battery to extend recording time, especially during peak bird activity periods. Storage is another critical aspect. Monitor storage space to prevent disruptions in recording. Utilize an external hard drive or cloud storage for archiving footage, freeing up space for new recordings. Do you have a system in place to manage your camera’s storage efficiently? By focusing on these elements, you can optimize your bird box camera for consistent and high-quality performance.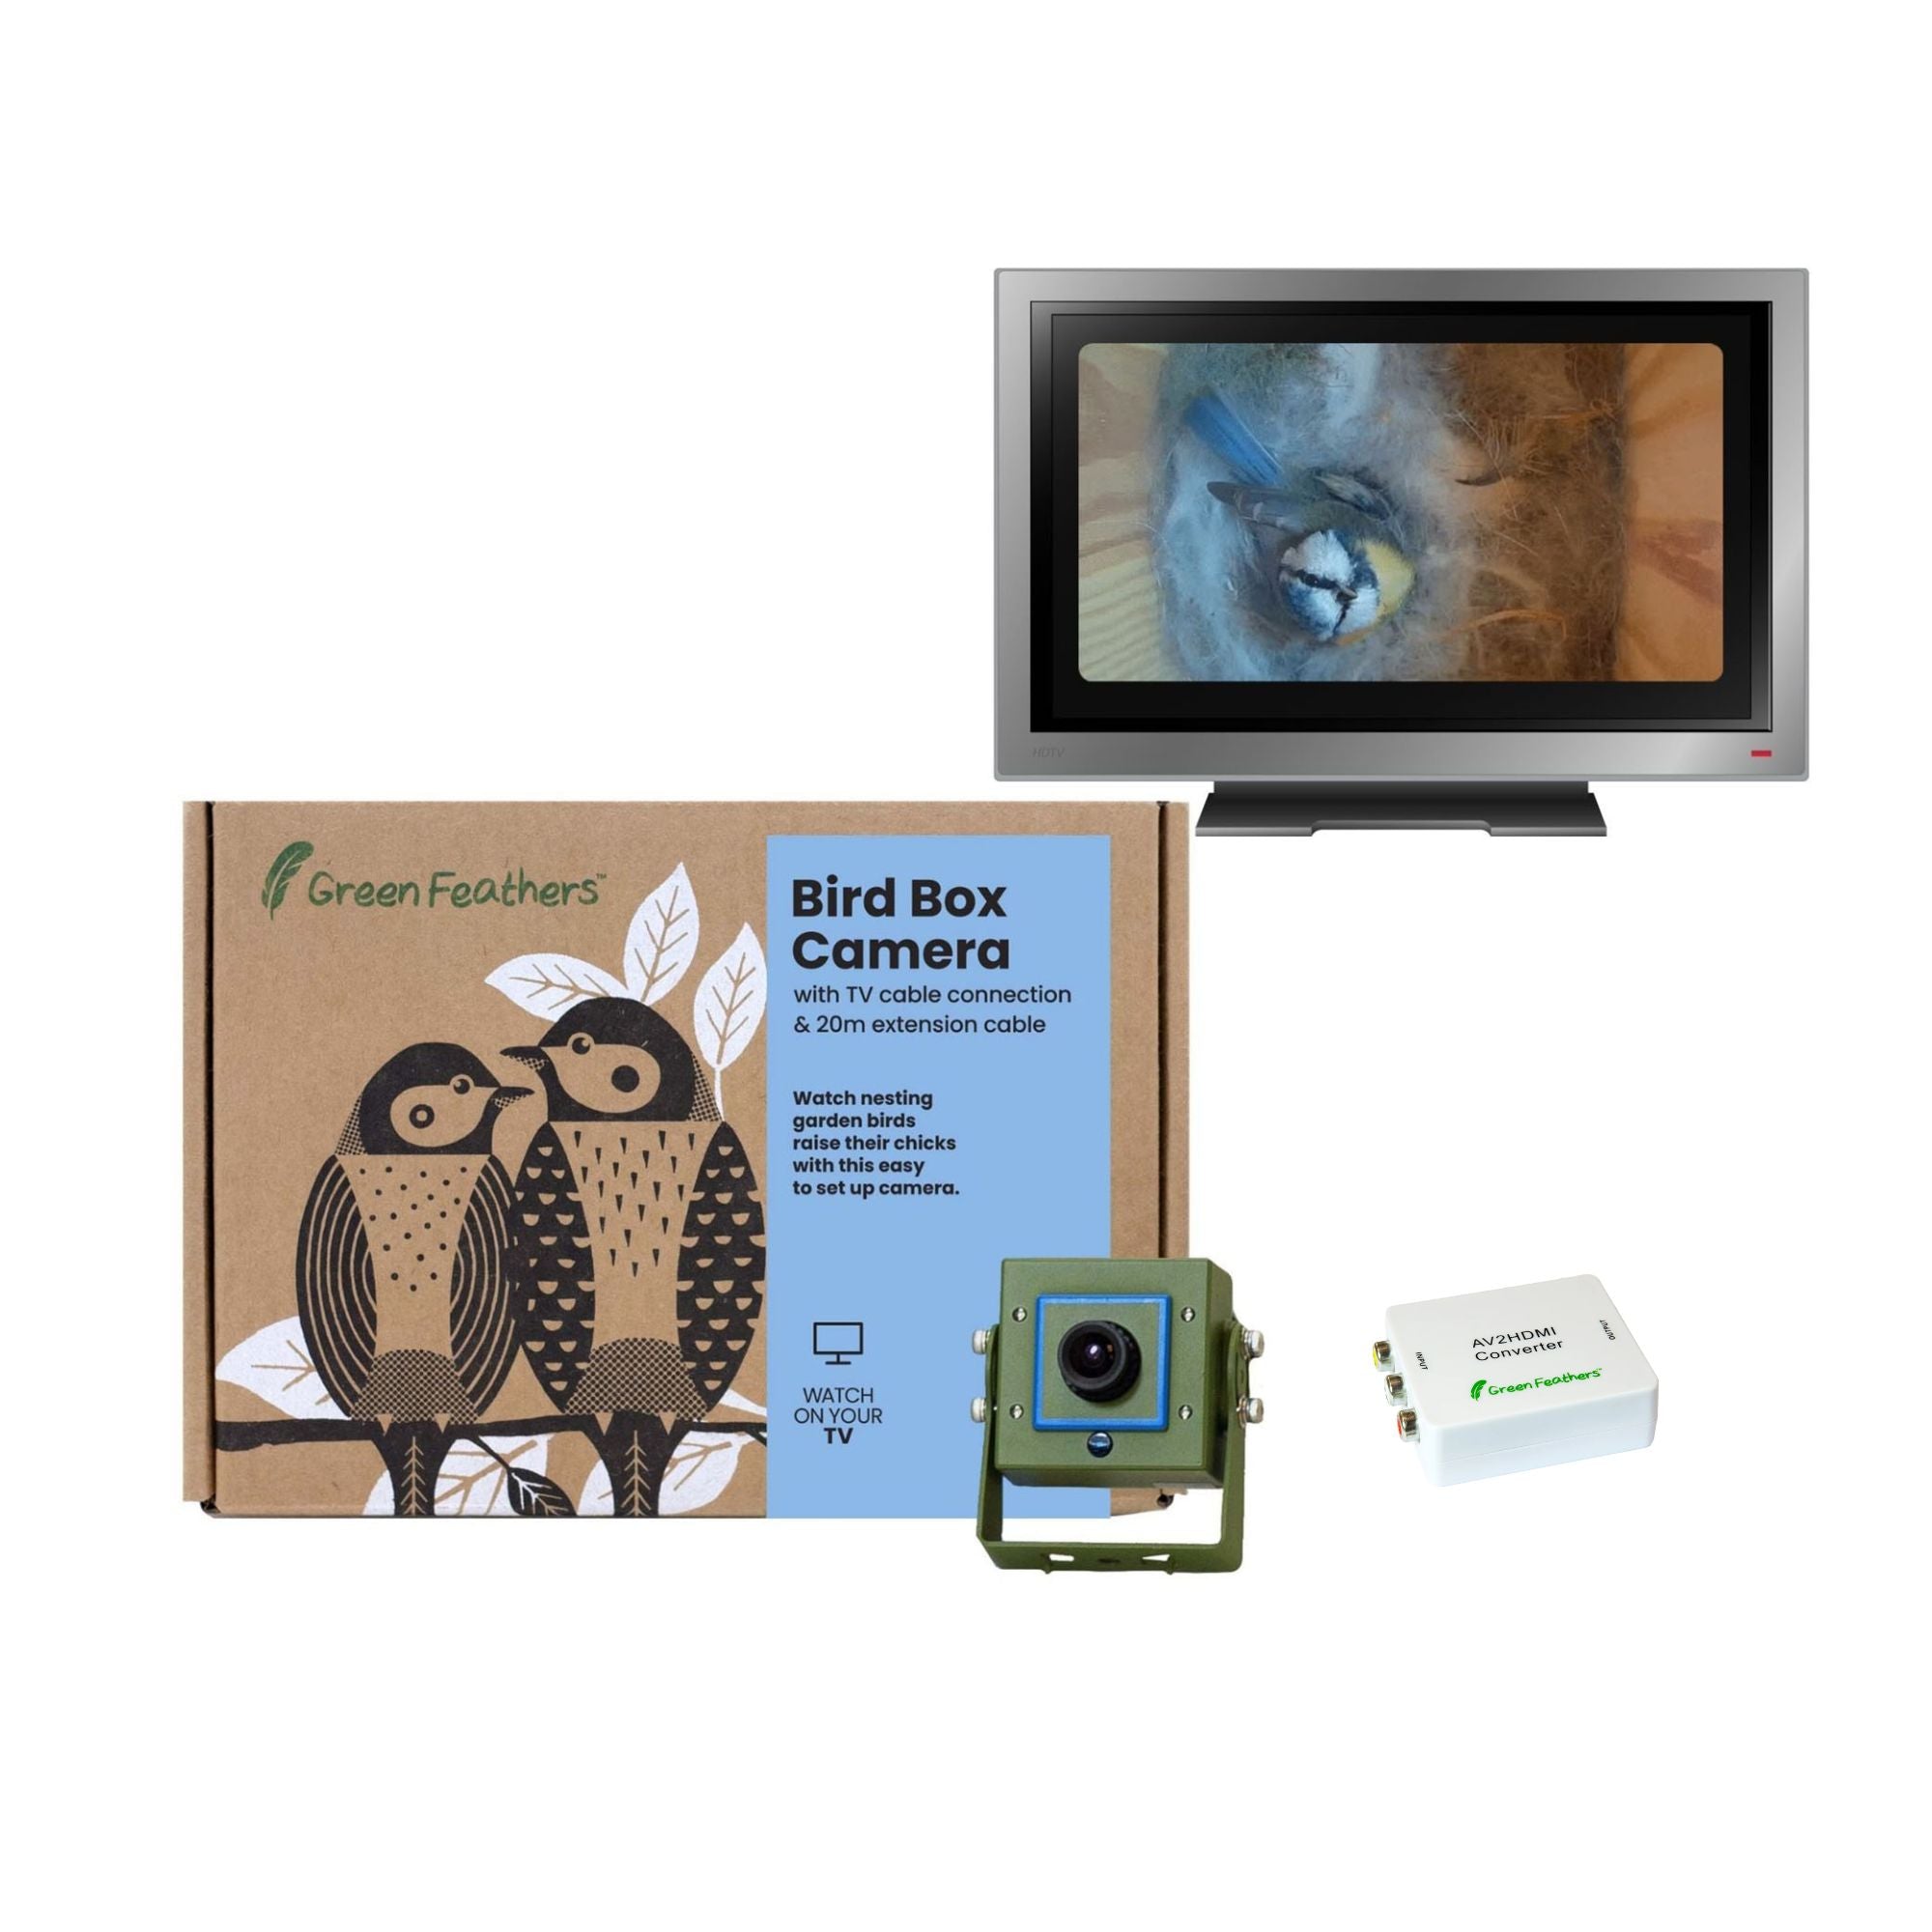
Credit: www.green-feathers.co.uk
Frequently Asked Questions
How Do I Connect Bird Box Camera To Laptop?
To connect your Bird Box Camera to a laptop, use the provided USB cable or Wi-Fi. Install the camera’s software on your laptop. Follow the on-screen instructions to pair the device and access live feeds or recorded videos directly on your laptop.
Can I View Bird Box Camera Footage On My Laptop?
Yes, you can view Bird Box Camera footage on your laptop by installing the official app or software. Connect the camera via USB or Wi-Fi, then launch the app to access live streams and playback recorded videos conveniently on your laptop screen.
What Software Is Needed For Bird Box Camera On Laptop?
You need the Bird Box Camera’s official software or app to connect it to your laptop. This software enables video streaming, recording, and camera settings adjustments. Download it from the manufacturer’s website or app store for a smooth connection experience.
Is Wi-fi Required To Connect Bird Box Camera To Laptop?
Wi-Fi is not always required; some Bird Box Cameras support USB connection. However, Wi-Fi allows wireless access and control from your laptop. Choose the connection method based on your camera model and convenience preferences for easy setup.
Conclusion
Connecting your Bird Box camera to a laptop is simple and quick. Just follow the steps carefully and check your cables and settings. This connection lets you see live video and manage your camera easily. Regularly update your software for the best experience.
Remember to secure your connection to protect your privacy. Now, enjoy watching your Bird Box camera on a bigger screen anytime you want. It makes monitoring clearer and more convenient.


