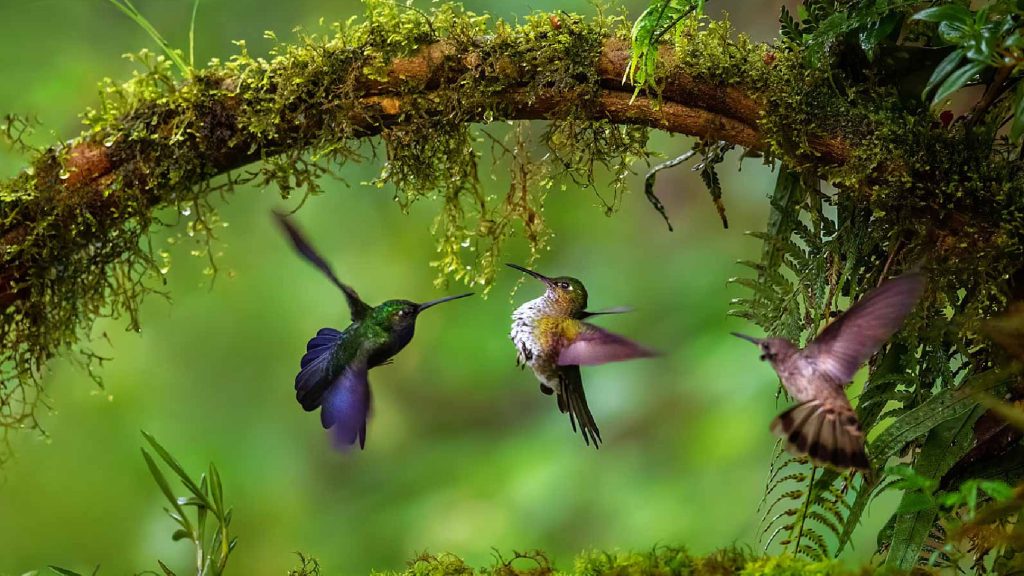
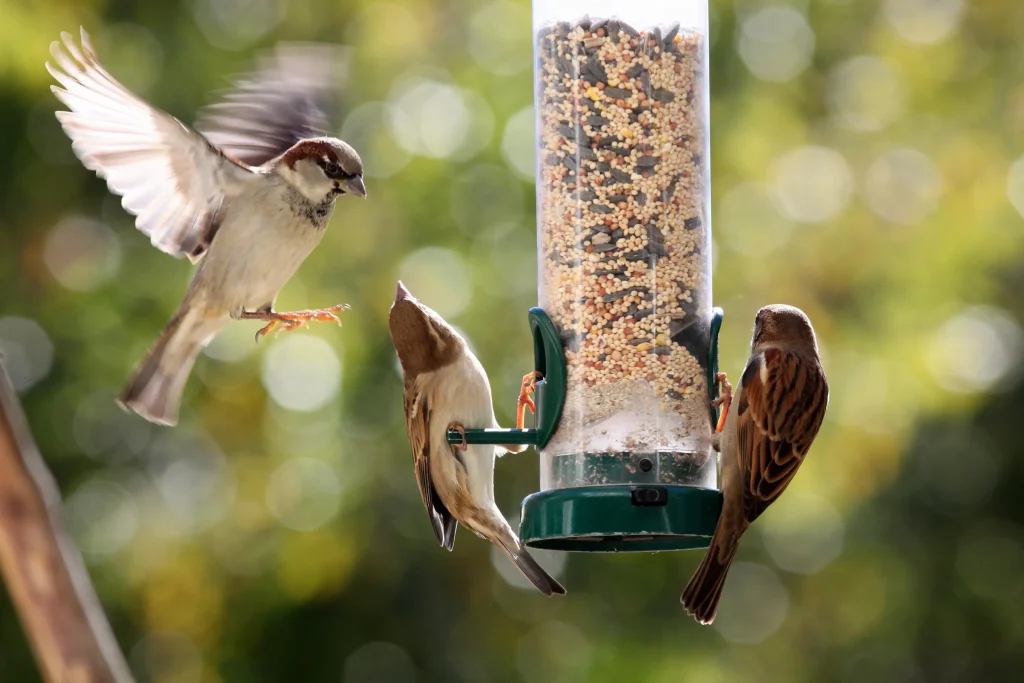
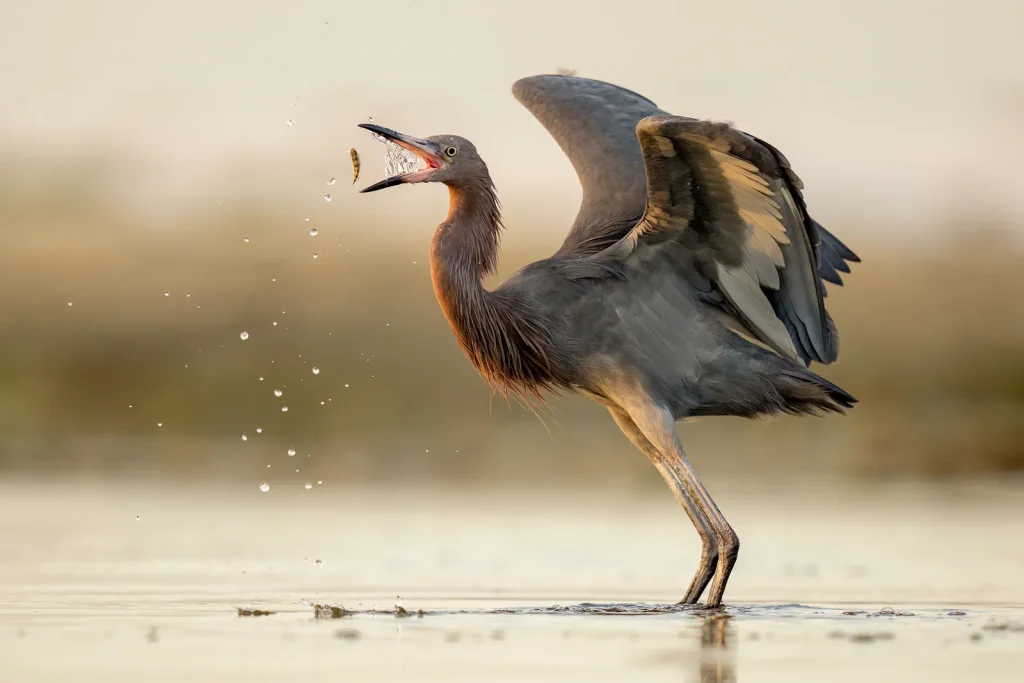
Photographing birds in flight is one of the most rewarding—and frustrating—challenges in nature photography. Birds change direction instantly, move at unpredictable speeds, and rarely cooperate. Getting your Canon EOS 80D to lock on and stay locked on a flying bird takes the right settings, the right technique, and a bit of practice.
The Canon EOS 80D tracks flying birds most effectively when you use AI Servo AF mode combined with continuous shooting, an appropriate AF point configuration, and a fast shutter speed. Selecting the right AF area mode, keeping your subject centered during initial acquisition, and maintaining smooth panning motion all help the camera sustain reliable subject tracking through erratic flight paths.
Why Tracking Flying Birds Is Different from Still Bird Photography
Photographing a perched bird and photographing one in flight are two entirely different situations. A stationary bird gives the autofocus system time to settle. A flying bird requires the camera to constantly predict and recalculate the subject’s position as it moves through the frame.
The Canon EOS 80D has a 45-point all cross-type AF system, which is genuinely strong for a mid-range DSLR. But even excellent hardware needs to be configured correctly. The wrong AF mode or AF area setting can cause the system to hunt, lock onto the background, or lose the bird entirely mid-burst.
The Right AF Mode: AI Servo Is Non-Negotiable
The Canon EOS 80D offers three autofocus modes: One-Shot AF, AI Focus AF, and AI Servo AF. For flying birds, AI Servo AF is the only mode worth using.
One-Shot AF locks focus once and holds it. That works well for birds sitting still, but it cannot compensate for a bird crossing your frame at speed. AI Focus AF attempts to switch between One-Shot and AI Servo automatically, but it often switches too slowly for fast flight.
AI Servo AF continuously adjusts focus as the subject moves, using predictive tracking to stay ahead of the bird’s trajectory. Set it, and leave it there whenever you’re shooting birds in motion.
Choosing the Right AF Area Mode for Bird Tracking
The AF area mode determines how the camera selects and uses its AF points. Getting this right is just as important as choosing AI Servo.
AF Area Mode
How It Works
Best Use for Birds
Single Point AF
Uses one manually selected point
Perched birds, slow-moving subjects
Zone AF
Groups points into a zone
Birds with predictable flight paths
Large Zone AF
Wider coverage across the frame
Fast or erratic fliers, panning shots
45-Point Automatic
Camera chooses all active points
General flight, beginners
Zone AF is a popular choice among bird photographers using the 80D because it offers a balance between coverage and specificity. The camera tracks within the zone rather than chasing the nearest object in the full frame.
Large Zone AF gives you more coverage and works well when birds are moving unpredictably or when you’re still developing your panning technique. It’s more forgiving, though it can occasionally grab a background element if the bird moves to the edge of the zone.
45-Point Automatic selection is convenient but can cause the system to prioritize closer objects over your subject. In open sky conditions with little background clutter, it often works reasonably well. In cluttered environments like forests or mixed vegetation, it tends to hunt.
For most bird-in-flight scenarios, starting with Zone AF or Large Zone AF is a practical approach, then adjusting as you learn how your specific subjects move.
Shutter Speed: Freezing Wings Without Losing the Frame
Fast-moving wings require fast shutter speeds. A shutter speed that’s too slow will produce motion blur in the wings even when focus is technically accurate.
As a general starting point:
– Small, fast birds (swallows, warblers, hummingbirds): 1/2000s or faster
– Medium birds (herons, ducks, shorebirds in flight): 1/1000s–1/1600s
– Large, slower birds (eagles, pelicans, cranes): 1/800s–1/1250s
These are guidelines, not fixed rules. Wing speed varies considerably even within the same species depending on what the bird is doing—soaring involves much slower wing movement than flapping hard during takeoff.
Using Aperture Priority (Av) mode with Auto ISO is a common setup for bird flight because it lets you control depth of field while the camera handles exposure adjustments as lighting changes. Alternatively, Manual mode with Auto ISO gives you precise control over both aperture and shutter speed while still adapting to light shifts.
Configuring the Canon EOS 80D AF Sensitivity and Tracking Settings
The 80D allows you to fine-tune how AI Servo behaves through its Custom Functions (C.Fn) menu. Two settings matter most for bird tracking.
AF Tracking Sensitivity (C.Fn III-1) controls how quickly the AF system responds when an obstruction blocks the subject. Setting this toward “Locked on” (lower numbers) tells the camera to be patient when a branch or other object briefly crosses the bird. Setting it toward “Responsive” (higher numbers) makes the system immediately try to acquire any new object. For birds flying through open sky, a more responsive setting is generally better. For birds flying through trees or vegetation, a slightly more “Locked on” setting helps prevent the system from grabbing branches.
AI Servo 1st/2nd Image Priority settings control whether the camera prioritizes focus accuracy or continuous frame rate. For sharp tracking shots, keeping these balanced or weighted slightly toward focus accuracy tends to produce a higher percentage of sharp frames.
Practical Shooting Technique: How You Move Matters
Camera settings alone can’t compensate for poor technique. The physical way you track a bird has a significant effect on how well the AF system can maintain focus.
Acquire focus before the bird is fully in the frame. Position your active AF zone on the bird as early as possible and hold the shutter button halfway down to let AI Servo begin tracking before you start shooting.
Pan smoothly. Jerky or choppy movement makes it harder for both the AF system and your framing to stay on target. Keep your elbows tucked in, rotate at the hips rather than swinging your arms, and follow through after the bird passes.
Keep the bird in the active AF zone. As obvious as it sounds, this is where many shots are lost. If the bird drifts to the edge of your chosen zone and you don’t compensate, the camera may lock onto empty sky or background.
Back-button AF is a technique many bird photographers prefer. By assigning autofocus activation to the AF-ON button instead of the shutter button, you decouple focus from the shutter release. This lets you hold continuous tracking with your thumb while firing shots independently with your index finger—a small adjustment that gives you noticeably more control in dynamic flight situations.
The Canon 80D bird photography settings guide covers this and other custom function configurations in more detail if you want to explore every available option.
Lens Choice and Its Effect on Tracking Ability
The 80D’s AF system is only as effective as the lens allows it to be. Lenses with fast, quiet autofocus motors—particularly Canon’s USM (Ultrasonic Motor) lenses—respond more quickly to continuous AF demands during tracking.
For bird-in-flight work, longer focal lengths are generally preferred because they allow you to fill the frame from a safe, non-disruptive distance. However, longer focal lengths also have a narrower field of view, which makes acquiring fast-moving subjects harder. A common practical balance for many birders is a lens in the 400–600mm range.
If you’re using a zoom lens at maximum focal length and struggling to initially acquire the bird, briefly zooming out slightly, acquiring focus, then zooming back in can help. Some photographers keep a wide-field eye open (not squinting behind the viewfinder) to maintain spatial awareness of the bird’s general position before they bring it into the frame.
For those curious about how the 80D compares to other Canon bodies for this kind of work, the overview of the best Canon cameras for bird photography provides a useful perspective on where the 80D fits in the lineup.
Common Mistakes That Kill Your Tracking Success
Even with the right settings in place, a few repeated mistakes can consistently ruin tracking shots.
Using One-Shot AF by accident. It’s easy to bump the AF mode selector. Always verify your AF mode before a shoot, especially after the camera has been in a bag or handed to someone else.
Setting the AF zone too small in complex backgrounds. Single-point AF in a cluttered environment like a forest edge gives the system very little margin for error. Wider zone modes are more forgiving in these situations.
Shooting at too narrow an aperture. A darker image forces a slower shutter speed or higher ISO. Keeping aperture reasonably wide—often f/5.6 to f/7.1—helps maintain fast shutter speeds in natural light.
Not using continuous drive mode. The 80D can shoot at approximately 7 frames per second. Using single-shot drive mode during flight sequences means you’re relying on perfect timing for every shot. Continuous high-speed drive gives you a sequence to choose from.
Giving up too quickly on initial acquisition. New bird photographers often drop the camera away the moment focus seems to hunt. Holding the AF zone on the subject and letting the system work often results in successful acquisition within a second or two, especially with practice.
Lighting, Time of Day, and How They Affect AF Performance
The 80D’s phase-detect AF system performs best in decent light. In low light—early morning, overcast days, or dense shade—AF tracking can become noticeably slower and less reliable.
Bright, even light gives the system the most to work with. Midday on a clear day is technically ideal for AF performance, though the quality of light for photography is generally less appealing than the golden hours. Many bird photographers accept slightly less ideal AF performance in exchange for better light during the first and last two hours of daylight.
Shooting birds against a bright sky can create contrast-related challenges. A backlit bird presents a darker subject against a bright background, which can confuse metering and AF equally. Adjusting exposure compensation or switching to spot metering can help with exposure; keeping the bird solidly within your AF zone minimizes AF confusion.
FAQ
What AF mode should I use on the Canon EOS 80D for birds in flight?
AI Servo AF is the correct choice for birds in flight. It continuously tracks moving subjects rather than locking focus at a single point. One-Shot AF is designed for stationary subjects, and AI Focus AF is too slow to reliably switch between modes when tracking fast-moving birds.
Should I use Zone AF or 45-point automatic AF for flying birds?
Zone AF tends to produce more consistent results for most bird-in-flight situations. It gives the system enough coverage to handle moderate movement within the frame while reducing the chance of the camera locking onto background elements. 45-point automatic can work well in open sky with minimal background clutter.
How do I stop the Canon 80D from losing focus on a flying bird?
Keep the bird firmly within your active AF zone throughout the shot sequence. Set AF Tracking Sensitivity to a more responsive value for open-sky shooting, use a wide AF zone mode, and practice smooth panning to avoid letting the bird drift out of the active zone. Back-button AF can also help maintain persistent tracking.
What shutter speed should I use for birds in flight with the 80D?
A minimum of 1/1000s is a practical starting point for most birds in flight. Small, fast-moving birds like swallows or starlings often require 1/2000s or faster to freeze wing motion sharply. Larger, soaring birds can sometimes be captured clearly at 1/800s, but erring faster is generally safer.
Does the Canon EOS 80D perform well for bird photography compared to newer cameras?
The 80D’s 45-point all cross-type AF system is capable for bird photography and remains a solid performer, particularly when settings are optimized correctly. Newer mirrorless cameras with subject-detection AF offer a meaningful advantage, but the 80D can produce excellent bird-in-flight images in the hands of a photographer who understands how to configure and use it effectively. The Canon 80D for bird photography overview explores its capabilities and practical strengths in more depth.
Can I use back-button AF on the Canon EOS 80D?
Yes. Back-button AF is configurable through the Custom Functions menu. By reassigning AF activation to the AF-ON button and disabling focus activation from the shutter button, you can track subjects continuously with your thumb while shooting with your index finger independently. Many experienced bird photographers find this setup gives them considerably more control.
What lens focal length works best for tracking birds in flight on the 80D?
A focal length of 400–600mm is commonly used for birds in flight, though the ideal length depends on how close you can get to your subjects. Because the 80D has an APS-C sensor with a 1.6x crop factor, a 400mm lens effectively gives you the field of view equivalent to a 640mm full-frame lens, which extends your reach considerably.
Final Thoughts
Consistent bird-in-flight tracking on the Canon EOS 80D comes down to a reliable combination of AI Servo AF, an appropriate AF area mode, fast shutter speeds, and smooth physical technique. The camera’s hardware is genuinely capable—what separates sharp, well-tracked flight shots from missed opportunities is almost always settings and practice rather than equipment limitations. If you’re still working through your broader setup, the detailed Canon 80D bird photography settings resource is worth bookmarking as a reference. The more time you spend tracking birds in the field with a consistent setup, the faster the physical and technical skills will come together.