
Have you ever wanted to capture the perfect shot of a bird in flight? It’s an exciting challenge that can make your photography stand out like never before.
But getting that sharp, stunning image isn’t just about luck—it takes the right technique and a few simple tricks. In this guide, you’ll learn exactly how to take flying bird photography that will amaze your friends and boost your skills.
Ready to make your camera soar? Let’s dive in and discover how you can master this art!
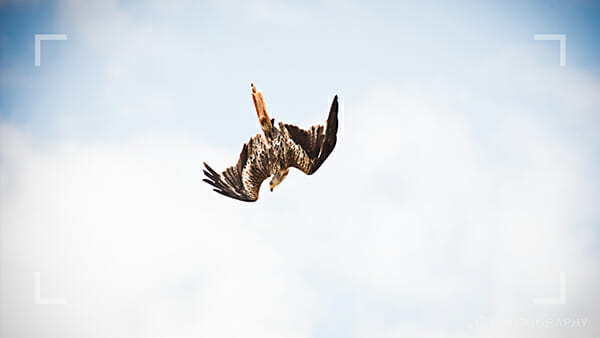
Credit: www.iphotography.com
Choosing The Right Gear
Choosing the right gear is crucial for capturing stunning flying bird photos. The gear affects image quality and ease of shooting. It helps you freeze motion and focus quickly on fast-moving birds. Picking suitable equipment makes the photography experience enjoyable and productive.
Best Cameras For Bird Photography
Fast autofocus and high frame rates are key features. Cameras with good sensor sensitivity perform better in low light. Full-frame or crop sensor cameras both work well. Mirrorless cameras offer silent shooting and quick focus. DSLRs provide robust build and long lens options.
- High frames per second (fps) for rapid shots
- Accurate autofocus with tracking modes
- Good ISO performance for varied lighting
- Durable build for outdoor use
Essential Lenses For Flying Birds
Telephoto lenses let you capture birds from a distance. Zoom lenses provide flexibility to adjust framing quickly. Prime lenses often deliver sharper images but less zoom range. Fast apertures help in dim conditions and create blur backgrounds.
- 300mm to 600mm focal length for close-up shots
- Zoom lenses like 100-400mm for versatility
- Wide apertures (f/2.8 to f/5.6) for speed
- Image stabilization to reduce blur
Accessories To Enhance Shots
Tripods and monopods stabilize heavy lenses for sharper images. Extra batteries and memory cards avoid missed moments. Lens hoods reduce glare and protect lenses. Remote shutter releases prevent camera shake during shots.
- Stable tripod or monopod for support
- Extra batteries for longer sessions
- High-speed memory cards for quick image saving
- Lens hoods to cut unwanted light
- Remote shutter release to avoid shake
Mastering Camera Settings
Mastering camera settings is key to capturing stunning flying bird photographs. Your choices directly impact sharpness, detail, and overall image quality. Understanding how shutter speed, aperture, and ISO work together lets you freeze motion, control background blur, and maintain clarity even in challenging light.
Optimal Shutter Speeds
Capturing birds in flight means dealing with fast, unpredictable movement. Use shutter speeds of at least 1/1000 second to freeze wings without blur. For smaller, quicker birds like hummingbirds, push it to 1/2000 second or faster.
If you try slower speeds, expect motion blur. However, slightly slower speeds can create artistic wing blur, giving a sense of motion—if that’s your goal. Have you experimented with different shutter speeds to see how they change the story your photo tells?
Aperture And Depth Of Field
Aperture controls how much light hits your sensor and the depth of field (DOF). For flying birds, a wider aperture (f/4 to f/6.3) helps isolate the bird from the background with a pleasing blur.
But too wide an aperture narrows the DOF, making focus tricky on fast-moving subjects. Balancing sharpness and background separation is a challenge you can master by testing apertures in natural light conditions near your shooting spot.
Iso Settings For Clarity
ISO affects your camera’s sensitivity to light. On a bright day, keep ISO low (100-400) for crisp, noise-free images. As light fades, increase ISO but stay within your camera’s noise tolerance to avoid grainy photos.
I once pushed ISO to 1600 during a cloudy dawn shoot and was surprised at the clean results from my modern camera. What’s your camera’s ISO sweet spot where detail meets low noise? Knowing this helps you adjust quickly when lighting changes mid-flight.
Techniques For Capturing Flight
Capturing birds in flight requires specific techniques to freeze their motion or show dynamic movement. Understanding these methods helps create stunning photos full of life and energy. Practice and patience improve your skills over time.
Tracking Moving Birds
Follow the bird smoothly with your camera as it flies. Keep the bird centered in your viewfinder. Use continuous autofocus to maintain sharpness. A fast shutter speed helps freeze the wing motion. Practice tracking to improve your timing and steadiness.
Panning For Motion Blur
Move your camera along with the bird’s flight path. Use a slower shutter speed to create blur behind the bird. This shows motion and speed in your photo. Keep the bird sharp by matching its speed with your camera movement. Try different shutter speeds to find the right balance.
Timing Your Shots Perfectly
Watch the bird’s behavior before pressing the shutter. Anticipate moments like wing spread or takeoff. Use burst mode to capture multiple frames quickly. This increases chances of getting the perfect shot. Stay patient and ready for the ideal moment.

Credit: digital-photography-school.com
Choosing The Right Location
Choosing the right location is key to great flying bird photos. The place you pick affects light, background, and bird activity. A good spot offers clear views and frequent bird flights. Study different areas to find where birds gather and fly freely. This increases your chances of capturing dynamic shots.
Bird Hotspots To Visit
Visit popular birdwatching spots known for diverse species. Wetlands, lakes, and nature reserves attract many birds. Coastal areas often have seagulls, terns, and other flying species. Parks with tall trees provide homes for hawks and owls. Research local bird sanctuaries and national parks. These places offer safe habitats and frequent bird movement.
Best Times Of Day For Lighting
Light quality shapes how your photos look. Early morning and late afternoon provide soft, warm light. This light reduces harsh shadows and highlights bird feathers. Midday sun is strong and creates glare. Overcast days give even lighting without bright contrasts. Plan your shoot during golden hours for the best results.
Understanding Bird Behavior
Learn bird habits to predict their flight paths. Birds often fly low near water or open fields. Many species hunt or feed at specific times. Watch how birds react to surroundings and other animals. This helps you anticipate and capture action moments. Patience and observation improve your photo timing.
Composing Stunning Images
Creating stunning images of flying birds needs more than just quick shutter speed. Composition plays a key role in capturing the bird’s grace and motion. Paying attention to how you arrange elements in the frame will make your photos stand out.
Focus on balance and simplicity. Avoid clutter that distracts from the bird. Use space wisely to show movement and direction. Each shot should tell a story through its composition.
Framing Flying Birds
Frame the bird with enough space ahead of its flight path. This gives a sense of motion and freedom. Avoid cutting off wings or tail feathers at the edges of the frame. Use the rule of thirds to place the bird off-center for a dynamic look.
Try to shoot from different angles. Low angles can make birds appear majestic. Side views show wing shapes clearly. Experiment with close-ups and wider shots to add variety.
Using Backgrounds Creatively
Choose backgrounds that enhance the bird’s colors and details. Plain skies or soft, blurred landscapes work well. Avoid busy or bright backgrounds that compete with the subject.
Use shallow depth of field to blur backgrounds and keep focus on the bird. Look for natural contrasts between the bird and background to make the subject pop. Clouds, open skies, or water reflections add interest without distraction.
Incorporating Natural Elements
Include branches, leaves, or flowers to add context and depth. These elements frame the bird and create a more natural feel. Use natural lines like tree branches or water edges to guide the viewer’s eye toward the bird.
Watch for light filtering through leaves or casting shadows. This can add mood and texture to your image. Capture moments when birds interact with their environment for storytelling shots.
Post-processing Tips
Enhance bird photos by adjusting brightness and contrast carefully. Sharpen details to highlight feathers without overdoing it. Crop to focus on the bird and remove distractions from the background.
Capturing birds in flight is a thrilling endeavor, but the magic doesn’t end with the click of the shutter. Post-processing can transform your photos into breathtaking works of art. By enhancing the details, cropping for a stronger impact, and removing distractions, you can ensure your flying bird photography soars to new heights.Enhancing Details And Colors
To truly make your bird photos pop, focusing on details and colors is crucial. Start by adjusting the sharpness to make the feathers stand out. This can add depth and texture, creating an almost three-dimensional look. Boost the vibrancy and saturation to highlight the bird’s natural colors. Be mindful not to overdo it, as you want to maintain a realistic appearance. A subtle enhancement can make a significant difference. Experiment with contrast settings. Increasing contrast can help define the bird against the sky, making it the centerpiece of your photo. Have you noticed how a slight contrast adjustment can transform a bland image into something striking?Cropping For Impact
Cropping is a powerful tool to direct focus and improve composition. Consider removing unnecessary elements that might distract from the bird. Think about the rule of thirds when cropping. Positioning the bird off-center can create a more dynamic and engaging image. Does your photo tell a story when you change the composition? Remember, sometimes less is more. Tight cropping can emphasize the bird’s flight and add a sense of motion. Try it out and see how the perspective shifts.Removing Distractions
Distractions can pull the viewer’s attention away from the subject. Use tools to remove unwanted elements like branches or other birds. Consider blurring the background to isolate your subject. A blurred background can give the photo a professional look and ensure the bird remains the focal point. Cluttered backgrounds can be simplified with a touch of post-processing magic. Have you ever erased a minor distraction and felt the entire image breathe easier?Common Challenges And Solutions
Capturing flying birds can be tricky due to fast movement and changing light. Using a fast shutter speed and continuous focus helps keep shots sharp and clear. Patience and practice improve timing and framing for better photos.
Capturing the perfect shot of a flying bird can be exhilarating yet challenging. You may find yourself frustrated by blurred images or poorly lit photos. But understanding these common challenges and their solutions can transform your bird photography experience.Dealing With Fast Movements
Birds are unpredictable and fast. It’s essential to anticipate their movements. Practice tracking birds in flight to improve your reaction time. Use a camera with a high frames-per-second rate. This allows you to capture multiple shots quickly, increasing your chances of getting the perfect photo. Consider using continuous autofocus to keep the bird in focus as it moves. What adjustments have you made to capture swift subjects?Handling Low Light Conditions
Early mornings or late afternoons offer stunning light but can be tricky for photography. Increase your camera’s ISO to let in more light without sacrificing shutter speed. A wide aperture can help, but watch out for reduced depth of field. Are you prepared to balance light and clarity? Using a tripod can stabilize your camera, reducing shake in low light. A bit of extra support can make all the difference.Avoiding Blurry Photos
Blurry photos are often a result of camera shake or slow shutter speeds. Use a fast shutter speed to freeze the bird’s motion. Engage image stabilization on your lens or camera body. This can help offset any minor movements during shooting. Consider pre-focusing on an area where birds are likely to fly through. This allows you to snap the shutter at the perfect moment. What’s your strategy for ensuring sharp images? By addressing these challenges with practical solutions, you’ll find yourself capturing sharper, more striking photos of birds in flight.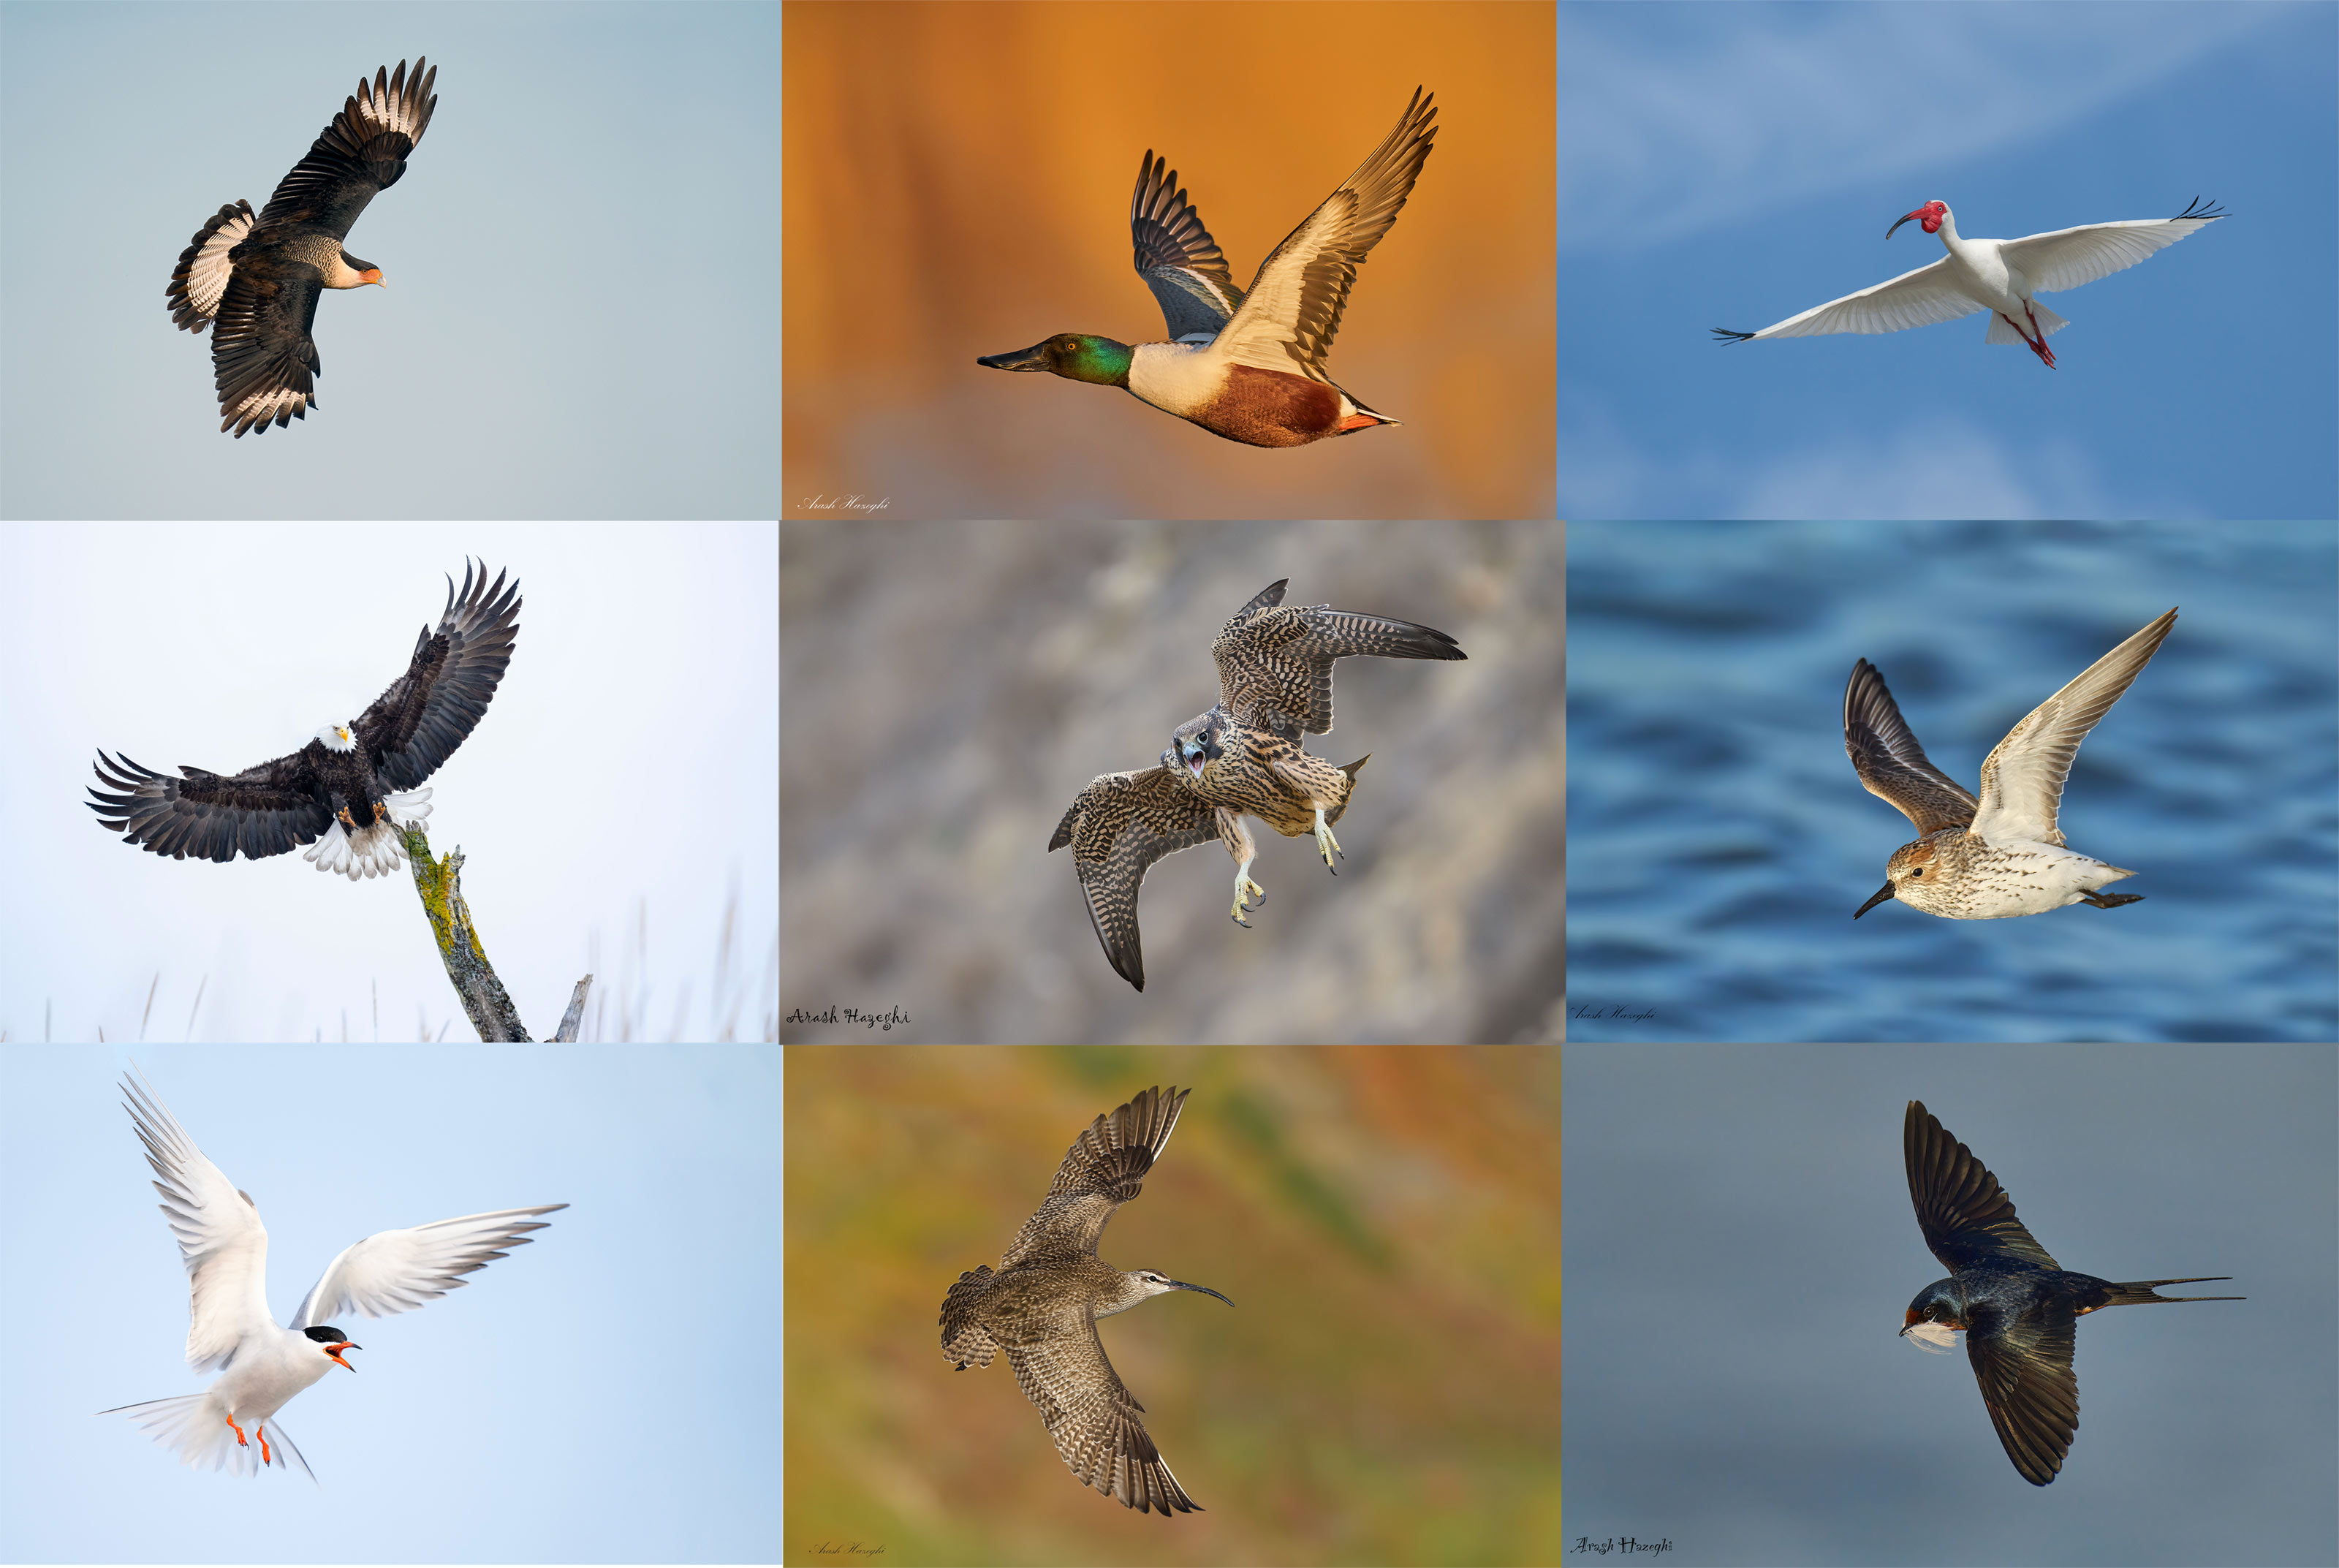
Credit: www.birdsasart-blog.com
Frequently Asked Questions
What Camera Settings Work Best For Flying Bird Photography?
Use a fast shutter speed, typically 1/1000 second or faster. Set continuous autofocus and burst mode. Use a high ISO if needed for proper exposure. These settings help capture sharp, well-exposed images of birds in motion.
How Do I Track Flying Birds Effectively?
Practice panning smoothly with your camera. Focus on the bird’s head and anticipate its flight path. Use continuous autofocus mode and burst shooting to increase your chances of sharp shots. Patience and practice improve tracking skills.
Which Lenses Are Ideal For Flying Bird Photography?
Telephoto lenses from 300mm to 600mm are best. They allow close-up shots from a distance without disturbing birds. Fast lenses with wide apertures help in low light and isolate the subject from the background.
What Time Of Day Is Best For Flying Bird Photos?
Early morning and late afternoon offer soft, warm light that enhances bird colors. These times also have less harsh shadows and more bird activity. Shooting during golden hours improves photo quality.
Conclusion
Capturing birds in flight takes practice and patience. Choose the right camera settings to freeze their motion clearly. Watch their behavior to predict when they will take off. Use natural light to highlight their wings and feathers. Stay quiet and move slowly to avoid scaring them away.
Keep trying, and you will improve with each shot. Enjoy the process of learning and capturing these beautiful moments. Flying bird photography can bring joy and creativity to your photography journey.


