
Have you ever wanted to capture the beauty of a koi fish from a unique angle? Drawing a koi fish from a bird’s eye view can give your artwork a fresh, captivating look.
But where do you start? This guide will walk you through simple steps to help you create a stunning koi fish drawing that stands out. Whether you’re a beginner or looking to improve your skills, you’ll find easy tips to make your drawing come alive.
Ready to dive in and bring your koi fish to life on paper? Let’s get started!
Materials Needed
Drawing a koi fish from a bird’s eye view needs some basic art supplies. These tools help you create clear and detailed drawings.
Having the right materials makes the drawing process easier and more enjoyable. Here are the items you will need.
Pencils
Pencils are essential for sketching the koi fish outline. Use different hardness levels for varied lines.
- HB pencil for light outlines
- 2B or 4B pencils for shading
- Eraser for corrections
Paper
Choose smooth drawing paper to help your pencil glide easily. It should be thick enough to avoid tearing.
- Sketchbook or loose sheets
- Weight of 80-100 gsm works well
- White or light-colored paper
Colored Pencils Or Markers
Use colored pencils or markers to add color to your koi fish drawing. They bring your art to life.
- Colored pencils for blending shades
- Markers for bold and bright colors
- Keep a white pencil for highlights
Ruler And Compass
A ruler helps draw straight lines for the fish’s body guides. A compass can create perfect circles for fins or eyes.
- Ruler for measuring proportions
- Compass for round shapes
- Optional: protractor for angles
Reference Images
Reference images show koi fish from above. They help you see shapes, colors, and details.
- Photos of koi fish from bird’s eye view
- Drawings or sketches for style ideas
- Print or display on a screen
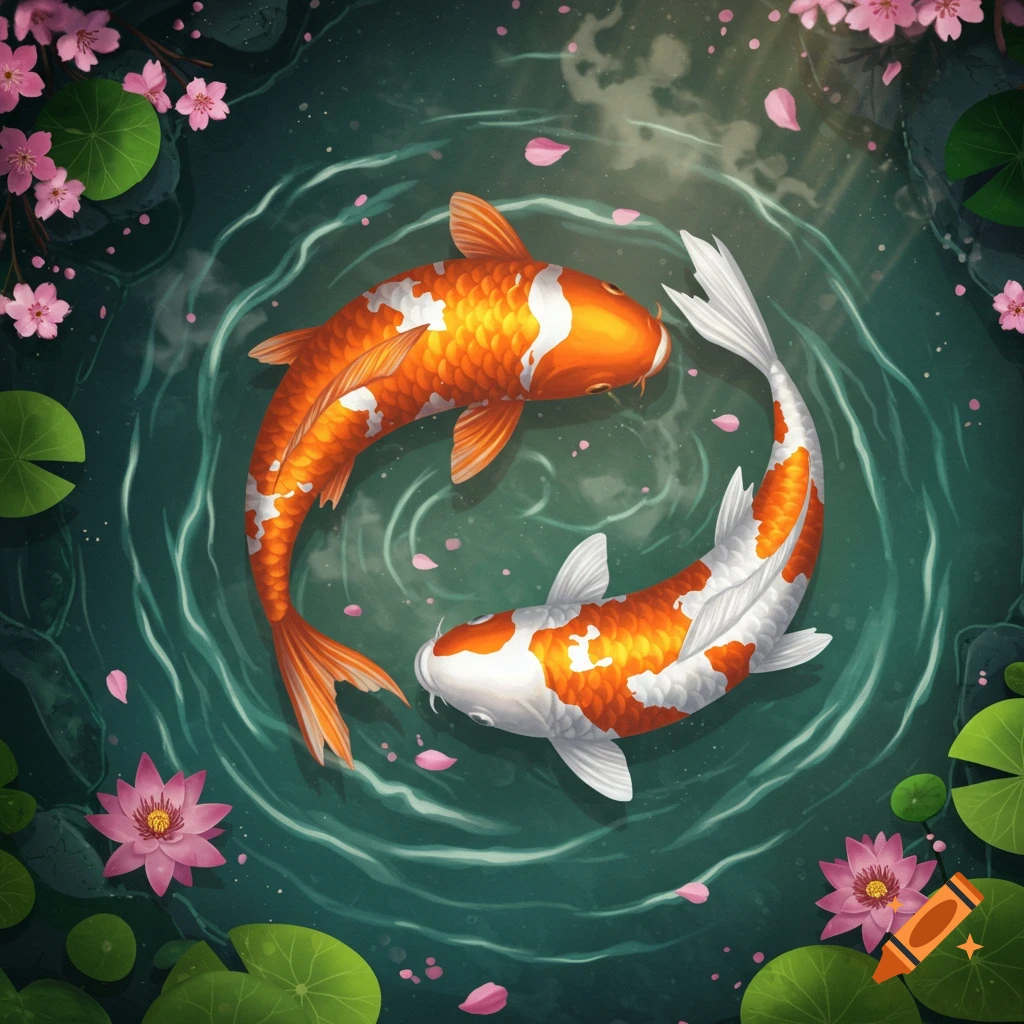
Credit: www.craiyon.com
Basic Shapes And Proportions
Drawing a koi fish from a bird’s eye view starts with simple shapes. These shapes help to build the fish’s form. Proportions keep the drawing balanced and realistic.
Using basic shapes makes it easier to capture the koi fish’s body and fins. You can adjust these shapes as you add details later.
Start With An Oval For The Body
The koi fish’s body looks like an oval from above. Draw a large oval to represent the main part of the fish. This shape shows the fish’s length and width.
Make the oval slightly wider in the middle. This shape will help place the head and tail correctly.
Add A Circle For The Head
Place a smaller circle at one end of the oval. This circle is the koi fish’s head. It helps to mark where the face and eyes go.
Keep the circle smaller than the oval but close enough to connect smoothly.
Use Triangles For The Fins
Draw small triangles along the sides and back of the oval. These triangles show the position of the fins. They help to plan how the fins spread out.
Make sure the triangles match the fish’s natural fin shape. The front fins are closer to the head, and the back fins are near the tail.
Draw A Pointed Shape For The Tail
At the opposite end of the head, add a pointed shape for the tail. The tail looks like a fan or a wide triangle.
Keep the tail proportionate to the body. It should be wide but not too large compared to the oval.
Check Proportions With Simple Measurements
Use the oval’s length as a guide. The head circle should be about one-third the size of the oval. The tail fan should be about half the oval’s width.
- Body oval length: 1 unit
- Head circle diameter: 0.3 units
- Tail width: 0.5 units
- Fins length: 0.2 to 0.3 units
Sketching The Koi Fish Outline
Drawing a koi fish from a bird’s eye view starts with a simple outline. This outline sets the shape and size of your fish.
Focus on smooth lines and balanced proportions. This helps your koi fish look natural and lively.
Draw The Basic Body Shape
Start by sketching an oval shape for the koi’s body. This oval shows the fish’s main form from above.
Make the oval slightly wider in the middle. This shows the koi’s thick, strong body.
Add The Head And Tail
At one end of the oval, draw a small rounded shape for the head. It should be narrower than the body.
On the opposite end, sketch a fan-shaped tail. Keep it wider and slightly curved to look natural.
Sketch The Fins
Draw two side fins near the head. They look like small curved triangles pointing outward.
Add a dorsal fin on top of the body. It is a long, thin shape that curves gently along the back.
- Side fins: small, curved triangles
- Dorsal fin: long and thin, curves along the back
- Tail fin: wide and fan-shaped
Refine The Outline With Smooth Curves
Use smooth, flowing lines to connect all parts of the fish. This makes the koi look natural and alive.
Erase extra sketch lines to keep the outline clean and clear for the next drawing steps.
Adding Details To The Body
Adding details brings your koi fish drawing to life. Focus on texture and shape to make the body look natural.
Use light strokes to create scales and shading. This will add depth and realism.
Drawing The Head And Eyes
Start by shaping the head with smooth curves. The eyes should be round and placed near the front.
- Draw two small circles for the eyes.
- Add tiny dots inside for pupils.
- Shade lightly around the eyes to show depth.
- Sketch the mouth with a small curved line below the eyes.
- Draw whisker-like barbels at the mouth’s edges.
Creating The Fins And Tail
Fins and tail shapes vary, but they should flow naturally from the body. Use gentle curves and thin lines.
| Fin Type | Shape | Details |
|---|---|---|
| Dorsal Fin | Long and narrow | Draw soft ridges along the edge |
| Pectoral Fins | Fan-shaped | Add thin lines to show fin rays |
| Tail Fin | Wide and flowing | Use curved lines for movement |
Incorporating Scale Patterns
Drawing koi fish from a bird’s eye view shows the fish’s shape clearly. Adding scale patterns makes the drawing more realistic.
Scales give texture and depth to the koi fish. Careful placement of scales helps the fish look natural and alive.
Understand The Fish’s Body Shape
Start by sketching the koi fish’s body from above. Notice the rounded head and tapering tail. The body curves gently.
Scales follow the body’s shape. They get smaller near the head and tail. Keep this in mind when drawing scales.
Draw The Scale Outlines Lightly
Use light lines to draw scale shapes. Scales look like small, overlapping ovals or circles. Draw them in rows along the body.
Start from the middle of the back and work outwards. Make the scales near the center bigger. Reduce size near edges.
- Draw rows parallel to the fish’s spine
- Make scales overlap like roof tiles
- Keep scales smaller near fins and tail
Add Scale Details For Texture
Inside each scale, draw a small curved line. This shows the scale’s shine and texture. Keep lines uniform but light.
Vary the shading slightly to give a 3D effect. Darker shading near the edges helps scales stand out.
- Use curved lines inside scales
- Shade edges lightly
- Keep center of scales lighter
Follow The Fish’s Curves With Scale Direction
Scales point toward the fish’s tail. This shows natural scale growth. Adjust the angle of scales as the body curves.
Near the head, scales curve more. Along the back, scales are straighter. Near the tail, scales become smaller and tighter.
| Body Part | Scale Direction | Scale Size |
|---|---|---|
| Head | Curved outward | Small |
| Back | Straight toward tail | Medium |
| Tail | Pointed and tight | Smallest |
Use Color To Enhance Scales
Apply colors that highlight the scale pattern. Use lighter colors on the scales’ centers. Darker colors go near edges.
Blend colors softly to create a smooth look. Bright colors on some scales add interest and realism.
- Light color centers
- Darker edges
- Soft color blending
- Bright accents on some scales
Refining The Drawing
Refining your koi fish drawing helps bring it to life. This step makes your sketch clean and clear.
Pay attention to details and add depth to make the drawing look real and interesting.
Cleaning Up Sketch Lines
Start by erasing extra sketch lines that you do not need. Keep only the important outlines.
Use a fine pencil or pen to redraw the main lines smoothly. This makes your drawing clearer.
- Remove overlapping lines
- Darken final outlines
- Keep the edges neat and smooth
Enhancing Texture And Depth
Add texture by drawing small scales and patterns on the koi fish body. This shows the fish’s skin.
Use shading to show light and shadow. Darken areas where the fish curves or overlaps.
- Draw tiny scales with light, curved lines
- Shade under fins and near the tail
- Use soft strokes for smooth skin parts
Coloring Techniques
Coloring a koi fish from a bird’s eye view brings the fish to life. Using the right techniques makes your drawing look natural and vibrant.
Focus on how colors blend and layer to show the fish’s scales and movement in water. This guide helps you choose colors and apply them well.
Choosing Colors
Select colors that match the koi fish’s natural patterns. Use bright oranges, reds, and whites. Add black or dark spots for contrast.
Look at real koi fish photos to see color combinations. Choose shades that work well together and create a balanced look.
- Use bright colors for the body
- Add darker colors for shadows and spots
- Include light colors for highlights
- Pick colors that look good from above
Layering And Blending
Start with a light base color to cover the whole fish. Then add layers of darker colors to create depth and texture.
Blend the colors gently to avoid harsh lines. Use soft strokes or a blending tool to make smooth transitions between colors.
- Apply colors in thin layers for better control
- Blend edges to create a soft look
- Use lighter colors on top for highlights
- Let each layer dry before adding the next
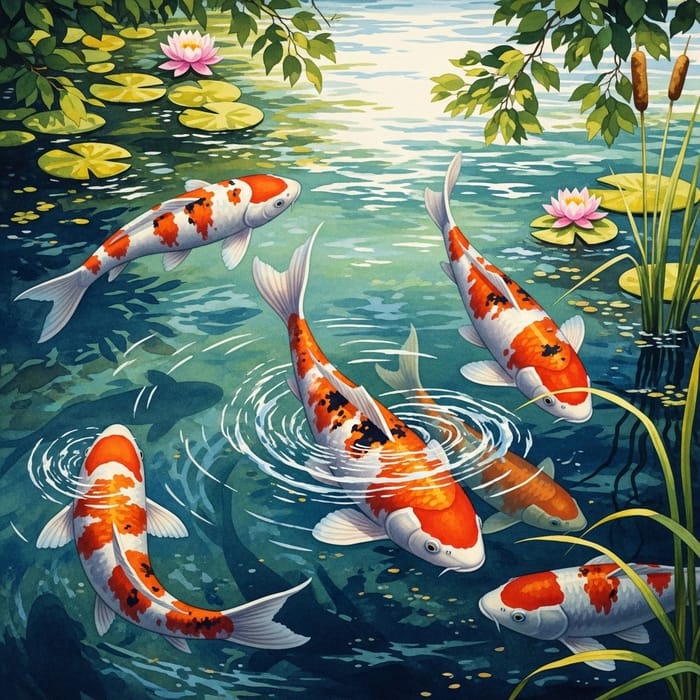
Credit: easy-peasy.ai
Final Touches
Adding the final touches brings your koi fish drawing to life. These details enhance depth and realism.
Focus on highlights, shadows, and small features to complete your birds eye view koi fish artwork.
Enhance The Scales
Draw light reflections on the scales to make them shiny. Use soft strokes to blend colors smoothly.
Add Water Ripples
Create soft ripple effects around the fish to show water movement. Use curved lines and light shading.
- Draw thin, curved lines near the fish edges
- Keep ripple lines lighter than the fish
- Vary ripple size for natural look
- Use blending tools to soften edges
Deepen Shadows
Apply darker tones under the fins and body curves. This adds depth and makes the fish appear three-dimensional.
| Area | Shadow Intensity |
| Under fins | Medium |
| Body curves | High |
| Fish tail | Low |
Refine The Eyes
Detail the eyes with tiny white dots for highlights. This gives the koi a lively, alert expression.
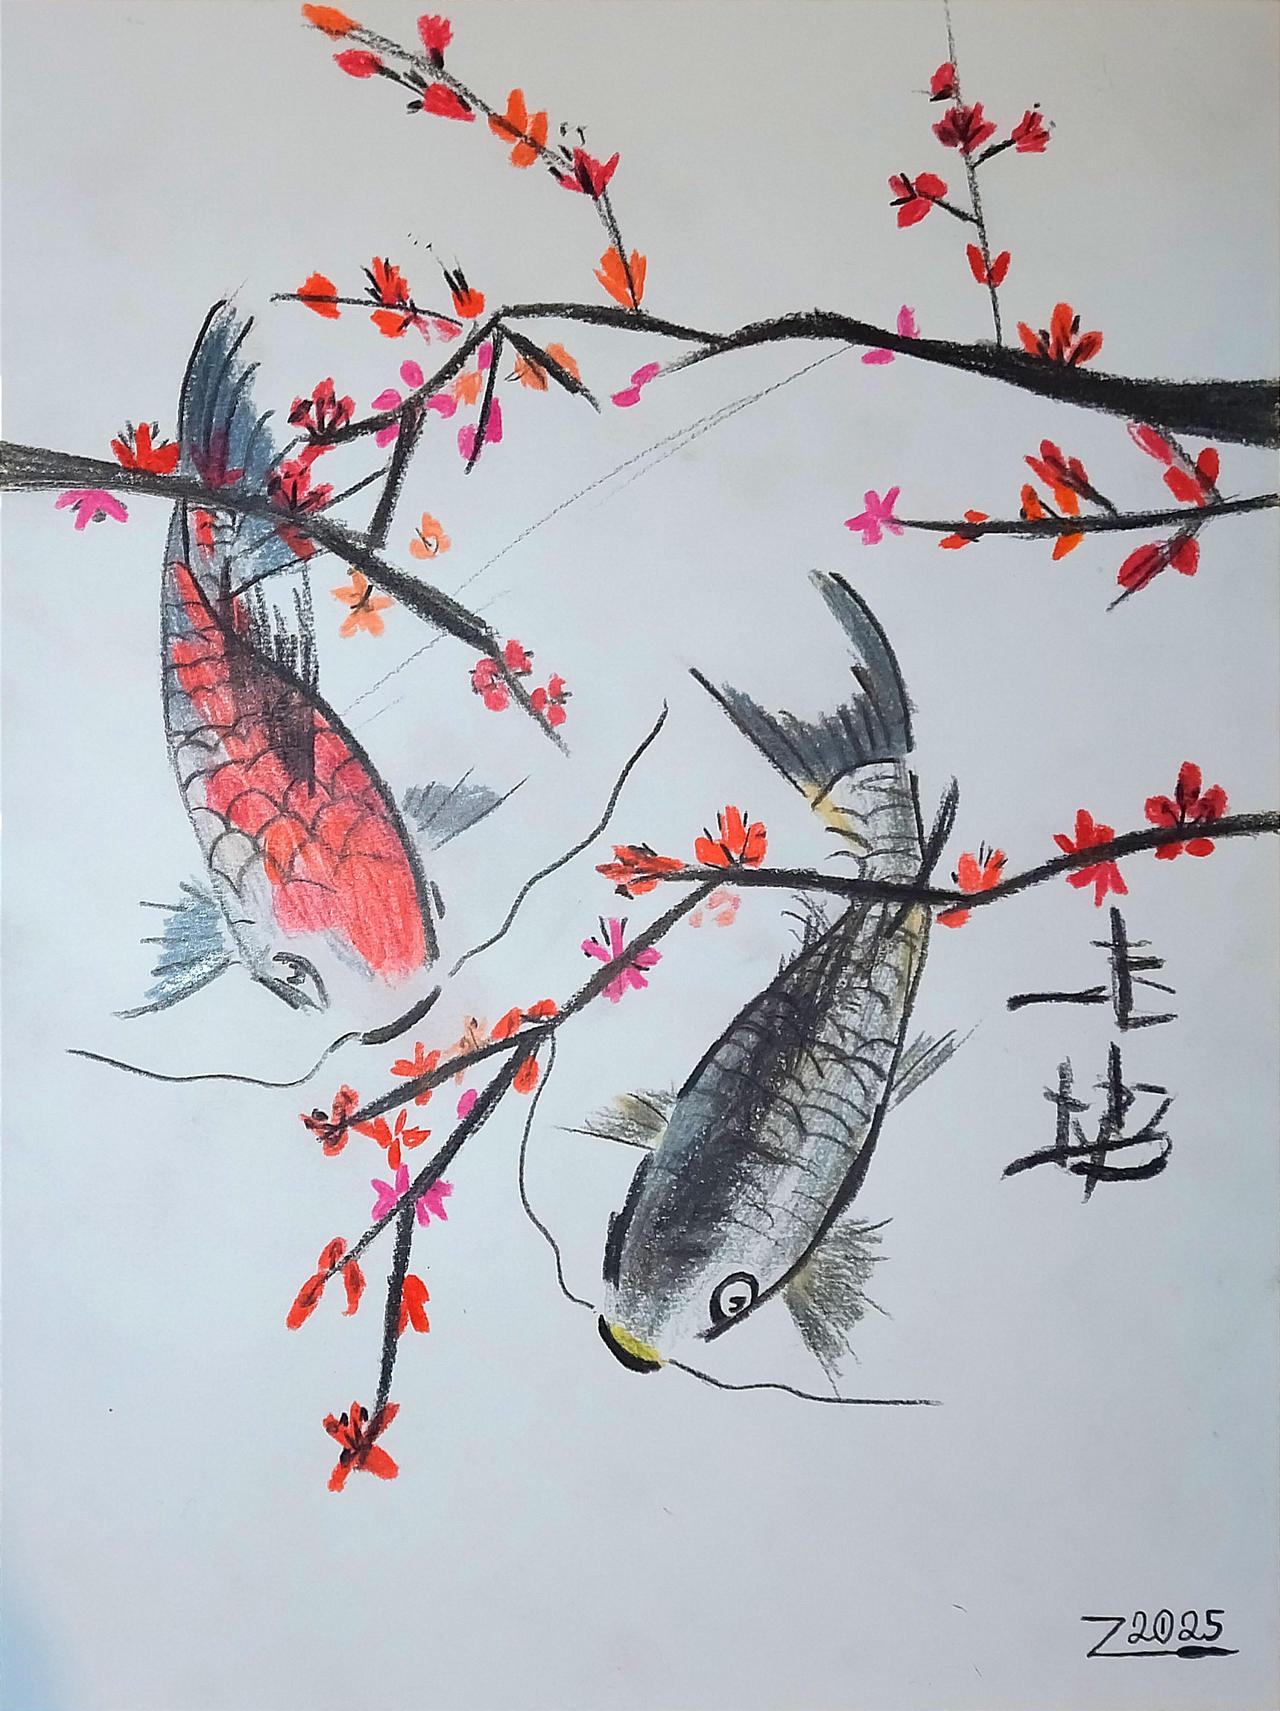
Credit: www.deviantart.com
Frequently Asked Questions
How Do I Start Drawing Koi Fish From A Bird’s Eye View?
Begin with a simple oval shape for the body. Sketch the head and tail proportions next. Add fins and details gradually to capture the top-down perspective accurately.
What Tools Are Best For Drawing Koi Fish Birds Eye View?
Use pencils for initial sketches and fine liners for details. Colored pencils or watercolors work well for adding vibrant koi fish colors. Quality paper helps achieve better texture and blending.
How Can I Capture Koi Fish Scale Details From Above?
Draw small, overlapping semicircles following the body’s curve. Keep scales consistent in size and shape. Highlight edges slightly to create a realistic, textured look from the top view.
What Colors Should I Use For Koi Fish Drawings?
Choose bright reds, oranges, whites, and blacks. These colors reflect common koi patterns. Use shading to add depth and make the fish appear three-dimensional from above.
Conclusion
Creating a koi fish from a bird’s eye view is fun. Use basic shapes to start. Practice makes your skills better. Observe real koi fish for color ideas. Add details like scales and fins. Experiment with shading for depth. Enjoy the process and improve with each drawing.
Share your art with friends. Their feedback can help you grow. Keep drawing and exploring new techniques. Soon, you’ll be proud of your koi fish art. Stay patient and creative. Happy drawing!


