
Have you ever wanted to draw a person from a bird’s eye view but didn’t know where to start? It can feel tricky to capture this unique angle, but once you learn the simple steps, you’ll see how fun and rewarding it is.
Imagine impressing your friends with a drawing that shows a fresh perspective—one that few artists master. In this guide, you’ll discover easy tips and tricks to help you create a realistic and dynamic bird’s eye view of a person. Ready to unlock a new drawing skill and take your art to the next level?
Let’s dive in!

Credit: www.gettyimages.co.uk
Basics Of Bird’s Eye View
Drawing a person from a bird’s eye view means showing them as if seen from above. This perspective helps create unique and interesting artwork.
Understanding the basics of bird’s eye view is important for artists. It changes how shapes and sizes appear in your drawing.
What Is Bird’s Eye Perspective
Bird’s eye perspective shows a scene from high above, like a bird flying in the sky. You see the top of objects and people instead of their front or side.
This view makes the head and shoulders of a person more visible than their feet. It helps artists show space and distance in a clear way.
Key Features Of Top-down Drawing
- Objects look shorter in height but wider in width
- The top of the head is most visible
- Arms and legs may look foreshortened or smaller
- Details on the face are limited
- Shadows and shapes help show depth
These features help create a strong bird’s eye view drawing. Paying attention to them makes your art look more real and clear.

Credit: www.reddit.com
Materials Needed
Drawing a person from a bird’s eye view needs some basic materials. The right tools help you create clear and neat drawings.
You do not need many things, but choosing good materials makes drawing easier and more fun.
Recommended Drawing Tools
Use pencils with different hardness to get light and dark lines. An eraser helps fix mistakes and clean up your work.
- HB pencil for sketching
- 2B or 4B pencil for shading and darker lines
- Good quality eraser for corrections
- Sharpener to keep pencils sharp
- Ruler for straight lines if needed
Choosing The Right Paper
Pick paper that is smooth and thick enough to handle erasing. Rough paper can make lines look uneven.
Standard drawing paper or sketch pads work well. Avoid thin paper that tears easily.
- Sketchbook paper with medium texture
- Weight around 70-100 gsm for durability
- White or off-white color to see lines clearly
- A4 or larger size for enough drawing space
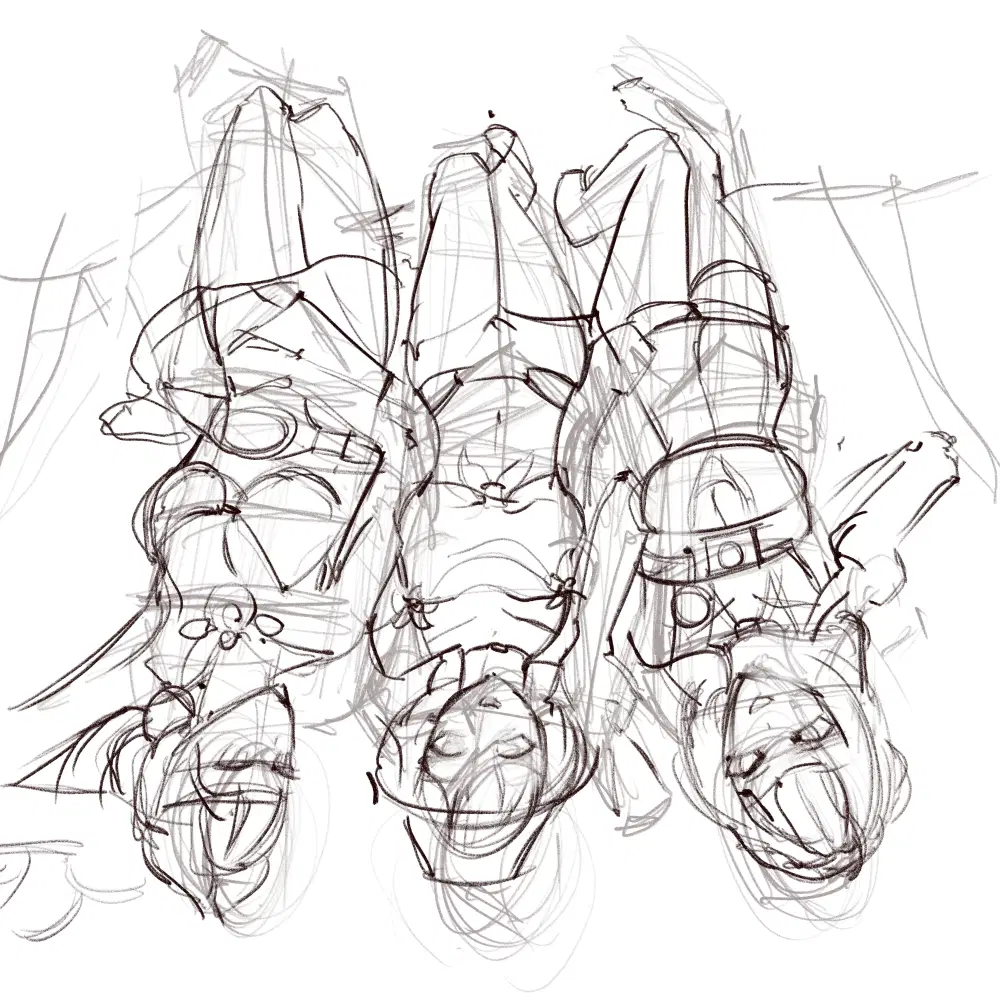
Sketching The Basic Shape
Drawing a person from a bird’s eye view can be tricky. Start with simple shapes to build the figure.
Focus on the main parts of the body first. This helps keep the proportions right.
Drawing The Head And Torso
Begin with an oval for the head. It should be smaller than the torso shape.
Draw a larger oval or rectangle below the head for the torso. Tilt it slightly if the person is leaning.
- Make the head oval smaller and rounder.
- The torso is wider and longer than the head.
- Keep the shapes simple to adjust later.
Positioning The Limbs
Use lines to show where the arms and legs go. Start at the edges of the torso.
Draw simple shapes for hands and feet. Place them naturally according to the pose.
- Arms usually hang down or reach out from the shoulders.
- Legs extend from the bottom of the torso.
- Use small circles for joints like elbows and knees.
Adding Details
Adding details makes your bird’s eye view drawing look more real. Small touches bring life to the person you draw.
Focus on features that are visible from above. This helps the viewer understand the person’s posture and style.
Facial Features From Above
From a bird’s eye view, you see the top of the head and parts of the face. Draw the shape of the skull first. Add hair details to show direction and volume.
Place the eyes near the top edges of the face shape. The nose shows as a small shadow or shape in the center. Mouth and chin are less visible but add small lines for hints.
- Draw hair flow and texture clearly
- Show eye shapes as curved lines or small ovals
- Use light shading for the nose tip
- Add small shadows to suggest the mouth area
Clothing And Accessories
Clothing shapes appear flat from above but show folds and overlaps. Draw collars, sleeves, and edges carefully. Use lines to show fabric folds.
Accessories like hats, bags, or glasses change the top view. Add these with simple shapes to keep the drawing clear. Show straps or handles as thin lines.
- Outline collars and shirt edges
- Draw folds as curved lines on clothes
- Use simple shapes for hats or bags
- Include straps or belts with thin lines
Shading And Texturing
Shading and texturing bring your bird’s eye view drawing to life. They add depth and make your figure look real.
Using light and shadow helps show the shape of the person from above. Texture adds detail to clothes and hair.
Creating Depth With Shadows
Shadows show where light does not reach. They help your drawing look three-dimensional.
Place shadows under the head, arms, and body parts that block light. Use softer shadows for rounded shapes.
- Darken areas under the chin and neck
- Add shadows where the arms cover the torso
- Shade below the feet to ground the figure
- Use light shading for curved surfaces like shoulders
Highlighting Key Areas
Highlights show where light hits the figure the most. They create contrast with shadows.
Add highlights to the top of the head, shoulders, and other raised parts. This gives the drawing more form.
- Bright spots on the crown of the head
- Light reflections on the nose and cheekbones
- Shiny areas on the clothes where fabric folds catch light
- Soft highlights on hair strands to show texture
Credit: www.hoyolab.com
Common Mistakes To Avoid
Drawing a person from a bird’s eye view can be tricky. Many artists make simple errors that change the whole look.
Knowing the common mistakes helps you draw better and faster. Avoid these to improve your sketches.
Incorrect Proportions
One major mistake is wrong body proportions. From above, the head looks bigger, and the feet appear smaller.
- Do not draw legs too long; they look shorter from above.
- Keep the torso wider near the shoulders than the hips.
- Make the head larger than usual, as it is closer to the viewer.
- Avoid making arms too thick or too thin.
- Feet should be smaller and foreshortened.
Misplaced Angles
Angles often confuse artists in bird’s eye view. The body parts need to follow the right perspective.
| Body Part | Common Angle Mistake | Correct Angle Tip |
|---|---|---|
| Head | Drawn straight from the front | Tilt the head downwards slightly |
| Arms | Drawn straight down the sides | Show arms angled outward or bent |
| Legs | Drawn as if standing upright | Foreshorten legs to show depth |
Tips For Stunning Results
Drawing a person from a bird’s eye view can be tricky. You need to understand the angle and how the body looks from above. Using the right tips will help you create better art.
This guide shares useful advice on using references well and practicing different poses. These tips will make your drawings clearer and more realistic.
Using References Effectively
Good references show how the body looks from the top. They give you details about shape and size that you might miss. Use photos or videos for the best results.
- Choose clear images with a top-down angle.
- Look at different body types to understand variety.
- Focus on how limbs overlap or hide parts of the body.
- Note the head, shoulders, and feet positions carefully.
- Use reference grids to help with scale and proportion.
Practicing Different Poses
Practice helps you draw people in many positions. Try simple to complex poses to build your skills. This keeps your drawings interesting and lively.
| Pose | Focus Area | Tip |
| Standing Straight | Body alignment and balance | Keep feet and shoulders in line |
| Walking | Leg movement and weight shift | Draw one foot forward and body tilt |
| Sitting | Body curves and limb positions | Show bent knees and relaxed shoulders |
| Reaching Up | Arm stretch and torso twist | Extend arms fully and angle the torso |
Frequently Asked Questions
How Do You Start Drawing A Bird’s Eye View Of A Person?
Begin by sketching a simple oval for the head. Use guidelines to mark the body’s orientation. Simplify complex shapes into basic geometric forms. This helps in visualizing the proportions. Focus on the top of the head and shoulders. Gradually add details like hair and clothing.
What Tools Are Best For Drawing From A Bird’s Eye View?
Use pencils for initial sketches. They allow for easy corrections. Fine-tipped pens can add detail and depth. Consider using markers for shading and textures. Digital drawing tools offer more flexibility and layers. Choose tools based on your comfort and style preferences.
How Do You Capture Perspective In A Bird’s Eye View?
Maintain consistent angles and proportions throughout the drawing. Use vanishing points to guide lines and create depth. Keep the horizon line in mind. It helps in aligning the body parts. Practice observing real-life scenes from high angles. This enhances your understanding of perspective.
What Are Common Mistakes In Drawing A Bird’s Eye View?
Avoid incorrect proportions and inconsistent angles. Over-detailing can distract from the overall form. Forgetting perspective lines can lead to a flat appearance. Skipping initial guidelines often results in misaligned features. Practice and patience are key to overcoming these challenges.
Conclusion
Drawing a person from a bird’s eye view becomes easier with practice. Start with simple shapes to build the figure. Keep checking angles and proportions as you go. Use light lines first, then darken the final sketch. Don’t worry about mistakes; they help you learn.
Try different poses to improve your skill. Soon, your drawings will look natural and clear. Keep drawing regularly to see steady progress. Enjoy the process and have fun with your art!


