Are you ready to welcome more birds to your yard? Installing a bird house pole is one of the best ways to create a safe home for feathered friends.
But if you’re unsure where to start or worried about making mistakes, don’t worry—you’re in the right place. This guide will walk you through simple, step-by-step instructions to get your bird house pole set up quickly and securely. By the end, you’ll have a perfect spot that attracts birds and brings nature closer to you.
Keep reading, and let’s make your outdoor space a bird’s paradise!

Credit: www.amazon.com
Choosing The Right Location
Choosing the right location for your bird house pole is key to attracting birds and ensuring their safety. The spot you pick affects not only which birds visit but also how comfortable and secure they feel. Let’s look at what factors you should consider to make the best choice for your feathered friends.
Consider Bird Species
Different bird species prefer different environments. Some like open spaces, while others seek dense trees or shrubs. Research the birds common in your area and their nesting habits before picking a location.
If you want bluebirds, for example, place the pole in a quiet, open area with low grass nearby. Woodpeckers, on the other hand, prefer wooded spots. Matching the location to the species increases your chances of a successful visit.
Avoid Predators
Predators like cats, raccoons, and snakes can threaten birds and their eggs. Make sure your bird house pole is far from places where these predators hide or climb.
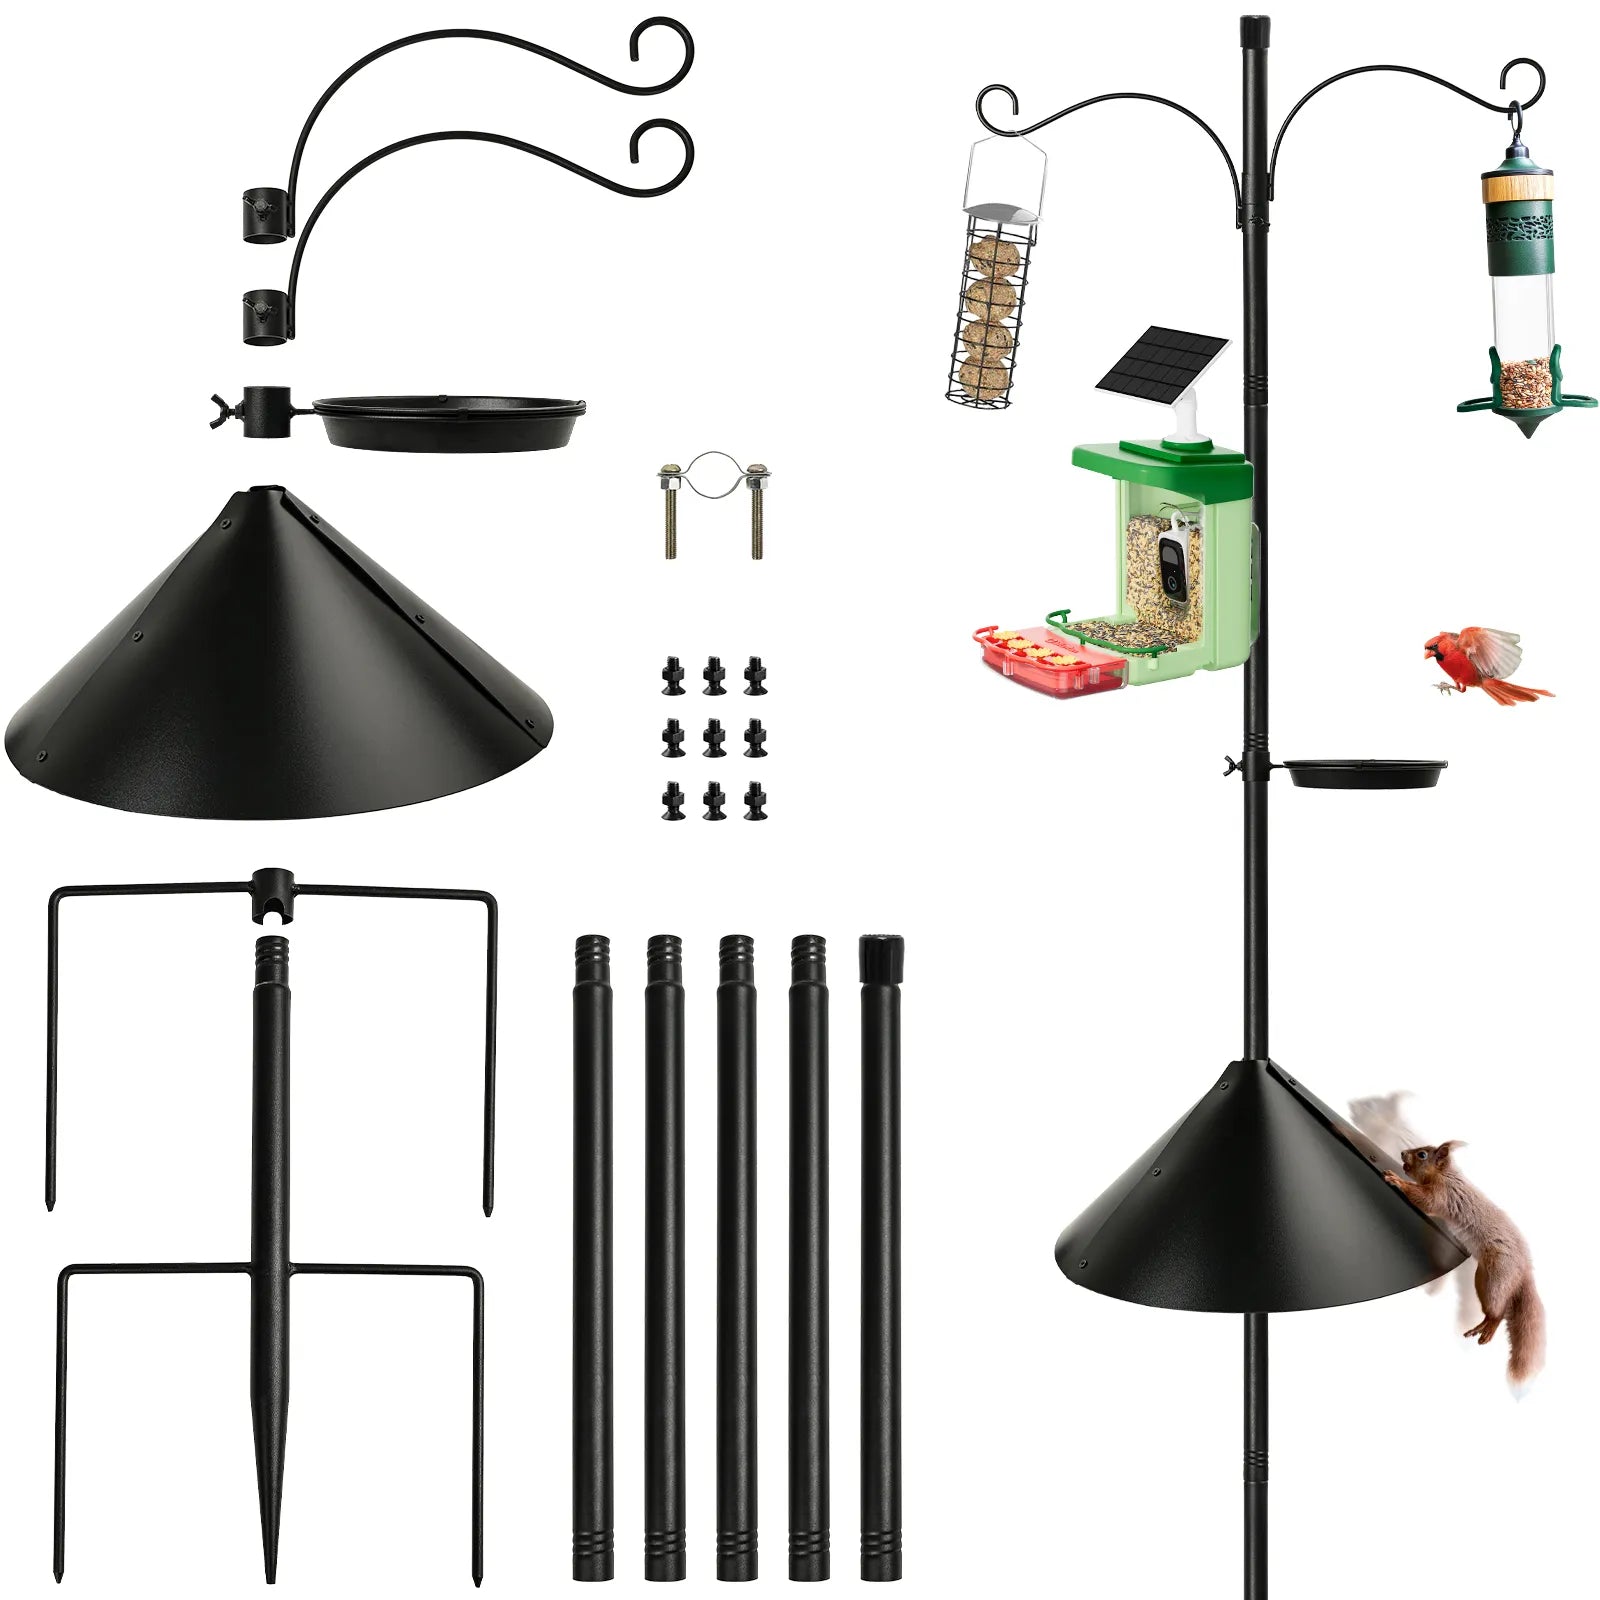
Adding a baffle—a smooth, round guard—around the pole can stop many predators from reaching the nest. Also, avoid placing the pole near fences or branches that predators could use as bridges.
Check Sunlight And Wind
Birds need protection from extreme weather. Choose a spot with morning sun and afternoon shade to keep the nest warm but not overheated. Too much sun can dry out the nest or harm baby birds.
Wind can also disturb the nest or make it hard for birds to fly in and out. Look for a location sheltered from strong winds, such as near a fence or a group of bushes. How much sunlight and wind does your potential spot get throughout the day? Observing this can guide your decision.
Selecting The Pole Material
Choosing the right pole material is essential for a stable and long-lasting bird house setup. Your choice affects not only the safety of the birds but also the ease of installation and upkeep. Let’s look at the pros and cons of popular pole materials, how durable they are, and what height works best for attracting your feathered friends.
Wood Vs Metal Poles
Wood poles offer a natural look that blends well with outdoor environments. They are easy to work with and can be cut to any size you need. However, wood can rot or attract pests if not properly treated.
Metal poles, on the other hand, are highly durable and resistant to weather damage. They often come with powder-coated finishes to prevent rust. But metal can get hot in direct sunlight, which might affect the birds.
Think about your local climate and how much maintenance you’re willing to do. Would you prefer the warmth and natural feel of wood, or the strength and longevity of metal?
Durability And Maintenance
Wood poles require regular inspection and occasional sealing or painting to keep them in good shape. Untreated wood can crack or warp over time, especially in wet or cold climates.
Metal poles usually need less maintenance, but you should check for rust spots every season. A simple coat of rust-resistant paint can extend their life by years.
If you want a low-maintenance option, metal might be the way to go. But if you enjoy a hands-on approach and like the idea of natural materials, wood can be very rewarding.
Height Recommendations
Height matters for bird safety and attracting the right species. Most birdhouses should be installed between 5 and 12 feet off the ground.
- Smaller songbirds prefer 5 to 8 feet.
- Larger birds like bluebirds or woodpeckers do better at 8 to 12 feet.
- Make sure the pole is tall enough to keep predators like cats and squirrels away.
Ask yourself: How close do you want the birdhouse to be to your usual outdoor spaces? Closer means better viewing, but it might disturb shy birds. Finding the right balance will make your birdhouse a favorite spot for your winged visitors.
Gathering Necessary Tools
Before you start installing your bird house pole, gathering the right tools is essential. Having everything ready saves time and frustration. It also ensures your setup is secure and safe for your feathered friends.
Basic Tools List
To install a bird house pole, you’ll need a few basic tools. These help you dig, assemble, and secure the pole firmly in the ground.
- Shovel or Post Hole Digger:To create a sturdy hole for the pole.
- Level:To make sure the pole stands straight and not tilted.
- Wrench or Socket Set:For tightening bolts or screws on the bird house bracket.
- Measuring Tape:To check the depth of the hole and the height of the pole.
- Screwdriver:To attach the bird house to the pole if screws are needed.
Have you ever tried to install something without the right tools? It usually leads to frustration and a less stable result.
Safety Equipment
Safety should never be an afterthought. Wearing the right gear keeps you protected during the installation process.
- Gloves:Protect your hands from splinters, sharp edges, and dirt.
- Safety Glasses:Shield your eyes from flying debris when digging or tightening bolts.
- Sturdy Shoes:Prevent injuries from dropped tools or stepping on sharp objects.
- Sun Protection:If you’re working outdoors for a while, consider a hat and sunscreen.
Have you prepared your safety gear before starting outdoor projects? Taking a few extra minutes to gear up can save you from unexpected trips to the doctor.
Credit: dengarden.com
Preparing The Ground
Preparing the ground is a crucial part of installing a bird house pole. It ensures stability and safety for the birds that will call it home. Taking the time to prepare the area properly will prevent future problems and make your installation process much smoother.
Clear The Area
Start by removing any debris, rocks, or plants around the spot where you want to install the pole. This will give you a clean workspace and help the pole sit firmly in the ground.
Think about how tall the pole is and make sure nothing nearby could interfere with the birdhouse or scare away birds. Clearing the area also reduces the chance of pests hiding close to the pole.
Check For Underground Utilities
Before digging, check if there are any underground utilities like water pipes, gas lines, or electrical cables. Contact your local utility company or use an online service to locate these safely.
This step is vital for your safety and to avoid costly damage. Have you ever had to stop a project because of a hidden utility line? Taking this precaution can save you from that headache.
Mark The Spot
Once the area is clear and safe, mark the exact spot where the pole will go. Use a stake, spray paint, or flags to make the spot visible.
Marking helps you stay precise when you start digging. It also makes it easier to measure depth and alignment, ensuring the pole stands straight and stable.
Installing The Pole
Installing the pole for your bird house is a crucial step that ensures stability and safety for your feathered visitors. You want the pole to stand firm against wind and weather, giving birds a secure place to nest. Let’s walk through the process of preparing and setting the pole so you can enjoy watching birds with confidence.
Digging The Hole
Start by choosing the right spot for your bird house pole—look for an open area free from obstructions. Use a post hole digger or a sturdy shovel to dig a hole about 2 to 3 feet deep. This depth helps the pole stay steady and prevents it from tipping over easily.
Make the hole slightly wider than the pole’s diameter to allow room for concrete later. Remember, the soil type affects your digging effort; sandy soil might need a deeper hole, while clay can hold the pole more firmly. Have you checked how hard your ground is before you start digging?
Setting The Pole
Place the pole upright into the hole, making sure it’s straight. You can use a level to check the pole’s alignment—birds prefer a stable home, and so do you! Hold the pole steady while preparing to secure it.
If you want extra stability, adding gravel at the bottom of the hole before setting the pole can improve drainage and prevent rotting. Do you have a friend to help hold the pole while you work? It makes this step much easier and safer.
Securing With Concrete
Mix quick-setting concrete according to the package instructions. Pour the concrete into the hole around the pole, filling it up to ground level. This locks the pole in place, creating a firm base that won’t shift over time.
Before the concrete hardens, double-check the pole’s vertical position with your level. You can smooth the surface of the concrete with a trowel or a flat tool to keep it neat. Let the concrete cure for at least 24 hours to ensure the pole is fully set before mounting your bird house.
Credit: www.bilantan.com
Attaching The Bird House
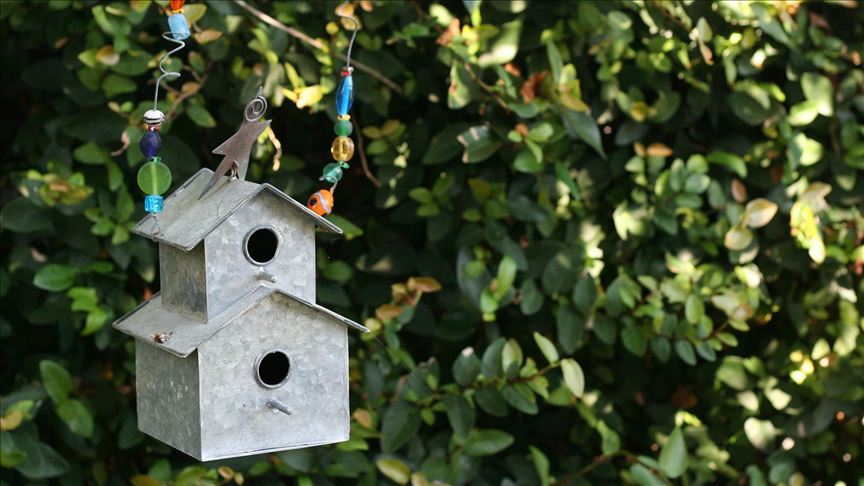
Choose a sturdy pole and secure it firmly in the ground for stability. Attach the bird house using screws or brackets to keep it safe and steady. Make sure it is high enough to protect birds from predators.
Attaching the bird house to your pole is a crucial step that demands attention to detail. It’s not just about securing it; it’s about ensuring the feathered visitors have a safe and inviting environment. Whether you’ve chosen a rustic wooden house or a sleek modern design, the attachment process can influence the stability and longevity of your setup.Proper Mounting Techniques
Begin by selecting screws or bolts that match the material of your bird house. Wooden houses usually work well with galvanized screws, while metal houses might require specific bolts. Always align the house with the pole, ensuring it’s centered to prevent tipping. Consider using washers to distribute pressure evenly, reducing the risk of damage over time. This small step can make a big difference, especially in windy conditions.Ensuring Stability
Stability is key, especially if you want to avoid frequent repairs or replacements. One effective strategy is to attach the bird house using a bracket mount. This provides extra support and keeps the house secure. Think about the environment your bird house will face. Windy areas may require additional bracing or even a secondary support pole. It’s worth the extra effort to ensure your bird house stays upright and welcoming.Adjusting The Angle
The angle at which you mount your bird house can affect both its appeal to birds and its protection against the elements. A slight forward tilt can help rainwater run off, keeping the interior dry. Experiment with the angle to see what works best for your location. Is there a tree providing shade? Adjusting the angle can also help avoid direct sunlight, keeping the house cooler in summer. Are you ready to give your feathered friends a cozy new home? By focusing on the details, you ensure your bird house is not just a decoration, but a true sanctuary.Maintenance Tips
Choose a sturdy pole and secure it firmly in the ground for stability. Regularly check the pole and birdhouse for damage or wear. Clean the birdhouse seasonally to keep it safe and welcoming for birds.
Installing a bird house pole is just the beginning of your journey in hosting feathered visitors in your garden. To ensure your bird house remains a welcoming and safe environment for birds, ongoing maintenance is crucial. This not only prolongs the life of your bird house but also helps maintain a healthy habitat for your avian guests. Let’s dive into some essential maintenance tips that will keep your bird house in top shape.Regular Cleaning
Bird houses can quickly become breeding grounds for parasites and bacteria if not cleaned regularly. Ensure you schedule a thorough cleaning at least once a season. Use a mild soap and water solution, and rinse thoroughly to avoid any harmful residues. Remove old nesting materials and debris, as these can harbor mites and other pests. Have you noticed any unpleasant odors? That’s a clear sign it’s time to clean.Inspecting For Damage
Periodic inspections can prevent minor issues from turning into major problems. Check for signs of rot, rust, or damage caused by weather. Are there loose screws or nails? Tighten them to ensure the stability of the bird house. Examine the entrance hole for signs of chewing or wear, which can invite unwanted predators. Remember, a sturdy bird house is a safe bird house.Seasonal Adjustments
Different seasons bring different challenges for bird houses. In winter, consider placing the bird house in a sheltered area to protect it from harsh winds. During spring, ensure it’s securely fastened to withstand storms. As summer approaches, provide shade to prevent overheating. Are you prepared for the changing seasons? A few adjustments can make all the difference. By incorporating these maintenance tips into your routine, you can create a welcoming sanctuary for birds year-round. Embrace the joy of bird watching as you provide a safe haven for your feathered friends.Frequently Asked Questions
How Do I Choose The Right Bird House Pole?
Select a sturdy, weather-resistant pole, ideally made of metal or treated wood. Ensure it is tall enough for safety from predators, usually 6 to 10 feet. The pole should be easy to install in your yard or garden.
What Tools Are Needed To Install A Bird House Pole?
You will need a post hole digger, level, measuring tape, concrete mix, and a shovel. Optional tools include a drill and screws for attaching the birdhouse securely to the pole.
How Deep Should I Install The Bird House Pole?
Dig a hole at least 2 feet deep for stability. Using concrete to secure the pole helps prevent tipping. Ensure the pole is vertical by checking with a level before the concrete sets.
Can I Install A Bird House Pole On Uneven Ground?
Yes, but you may need to level the installation site first. Use gravel or soil to create a flat base. Ensure the pole remains upright and stable for bird safety.
Conclusion
Installing a bird house pole is simple and rewarding. Choose a safe spot with good sunlight. Use sturdy materials to keep the pole stable. Secure the pole firmly in the ground. Attach the bird house at the right height. This helps birds feel safe and welcome.
Regularly check the pole for damage or wear. Enjoy watching birds visit your new home. Creating a bird-friendly space supports nature close to you. Try it today and bring more life to your yard.