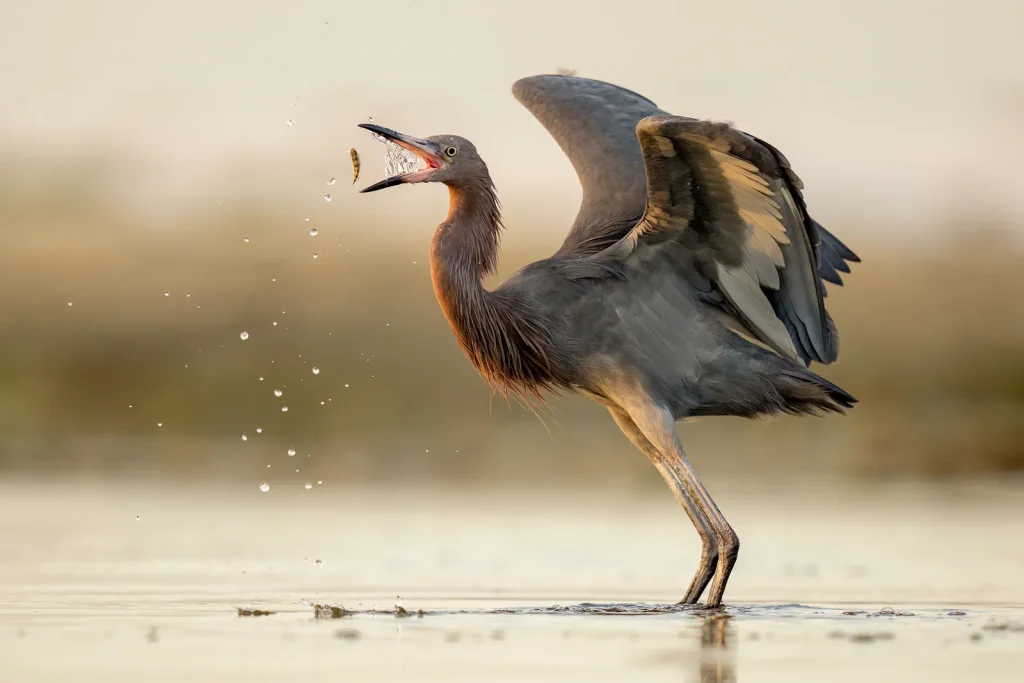
Photographing birds is one of those situations where your camera mode can genuinely make or break a shot. Birds move unpredictably, lighting changes fast, and the difference between a sharp image and a blurry mess often comes down to the settings you’ve chosen before the bird even appears.
For most bird photography, Aperture Priority (Av or A) mode is the go-to choice because it gives you direct control over depth of field while letting the camera handle shutter speed automatically. However, Shutter Priority (Tv or S) is often better for birds in flight, where freezing motion matters more than depth of field. Manual mode suits experienced photographers working in stable, predictable light.
Why Camera Mode Matters So Much for Birds
Birds don’t pose. A warbler flitting through branches, a heron launching off a log, or a hawk circling overhead—each situation demands something different from your camera.
Unlike landscape photography, where you have time to dial in every setting carefully, bird photography often gives you only a second or two to react. Your mode determines how much of that decision-making the camera handles versus how much stays with you. Choosing the wrong mode can mean overexposed perched songbirds or blurry action shots that looked sharp on the LCD until you zoomed in at home.
The Main Camera Modes and How They Apply to Birds
Understanding what each mode actually does helps you make the right call in the field, rather than just following a rule.
Mode
You Control
Camera Controls
Best For Birds When…
Aperture Priority (Av/A)
Aperture
Shutter speed + ISO
Perched birds, moderate action, varied light
Shutter Priority (Tv/S)
Shutter speed
Aperture + ISO
Birds in flight, fast unpredictable movement
Manual (M)
Everything
Nothing
Stable light, controlled environments
Program (P)
Neither (with shifts)
Both
Casual birding, beginners learning exposure
Auto
Nothing
Everything
Absolute beginners, learning the hobby
Aperture Priority: The Everyday Workhorse
Aperture Priority is the mode most bird photographers use the majority of the time. You set the aperture (the opening in the lens that controls how much light enters and how blurry the background appears), and the camera continuously adjusts shutter speed to match the light.
For perched birds in variable shade and sunlight—think a cardinal moving through dappled tree cover—Aperture Priority handles the constant light shifts so you can concentrate on composition and timing. A wide aperture like f/5.6 or f/6.3 lets in plenty of light and produces a smooth, blurred background that makes the bird pop. You’ll want to pair Aperture Priority with Auto ISO and set a minimum shutter speed (available on most modern DSLRs and mirrorless cameras) so the camera doesn’t accidentally choose a shutter speed too slow to freeze wing movement.
Shutter Priority: Locking Down Fast Birds
When birds are actively flying, shutter speed becomes the priority. A minimum shutter speed of around 1/1600 to 1/2500 second is typically needed to freeze a bird mid-wingbeat without motion blur, though slower birds like herons may be sharp at 1/800 second.
Shutter Priority lets you set that minimum freeze point and trust the camera to handle the rest. The trade-off is that in darker conditions, the camera may open the aperture as wide as possible and still underexpose the shot. This is why Shutter Priority works best in good light—bright overcast days, open skies, or direct sun. For birds in flight photography, this mode is often the most reliable way to get consistently sharp results across a burst of frames. You can explore detailed techniques in this overview of birds in flight photography tips for more guidance on managing settings during active flight.
Manual Mode: Precise Control When Light Is Stable
Manual mode means you set aperture, shutter speed, and ISO yourself. Nothing changes unless you change it. This sounds daunting, but in stable lighting conditions—a bird at a sunlit feeder, shorebirds on a bright sandy beach, or raptors soaring against a clear blue sky—Manual mode produces the most consistent exposures across a long burst.
The problem with Manual mode for general birding is that light rarely stays constant. A bird flying from open sky into tree shadow can shift the correct exposure by several stops in under a second. Most photographers find that Manual works better when the shooting situation is controlled and predictable, and Aperture Priority or Shutter Priority works better when birds are moving through varied environments.
Exposure Compensation: The Setting Most Bird Photographers Forget
Whichever semi-automatic mode you use, exposure compensation is one of the most useful tools available. In Aperture Priority or Shutter Priority, the camera meters the scene and makes an assumption about correct brightness. Against a bright sky, it often underexposes a bird’s body significantly, leaving details in shadow.
Dialing in +1 to +1.5 stops of positive exposure compensation when shooting a dark bird against bright sky, or negative compensation for a white egret in full sun, keeps the subject properly exposed. Experienced bird photographers adjust this instinctively as light conditions change. Understanding how your camera reads and responds to light is covered well in this article on the best metering mode for bird photography, which pairs directly with mode selection.
How Burst Mode Fits Into the Picture
Photography mode and drive mode (burst or continuous shooting) are separate settings, but they work together. For birds in flight or active feeding situations, setting your camera to continuous high-speed burst—often called Continuous Shooting or CH mode—means you capture multiple frames per second during a sequence.
Burst mode significantly increases the chances of catching a wingbeat, a landing, or a feeding moment at exactly the right instant. Most modern mirrorless cameras can shoot 10–20 frames per second or more in burst mode, while DSLRs typically manage 6–10 fps. Pairing burst mode with Shutter Priority or Aperture Priority with a fast minimum shutter speed is the most practical combination for active bird subjects. You can read more about choosing the best shooting mode for bird photography to understand how these settings interact.
Autofocus Mode: Just as Critical as Exposure Mode
Selecting the right exposure mode won’t fully save a shot if autofocus is set incorrectly. For stationary or slowly moving birds, single-point AF (where the camera locks focus once) often works well. For birds in motion, continuous autofocus—called AI Servo on Canon cameras and AF-C on Nikon, Sony, and Fuji systems—tracks a moving subject and adjusts focus continuously while the shutter button is half-pressed.
Using subject tracking AF, now available on many modern mirrorless cameras with bird and animal recognition, can be remarkably effective for keeping a flying bird in sharp focus across a burst sequence. The best focus mode for bird photography is worth reading alongside mode selection, since both settings directly affect sharpness.
Common Mistakes That Undermine Good Mode Choices
Even with the right mode selected, a few habits tend to produce disappointing results.
– Forgetting to set a minimum shutter speed in Aperture Priority. If Auto ISO doesn’t have a shutter floor set, the camera may choose 1/60 second when the bird moves, producing blur even on a technically well-exposed shot.
– Using Shutter Priority in low light without raising ISO. The camera may underexpose heavily rather than push ISO, leaving you with dark, unusable frames.
– Leaving exposure compensation at zero in challenging light. Backlit birds, white birds in sun, and dark birds against sky all fool the metering system without compensation.
– Staying in full Auto mode past the beginner stage. Auto mode gives you no control over shutter speed or aperture, which means blurry birds or excessive depth of field with no way to fix it.
– Switching modes mid-shoot without resetting exposure compensation. Compensation that worked against a bright sky may badly overexpose a bird in shade.
Practical Mode Recommendations by Situation
Different birding situations genuinely call for different approaches.
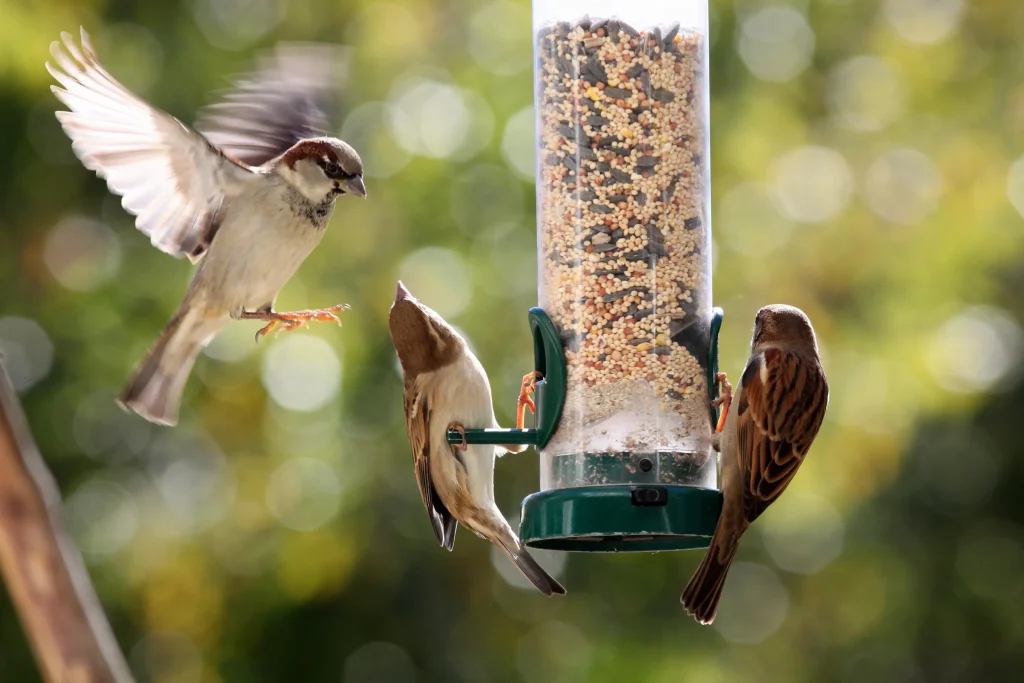
Perched songbirds at a feeder or in a garden: Aperture Priority at f/5.6–f/8, Auto ISO with a minimum shutter speed of 1/500 to 1/800 second, exposure compensation adjusted for background brightness.
Waterfowl on open water: Aperture Priority works well in calm conditions. Shutter Priority at 1/1000–1/1600 second handles takeoffs and landings where motion can be sudden.
Raptors in flight against open sky: Shutter Priority at 1/2000–1/3200 second with Auto ISO, positive exposure compensation to prevent the bright sky from silhouetting the bird.
Shorebirds on beaches: Manual mode is a good option here—bright, consistent reflective light means exposure stays fairly stable, and Manual prevents the camera from hunting between light sand and darker bird tones.
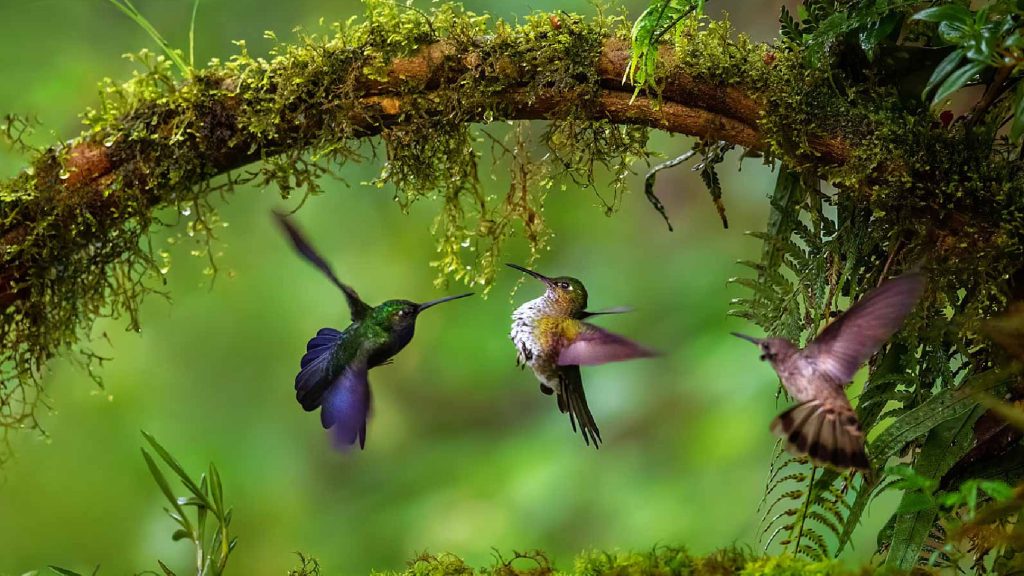
Hummingbirds: Shutter Priority with a very fast shutter speed (1/2000 second or faster) to freeze wingbeats, which can exceed 50 beats per second in some species.
Does Your Camera Body Affect Mode Performance?
Camera bodies vary significantly in how well their automatic exposure systems perform under challenging bird photography conditions. Entry-level DSLRs and mirrorless cameras have simpler metering systems and slower burst rates that can limit mode effectiveness in difficult situations. Higher-end bodies like the Sony Alpha 1 or Canon EOS R5 include sophisticated subject recognition, faster processors, and more reliable metering that make Aperture Priority and Shutter Priority modes more consistent across difficult scenes.
That said, mode fundamentals apply to every camera. Even an entry-level mirrorless camera will benefit from using Shutter Priority for fast birds and Aperture Priority for perched subjects. Understanding your specific camera’s limitations—and working within them—matters more than assuming a premium body is required. A helpful resource for understanding what to look for is this guide to the best camera for birds in flight photography.
For photographers looking to improve their burst shooting and continuous AF performance, a fast memory card such as the Sony TOUGH Series CFexpress Type A card or a reliable card in the appropriate format for your camera can prevent buffer slowdowns during extended burst sequences—a practical consideration that pairs directly with high-speed mode use.
FAQ
Is Aperture Priority really better than Manual mode for bird photography?
For most field situations, yes—Aperture Priority adapts to changing light automatically, which is more practical when birds move through sun and shadow unpredictably. Manual mode is excellent in stable, controlled conditions but can result in badly exposed shots when light shifts quickly, as it often does outdoors.
What shutter speed should I use for birds in flight?
A general starting point is 1/1600 to 1/2500 second for most medium to large birds in active flight. Small, fast birds like swallows or hummingbirds may need 1/3200 second or faster to freeze wingbeats cleanly. Larger, slower-moving birds like herons or cranes can often be sharp at 1/800 to 1/1200 second.
Should I use Auto ISO with Aperture Priority for bird photography?
Auto ISO paired with Aperture Priority and a set minimum shutter speed is one of the most effective combinations for bird photography. It allows the camera to raise ISO as light dims, maintaining your chosen shutter floor without requiring constant manual adjustments as conditions change.
Can I use Program mode for bird photography as a beginner?
Program mode can work as an introductory option, and many cameras allow you to shift the aperture/shutter combination while staying in Program. However, moving to Aperture Priority relatively quickly gives you more consistent results and helps you develop a better understanding of how your settings affect the final image.
What camera mode should I avoid for bird photography?
Full Auto mode is the most limiting for birds because it prevents you from setting a fast enough shutter speed, controlling depth of field, or adjusting exposure compensation. Scene modes designed for sports or action are better than full Auto, but semi-automatic modes like Aperture Priority or Shutter Priority give you much more practical control.
Does lighting affect which mode works best?
Significantly. Bright, even light—such as open shade or bright overcast—is the most forgiving and makes Aperture Priority reliable and predictable. Harsh backlit conditions, dappled woodland light, or rapidly changing weather all benefit from exposure compensation adjustments and sometimes shift the best mode choice from Aperture Priority toward Manual if the light genuinely stays consistent for an extended period.
What is the best mode for photographing birds at a backyard feeder?
Aperture Priority with a mid-range aperture (f/5.6 to f/8), Auto ISO, and a minimum shutter speed of around 1/500 second handles most feeder situations well. The birds are relatively close, the shooting distance is predictable, and the light is usually consistent enough that Aperture Priority keeps up without difficulty.
Final Thoughts
Aperture Priority covers the most ground for most bird photographers most of the time—it balances flexibility with control in the way that matches how birds actually behave in the field. Shutter Priority earns its place specifically when freezing motion is the priority and light is adequate. Building the habit of adjusting exposure compensation, setting a minimum shutter speed in Auto ISO, and switching modes deliberately based on conditions will improve your results more than any single setting alone. The best mode is ultimately the one you understand well enough to adjust quickly when the bird lands, takes off, or disappears into the shadows.