
Wondering how to keep your Bird Buddy Camera powered up and ready to capture every feathered friend? Charging your Bird Buddy Camera might seem tricky at first, but it’s actually simple once you know the steps.
If you want to enjoy uninterrupted birdwatching and never miss a moment, this guide will walk you through exactly how to charge your device quickly and safely. Keep reading to make sure your Bird Buddy Camera stays alive and snapping!
Credit: gearjunkie.com
Bird Buddy Camera Basics
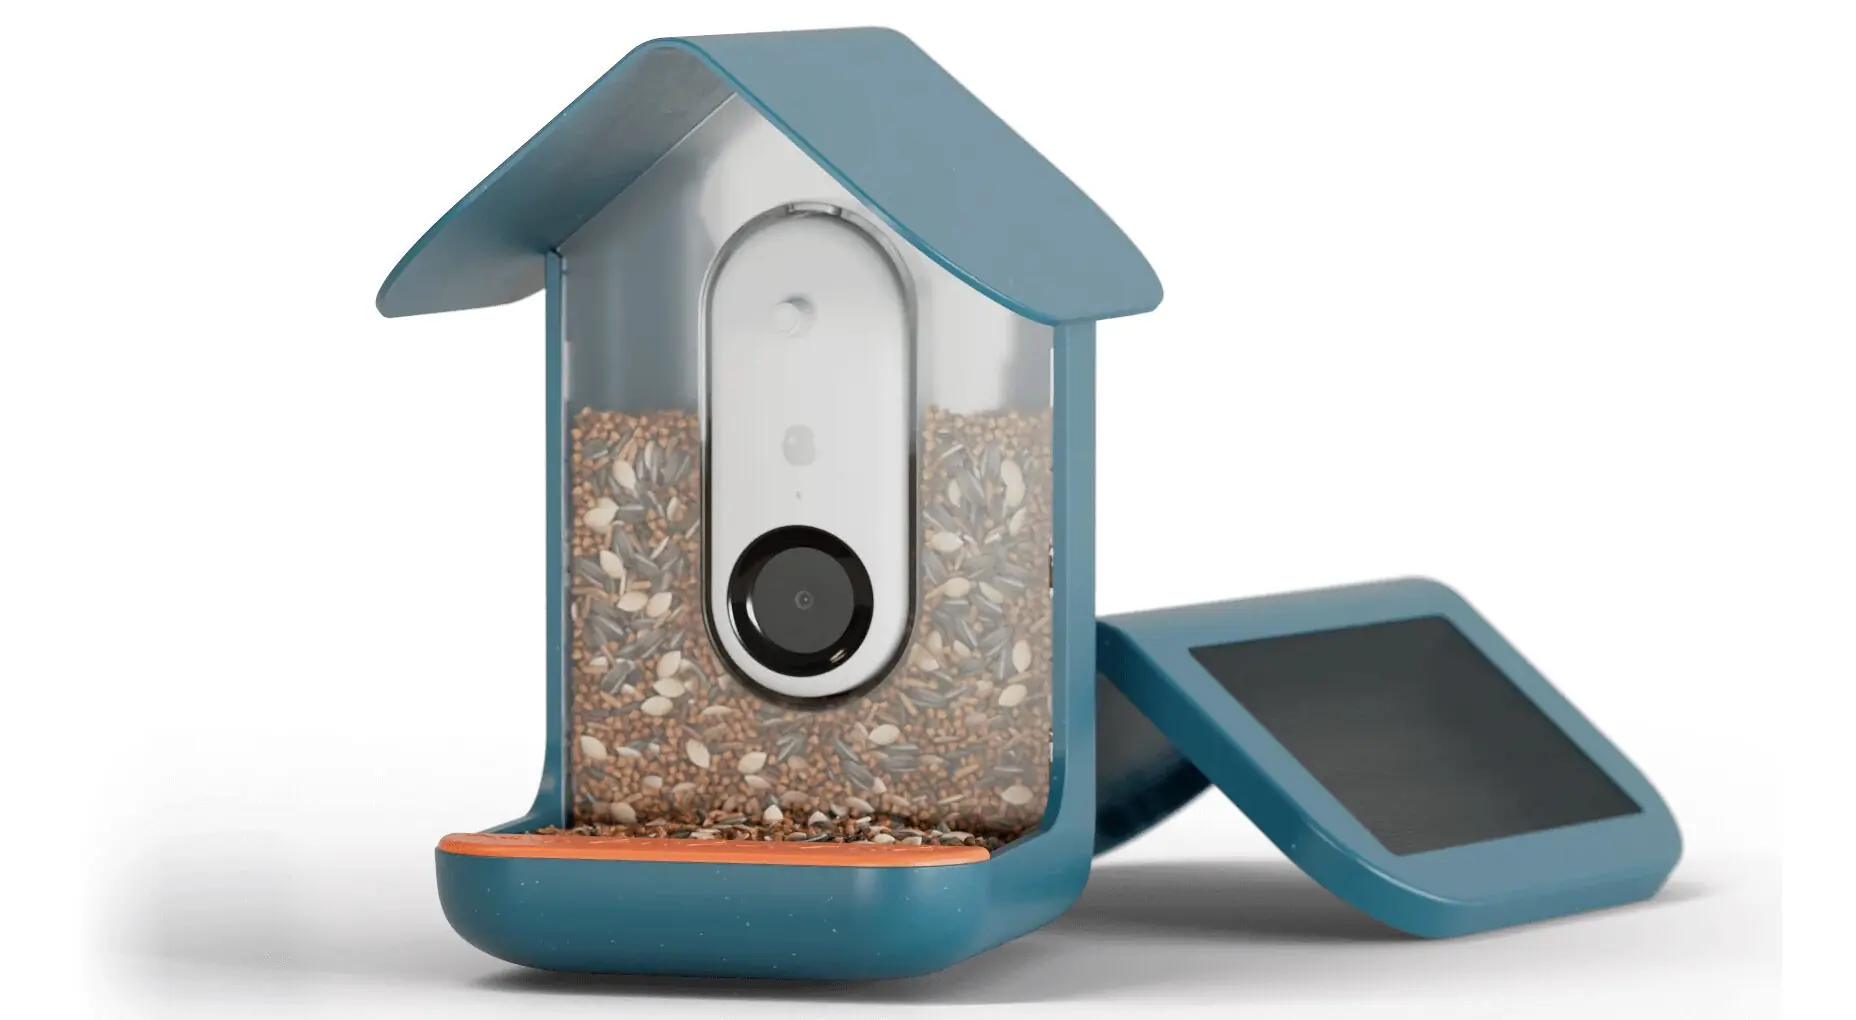
Understanding the Bird Buddy Camera basics helps you get the most out of your device. This smart camera brings nature closer to your home. It watches birds and shares their pictures and sounds. Charging the camera correctly keeps it ready for action. Knowing its features and battery details makes charging easier.
Key Features
- Smart AI recognizes bird species instantly.
- High-quality camera captures clear photos day and night.
- Weatherproof design works in different conditions.
- Wireless connection sends images directly to your phone.
- Easy setup with no complex tools needed.
Battery Specifications
The Bird Buddy Camera uses a rechargeable lithium-ion battery. It offers long-lasting power to capture many bird visits. Charging takes about 3 to 4 hours for a full battery. Once charged, the camera can work for up to 3 days. The battery level shows on the app for easy monitoring.
:max_bytes(150000):strip_icc()/bird-feeder-with-camera-f5a327fa34d746f5beeacd7a48eb9021.jpg)
Credit: www.realsimple.com
Charging Equipment Needed
Charging your Bird Buddy Camera requires the right tools to keep it powered efficiently. Using the proper equipment helps avoid damage and ensures quick charging. Understanding what chargers and cables work best makes the process simple and safe.
Compatible Chargers
Choose chargers that match the Bird Buddy Camera’s power needs. The camera supports standard USB power adapters with 5V output. Avoid using chargers with higher voltage to prevent damage.
- USB wall adapters with 5V and 1A or 2A output
- Portable power banks supporting 5V output
- USB ports on laptops or desktop computers
Make sure the charger is from a reliable brand. Poor-quality chargers can cause slow charging or harm the device.
Recommended Cables
Use cables that fit the camera’s charging port and support fast data transfer. The Bird Buddy Camera typically uses a USB-C or micro-USB cable depending on the model.
- High-quality USB-C cables for newer models
- Durable micro-USB cables for older versions
- Cables with reinforced connectors to avoid wear
Check the cable length for convenience. A 3-foot cable offers flexibility without too much clutter.
Step-by-step Charging Process
Charging your Bird Buddy Camera is simple and straightforward. Understanding the exact steps helps you avoid common mistakes that can delay your camera’s readiness. Let’s break down the charging process to make it easy and efficient for you.
Preparing The Camera
Start by placing your Bird Buddy Camera on a flat surface. Ensure the camera is turned off to protect its battery and internal components during charging. Check the charging port for any dirt or debris; a clean port guarantees a stable connection.
Have you noticed how a small speck of dust can stop charging altogether? Taking a moment to clean the port with a soft brush can save you from frustrating delays.
Connecting The Charger
Use the original charging cable that came with your Bird Buddy Camera for best results. Insert the cable firmly into the charging port without forcing it. Next, plug the other end into a reliable power source like a USB adapter or a computer USB port.
- Ensure the power source is active and not in sleep mode.
- Avoid using damaged cables to prevent charging issues.
- Keep the cable straight to avoid wear and tear.
Have you ever tried charging with a random cable only to find your device won’t charge? Sticking to the recommended accessories eliminates this common problem.
Charging Indicators
Your Bird Buddy Camera uses LED lights to show charging status. A red light usually means charging is in progress, while a green light indicates a full charge. If the light blinks or doesn’t turn on, double-check your connections or try a different power source.
Pay attention to these indicators because they tell you exactly when your camera is ready to go. Ignoring them might lead to leaving your camera plugged in unnecessarily or missing a low battery warning.
Tips For Faster Charging
Ensure your Bird Buddy Camera is off before charging. Use a compatible charger and cable for optimal speed. Keep the area cool and avoid using the camera while it’s charging.
Charging your Bird Buddy Camera efficiently ensures you’re always ready to capture those delightful avian visitors. While the process seems straightforward, there are several tips that can help you charge your device faster and more effectively. Let’s dive into some practical advice that will have your camera powered up and ready in no time.Optimal Charging Conditions
Charging your Bird Buddy Camera in a cool, dry place can significantly speed up the process. Excess heat can slow down charging and even damage the battery over time. If you’ve been using the camera in direct sunlight, allow it to cool before plugging it in. Using the original charger and cable provided with the camera is crucial. Compatible accessories ensure that the device receives the correct amount of power. Third-party chargers might not deliver the necessary power, prolonging the charging time.Avoiding Common Mistakes
Avoid charging your camera overnight. Overcharging can lead to battery degradation. It’s a habit that many fall into, thinking it’s harmless, but it can shorten your battery’s lifespan. Make sure the charging port is clean. Dust or debris can prevent a proper connection, leading to slower charging. A quick check and a gentle clean can make a big difference. Are you frequently unplugging and replugging the charger? Each time you do, it interrupts the charging cycle. Allow the camera to charge uninterrupted for the fastest results. By following these tips, you can ensure your Bird Buddy Camera is always ready to capture the perfect birdwatching moments. Are there any other charging tips you’ve found effective? Share them in the comments!Battery Care And Maintenance
Proper battery care and maintenance is key for your Bird Buddy Camera. Good habits keep the battery healthy and working longer. This helps you avoid frequent charging and battery replacements. Simple steps can make a big difference in battery performance and lifespan.
Extending Battery Life
- Avoid fully draining the battery before charging.
- Charge your camera in a cool, dry place.
- Use the charger that comes with your device.
- Turn off the camera when not in use for long periods.
- Lower the camera’s brightness or turn off unnecessary features.
Storage Recommendations
Store the camera in a place with stable, moderate temperatures. Avoid hot or freezing environments. Remove the battery if you won’t use the camera for over a month. Charge the battery to about 50% before storing it. Check and recharge the battery every few months to keep it healthy.
Credit: www.chewy.com
Troubleshooting Charging Issues
Charging your Bird Buddy Camera should be straightforward, but sometimes issues pop up that prevent it from powering up properly. Troubleshooting these charging problems early can save you time and frustration. Let’s look at what might be causing the trouble and how to address it effectively.
Common Problems
One frequent issue is a dirty or obstructed charging port. Dust, dirt, or small debris can block the connection, stopping the camera from charging. Take a moment to check the port and gently clean it with a soft brush or compressed air.
Another problem is using the wrong charger or cable. Your Bird Buddy Camera requires a specific voltage and current to charge safely. Using a charger from another device might cause slow charging or no charging at all.
Sometimes, the cable or charger itself might be faulty. If you notice frayed wires or bent connectors, try swapping them out with a known good charger to see if that fixes the issue.
Finally, software glitches can interfere with charging. Restart your camera or check for firmware updates that might resolve hidden bugs affecting the charging process.
When To Seek Support
If you’ve tried cleaning the port, using the correct charger, and restarting the device but still face charging problems, it’s time to reach out for help. Persistent charging failure can indicate a deeper hardware fault that requires professional attention.
Contact Bird Buddy customer support if your camera won’t charge despite all troubleshooting steps. They can guide you through advanced fixes or arrange repairs if necessary.
Don’t ignore warning signs like overheating during charging or the device not holding a charge for long. These issues could damage your camera over time if left unresolved.
Have you ever had a device refuse to charge no matter what you tried? What steps helped you solve it? Sometimes sharing your experience can uncover simple fixes others miss.
Frequently Asked Questions
How Do I Properly Charge My Bird Buddy Camera?
Use the included USB cable to connect the Bird Buddy camera to a power source. Charging typically takes 2-3 hours for a full charge. Ensure the camera is turned off during charging for optimal speed and battery health.
Can I Use Any Charger For Bird Buddy Camera?
It is best to use the original charger or a USB charger with 5V output. Using incompatible chargers may damage the battery or reduce charging efficiency. Always check the voltage and amperage before charging.
How Do I Know When Bird Buddy Camera Is Fully Charged?
The LED indicator on the Bird Buddy camera turns green when fully charged. During charging, the light usually appears red or orange. Avoid unplugging the device until the green light confirms a full charge.
Is It Safe To Charge Bird Buddy Camera Overnight?
Charging overnight is generally safe if you use the original charger. The device has built-in protection to prevent overcharging. However, unplugging after full charge is recommended to maintain battery longevity.
Conclusion
Charging your Bird Buddy camera is simple and quick. Use the provided USB cable and plug it into a power source. Make sure the camera is turned off during charging for faster results. A full charge keeps your camera ready to capture bird moments anytime.
Regular charging helps maintain battery health and camera performance. Keep an eye on the charging light to know when it’s done. Enjoy watching your feathered friends without interruption. Easy steps, great results.


