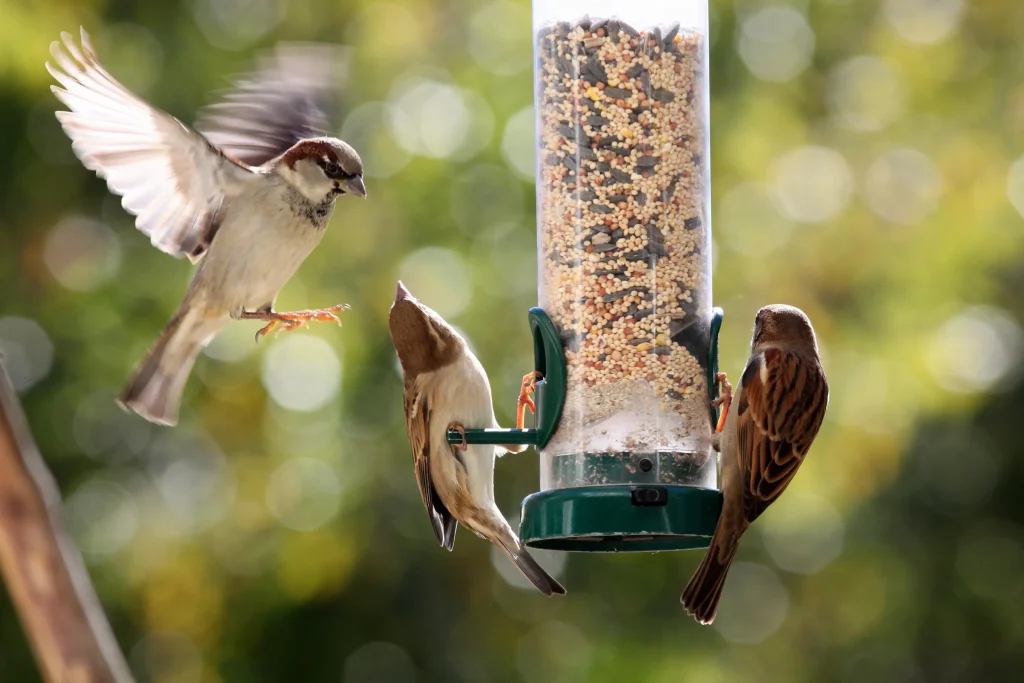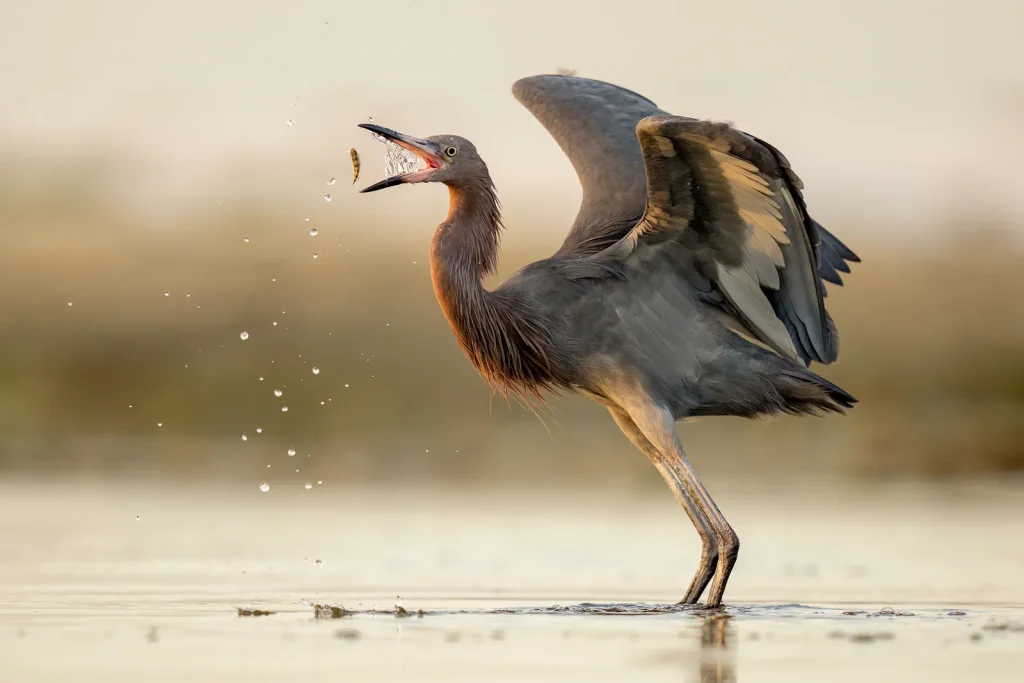
Are you ready to attract colorful birds right to your backyard? Mounting a bird feeder on a pole is one of the easiest and most effective ways to bring nature closer to you.
But how do you make sure your feeder stays secure and inviting for your feathered friends? In this guide, you’ll discover simple steps to mount your bird feeder safely and attract more birds than ever before. Keep reading, and soon your outdoor space will be buzzing with life!
Choosing The Right Pole
Choosing the right pole for your bird feeder is more important than you might think. It affects how stable your feeder will be, how easy it is to access for cleaning or refilling, and even how attractive it looks in your yard. Picking the right pole sets the stage for a successful bird-watching experience.
Material Options
Poles come in different materials like metal, wood, and plastic. Metal poles are sturdy and resist weather damage, making them a popular choice. Wooden poles blend nicely with natural settings but may require more maintenance to prevent rot.
Plastic poles are lightweight and easy to move around, but they might not hold up well in strong winds or heavy rain. Think about your climate and how much upkeep you’re willing to do before choosing a material. Have you noticed how some poles look out of place in your garden? Material choice can solve that problem.
Height Considerations
The height of your pole matters for bird safety and your convenience. Poles around 5 to 6 feet tall usually work well—they keep feeders out of reach from cats and other predators. But consider your own height too; you’ll need to refill the feeder comfortably without a ladder.
Also, remember that taller poles might sway more in the wind, which can scare birds away. Do you want a fixed height, or would you prefer an adjustable pole? Adjustable poles add flexibility if you want to experiment with different heights.
Placement Tips
Where you put your pole influences how many birds visit. Place it near trees or shrubs to give birds quick cover from predators. Avoid spots too close to windows to prevent collisions.
Also, consider sun exposure. Birds enjoy some shade, especially in hot weather, but too much shade might make the feeder less visible. Have you checked your yard’s layout to find a spot that balances safety, visibility, and ease of access?
- Keep the pole at least 10 feet away from jump points like fences or roofs.
- Ensure the ground around the pole drains well to avoid muddy conditions.
- Think about ease of refilling and cleaning when choosing the spot.
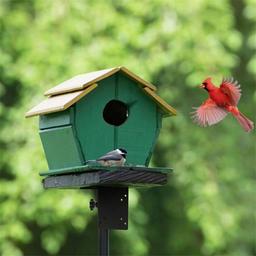
Credit: www.kingsyard.com
Selecting A Suitable Bird Feeder
Choosing the right bird feeder is key for attracting birds and keeping them safe. The feeder must fit the birds you want to see and hold enough food. It should also stand up to weather changes. This guide helps you pick a suitable bird feeder for mounting on a pole.
Types Of Feeders
Feeders come in many shapes and styles. Tube feeders work well for small seeds and attract finches and chickadees. Hopper feeders hold a lot of seed and suit larger birds like cardinals. Platform feeders offer space for many birds at once and suit various seeds. Suet feeders attract woodpeckers and nuthatches with fat cakes. Pick a type that matches the birds in your area.
Size And Capacity
The feeder size affects how often you refill it. Small feeders need frequent refills but stay fresh. Large feeders hold more food and reduce visits. Balance size with the number of birds feeding. Consider the pole’s strength and space to support the feeder’s weight. Choose a size that fits your needs and setup.
Weather Resistance
Bird feeders face sun, rain, wind, and snow. Choose materials like metal or strong plastic that resist rust and damage. Clear seed trays help birds see the food and keep it dry. Look for feeders with covers or roofs to shield seed from moisture. Weatherproof feeders last longer and keep birds happy.
Tools And Materials Needed
Basic tools like a drill, screws, and a wrench help secure the bird feeder to the pole. Materials include a sturdy pole, mounting brackets, and the feeder itself. Proper tools and materials ensure a safe and stable installation.
Mounting a bird feeder on a pole can enhance your backyard experience. It allows for better bird watching and keeps the feeder safe from predators. To mount your bird feeder securely, you need the right tools and materials. This ensures stability and longevity. Below, you’ll find a guide to the essential tools and materials required for this task.Essential Tools
You need some basic tools for this project. A power drill is crucial. It makes holes in the pole for mounting. Screwdrivers, both flathead and Phillips, are needed for assembly. A tape measure helps ensure precise placement. A level ensures the feeder is straight and balanced.Mounting Hardware
Choose the right mounting hardware for your feeder. Use sturdy brackets or clamps to hold the feeder. Stainless steel screws resist rust and provide a strong hold. Consider using washers for added stability. Some kits come with all necessary hardware.Safety Gear
Safety is key when working with tools. Wear safety glasses to protect your eyes from debris. Gloves can protect your hands from sharp edges. If using a ladder, ensure it’s stable and secure. Always work in a well-lit area for better visibility.
Credit: www.familyhandyman.com
Preparing The Pole
Preparing the pole is a crucial step to ensure your bird feeder stays secure and attracts birds safely. Taking the time to clean, inspect, and stabilize the pole can save you from future hassles like leaning poles or feeder damage. Let’s look at how you can get your pole ready for a perfect setup.
Cleaning And Inspecting
Start by thoroughly cleaning the pole. Dirt, rust, and old paint can weaken the structure or make it slippery for mounting. Use a wire brush or sandpaper to remove rust spots and flaky paint.
After cleaning, inspect the pole carefully. Look for cracks, bends, or rust holes that might cause instability. If you find damage, consider replacing the pole—your bird feeder deserves a strong foundation.
Securing The Base
Your pole’s base must be firmly anchored to prevent wobbling. If you’re installing it in soil, dig a hole at least 18 inches deep to set the pole. Add gravel or concrete around the base for extra hold.
For hard surfaces like concrete or decks, use heavy-duty brackets or mounting plates. Screwing the pole directly into a sturdy surface can drastically increase its stability. Have you checked if your mounting surface is strong enough to hold the feeder weight?
Adding Stability Features
Adding extra stability features will keep your pole upright during strong winds or curious critters. Consider using guy wires anchored to the ground at different angles. These wires distribute stress and reduce sway.
Another simple addition is a ground stake with a stabilizing flange. It prevents the pole from tilting when birds land or when you refill the feeder. Small investments here can save you frequent adjustments later.
Attaching The Feeder To The Pole
Secure the feeder firmly to the pole using brackets or screws designed for outdoor use. Ensure it is stable to prevent wobbling and easy for birds to access. Check the attachment regularly to keep the feeder safe and steady.
Attaching a bird feeder to a pole is a rewarding task that brings you closer to nature while providing birds with a safe feeding spot. It’s not just about stability—it’s also about creating an inviting environment for your feathered friends. Let’s explore the best ways to attach your feeder securely, ensuring it stands the test of weather and time.Mounting Brackets
Mounting brackets are a fantastic choice for attaching your bird feeder to a pole. They offer flexibility, allowing you to adjust the height and position of the feeder easily. Look for brackets specifically designed for bird feeders, as these will provide the best support and durability. Using a mounting bracket is straightforward. Simply slide the bracket onto the pole and tighten it in place. Some brackets come with additional features like hooks for hanging multiple feeders or even small planters for added charm.Using Screws And Bolts
For a more permanent solution, screws and bolts can ensure your feeder stays put. This method is particularly useful if you live in an area with strong winds or curious wildlife. A sturdy attachment can prevent your feeder from toppling over or being knocked off. Before drilling, double-check that the screws and bolts are suitable for outdoor use to prevent rust. Attach the feeder directly to the pole with the screws, ensuring they are snug but not overly tight to avoid damaging the feeder or pole.Ensuring Secure Fit
A secure fit is crucial for the longevity and effectiveness of your bird feeder setup. Test the stability by gently tugging on the feeder once it’s attached. If there’s any wobble, tighten the screws or adjust the bracket until it feels solid. Consider the weather conditions in your area. If you experience heavy rain or snow, ensure the feeder is high enough to avoid splashes, but low enough for easy refilling and cleaning. Regularly check the fittings for wear and tear, tightening as necessary to maintain a safe and welcoming environment for birds. Are there specific challenges you’ve faced while attaching a bird feeder? Reflect on these and how you might overcome them with the methods discussed. This proactive approach not only keeps your feeder secure but enhances your backyard birdwatching experience.
Credit: www.amazon.com
Positioning The Pole Outdoors
Positioning the bird feeder pole outdoors is important for attracting birds safely. The right spot helps birds feel secure and comfortable. It also protects the feeder from damage and keeps it clean. Consider the environment carefully before setting up the pole. Small details make a big difference in how often birds visit.
Choosing The Location
Select a place visible from a window for easy bird watching. Place the pole away from busy paths or noisy areas. Choose a flat, stable ground to keep the pole steady. Avoid spots near tall trees that may drop leaves or seeds onto the feeder. Keep the feeder close enough to bushes or shrubs. Birds use these for quick shelter and rest.
Avoiding Predators
Keep the pole at least 10 feet from places predators use. Cats and squirrels can sneak up fast. Clear away low branches or fences nearby. This reduces hiding spots for predators. Consider installing a baffle below the feeder. This slippery shield stops animals from climbing up the pole. Safety helps birds return often.
Ensuring Sunlight And Shade
Balance sunlight and shade around the feeder. Birds like warmth but need shade to cool down. Morning sunlight is best as it dries dew and prevents mold. Avoid full afternoon sun to keep seeds fresh. Place the pole near a tree or structure that casts light shade. This keeps the feeding area comfortable for birds all day long.
Maintenance And Safety Tips
Keeping your bird feeder in top shape is key to enjoying a steady stream of feathered visitors. Maintenance and safety aren’t just chores—they protect the birds and extend the life of your feeder pole. Here’s how you can keep everything clean, safe, and weather-ready.
Regular Cleaning
Bird feeders can quickly become a hotspot for mold and bacteria. Clean your feeder at least once every two weeks using warm water and mild soap. Rinse thoroughly and let it dry completely before refilling to keep birds healthy.
If you notice old seed buildup or droppings, don’t wait. Clean immediately to prevent disease spread. Have you ever seen birds avoid a feeder? Dirty feeders are often the reason.
Checking For Damage
Regularly inspect the pole and feeder for cracks, rust, or loose parts. These issues can cause the feeder to fall or injure birds. Tighten screws and replace damaged sections promptly.
Imagine a squirrel or heavy wind knocking down your feeder—checking for wear can save you from that mess. A stable feeder means more bird visits and less hassle for you.
Protecting From Weather
Weather can be tough on feeders, especially metal poles that rust or wood that rots. Apply a weather-resistant finish to wooden poles or choose rust-proof materials for metal ones. This keeps your setup sturdy through rain, snow, and sun.
Consider adding a small roof or cover to shield the feeder from direct rain. This simple step can prevent seed spoilage and reduce cleaning frequency. What’s your current setup doing to fight the weather?
Frequently Asked Questions
How Do I Securely Mount A Bird Feeder On A Pole?
To mount securely, use a sturdy pole and ground anchor. Attach the feeder with strong brackets or screws. Ensure it is level and stable to prevent tipping in wind or from birds.
What Pole Height Is Ideal For Bird Feeders?
Ideal height is 4 to 6 feet above ground. This keeps birds safe from predators and easy for viewing. Adjust based on your yard and bird species.
How To Prevent Squirrels From Reaching Pole-mounted Feeders?
Install a baffle below the feeder. Use metal poles and avoid wooden ones squirrels can climb. Place feeders away from trees or structures squirrels use to jump.
Which Materials Work Best For Bird Feeder Poles?
Metal or treated wood poles are best. Metal resists weather and pests. Treated wood is durable but may need replacement over time.
Conclusion
Mounting a bird feeder on a pole is simple and rewarding. Choose a sturdy pole and secure it firmly in the ground. Attach the feeder at a safe height to keep birds safe from predators. Regularly check the feeder for stability and cleanliness.
Enjoy watching birds visit your garden every day. A well-mounted feeder brings nature closer to your home. Try these steps, and you will attract many beautiful birds soon.